Woodworker's Journal 1993-17-6, страница 61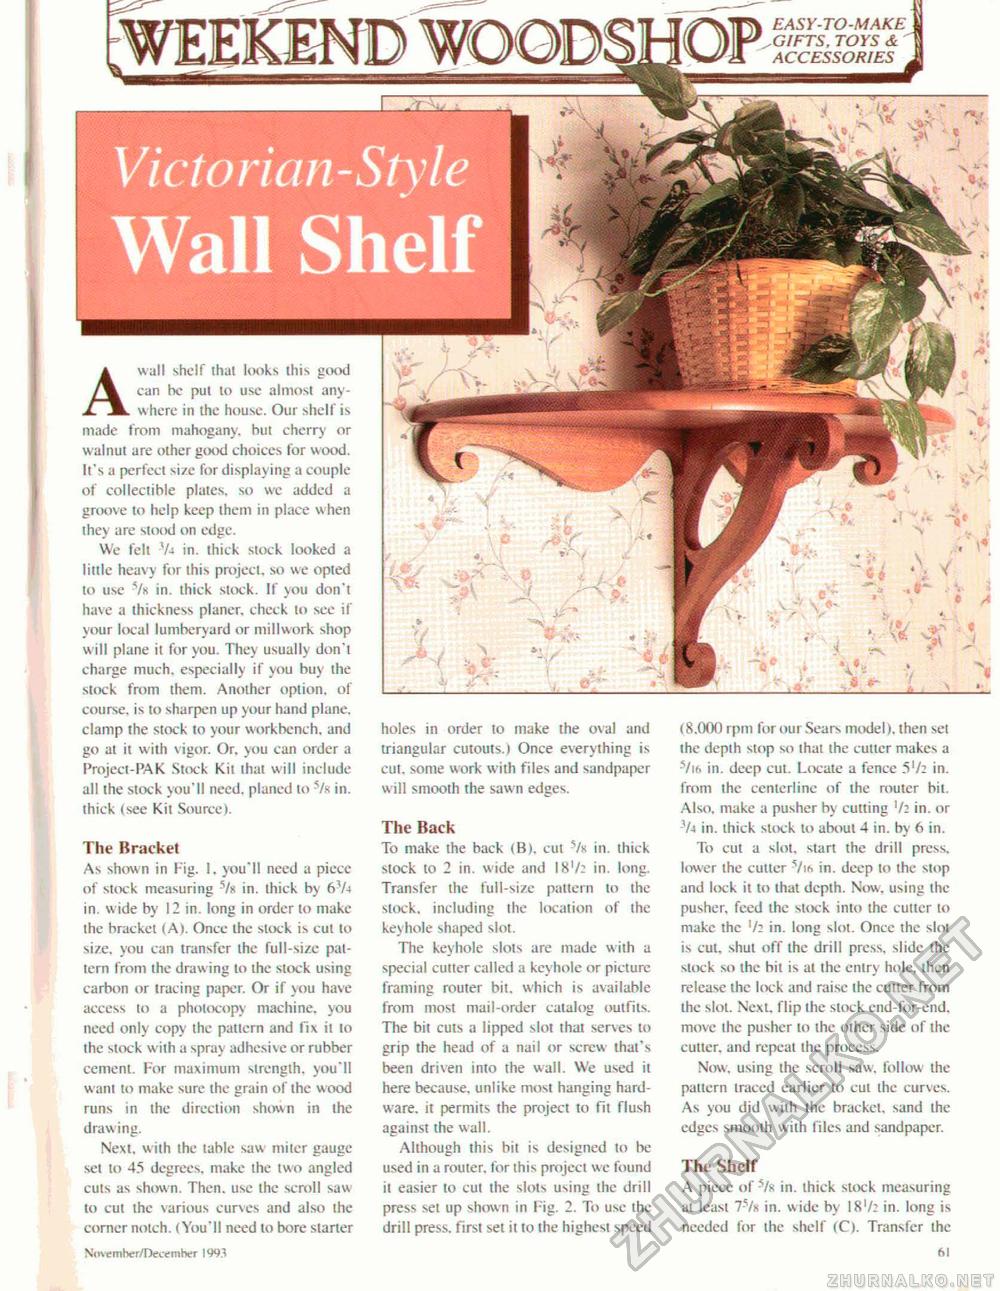
A wall shelf that looks this good can he put to use almost anywhere in the house. Our shelf is made from mahogany, hut cherry or w alnut are other good choices for wood. It's a perfect size for displaying a couple of collectible plates, so wc added a groove to help keep them in place when they are stood on edge. We felt V-i in. thick stock looked a little heavy for this project, so we opted to use Vk in. thick slock. If you don't have a thickness planer, check lo sec if your local lumberyard or millwork shop will plane it for you. They usually don't charge much, especially if you buy the slock from them. Another option, of course, is to sharpen up your hand plane, clamp the stock to your workbench, and go at it with vigor. Or, you can order a Project-PAK Stock Kit that will include all the stock you'll need, planed to Vs in. thick (see Kil Source). The Bracket As shown in Fig. 1. you'll need a piece of stock measuring in. thick by 6V4 in. wide by 12 in. long in order to make the bracket (A). Once the stock is cut lo size, you can transfer the full-size pattern from the drawing to the stock using carbon or tracing paper. Or if you have access to a photocopy machine, you need only copy the pattern and fix il 10 the stock with a spray adhesive or rubber cement. For maximum strength, you'll want to make sure the grain of ihe w ood runs in the direction shown in the drawing. Next, with the table saw miter gauge-set to 45 degrees, make the two angled cuts as shown. Then, use the scroll saw lo cut the various curves and also the corner notch. (You'll need to bore starter holes in order to make the ova) and triangular cutouts.) Once everything is cut. some work with files and sandpaper will smooth the sawn edges. The Back To make the back (B). cut -Vk in. thick stock to 2 in. wide and 18'/2 in. long. Transfer the lull-size pattern to the slock, including the location of the keyhole shaped slot. The keyhole slots are made with a special cuiter called a keyhole or picture framing router bit. which is available from most mail-order catalog outfits. The bit cuts a lipped slot thai serves to grip the head of a nail or screw that's been driven into the wall. We used it here because, unlike most hanging hard ware, it permits the project to fit flush against the wall. Although this bit is designed to be used in a router, for this project we found it easier to cut the slots using the drill press set up shown in Fig. 2. To use the drill press, first set it to the highest speed (8.000 rpm for our Sears model), then set the depth stop so that the cutter makes a -hb in. deep cut. Locate a fence 5l/i in. from ihe centerline of the router bil. Also, make a pusher by cutting V: in. or Vj in. thick slock to about 4 in. by 6 in. To cut a slot, start the drill press, lower the cutler *7ih in. deep to the stop and lock it lo that depth. Now, using the pusher, feed the stock into the cutter to make the ]/i in. long slot. Once the slot is cut. shul off the drill press, slide the slock so the bil is at the entry hole, then release the lock and raise the cutter from ihe slot Next, flip the stock end-for-end, move ihe pusher to the other side of the cutler, and repeat the process. Now. using the scroll saw. follow ihe pattern traced earlier to cul the curves. As you did with the bracket, sand the edges smooth with files and sandpaper. The Shelf A piece of Vs in. thick stock measuring at least 7-Vx in. w ide by 18'/; in. long is needed for the shelf (C). Transfer the November/December 1993 61 |


