Woodworker's Journal 1994-18-3, страница 56
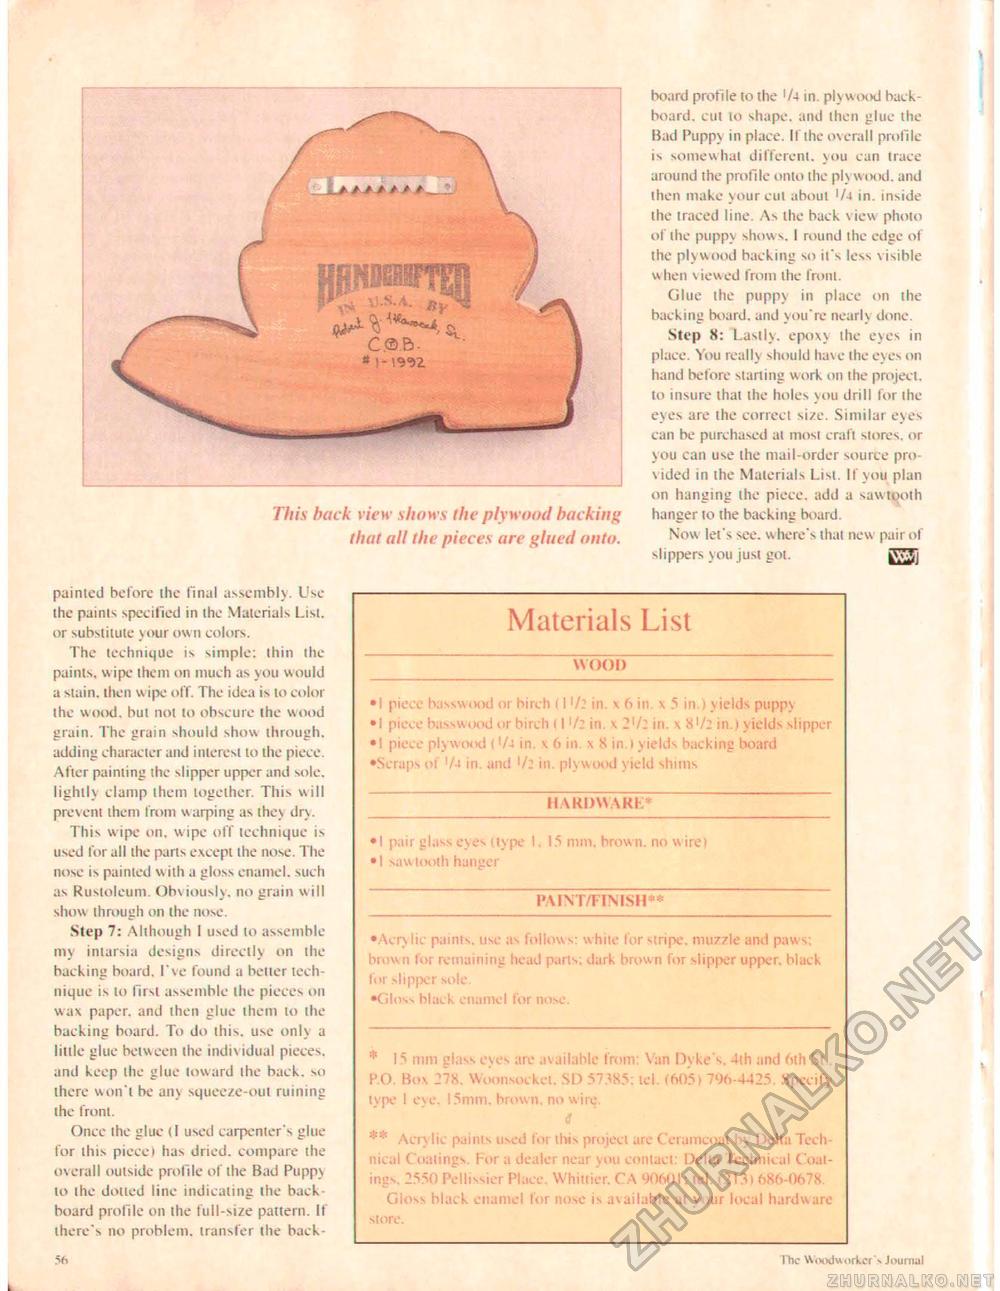
This hack view shows the plywood hacking lhal all the pieces are glued onto. board profile to ihe 1 /-+ in. plywood buck-hoard. cut lo shape, and then glue the Bad Puppy in place. IT ihe overall profile is somewhat different, you can trace around the profile onto the plywood, and then make your cut about 'A in. inside the traced line. As the back view photo of ihe puppy show s. I round the edge of the plywood backing so ifs less visible when viewed from the from. Glue ihe puppy in place on the backing board, and you're nearly done. Step 8: Lastly, epoxy the eyes in place. You really should have the eyes on hand before starting work on ihe project, to insure that the holes you drill for ihe eyes are ihe correct size. Similar eyes can be purchased at most craft stores, or you can use the mail-order source provided in the Materials List. If you plan on hanging ihe piece, add a sawtooth hanger to the backing board. Now lei's see. where's that new pair of slippers you just got. painted before the final assembly. Use ihe paints specified in the Materials Lisl. or substitute your own colors. The technique is simple; thin ihe paints, wipe them on much as you would a stain, then w ipe off. The idea is to color the w ood, but nol to obscure the wood grain. The grain should show through, adding character and interest to the piece. After painting ihe slipper upper and sole, lightly clamp them together. This will prevent them from warping as they dry. This wipe on. wipe off technique is used for all the parts except the nose. The nose is painted wiih a gloss enamel, such as Rustoleum. Obviously, no grain will show through on the nose. Step 7: Although I used to assemble my iniarsia designs directly tin the backing board, I've found a better technique is lo first assemble ihe pieces on wax paper, and ihen glue them to ihe backing board. To do this, use only a little glue between the individual pieces, and keep ihe glue toward the back, so there won't be any squeeze-out ruining ihe front. Once the glue <1 used carpenter's glue for this piece I has dried, compare the overall outside profile of the Bad Puppy to the dolled line indicating the back board profile on the full-size pattern. If there's no problem, transfer ihe back- Materials List WOOD »l piece hasswood or birch (I in. x 6 in x 5 in.) yields puppy • I piece basswood or birch <11/2 in, x 21/: in. x 8in.) yields slipper • I piece plywood ('A in. \ 6 in. \ X in.l yields backing board •Scraps of 'A in. and '/; in. plywood yield shims II VKDWA Kl. pair glass eyes (type saw tooth hau»er 15 mm, brow n, no w ire) PAINT/FINISH** •Aery lie paints, use as follows: white for stripe, muzzle and paws; brown for remaining head parts; dark brown lor slipper upper, black lor slipper sole. •Ciloss black enamel for nose. * 15 mm glass eyes are available from; Van Dyke's. 4th and 6th St, P.O. Box 278, Woonsocket. SD 57385: tel. (605) 796-4425. Specify type I eye. 15mm. brown, no wire. ** Acrylic paints used lor ilns project arc Ceramcoat by Delia Technical Coatings. For a dealer near y ou contact: Delta Technical Coalings. 2550 Pcllissier Place, Whitrier. CA 90601; tel. (213) 686-0678. Gloss black enamel for nose is available at your local hardw are store. The Woodworker'-. Journal |


