Woodworker's Journal 1994-18-5, страница 45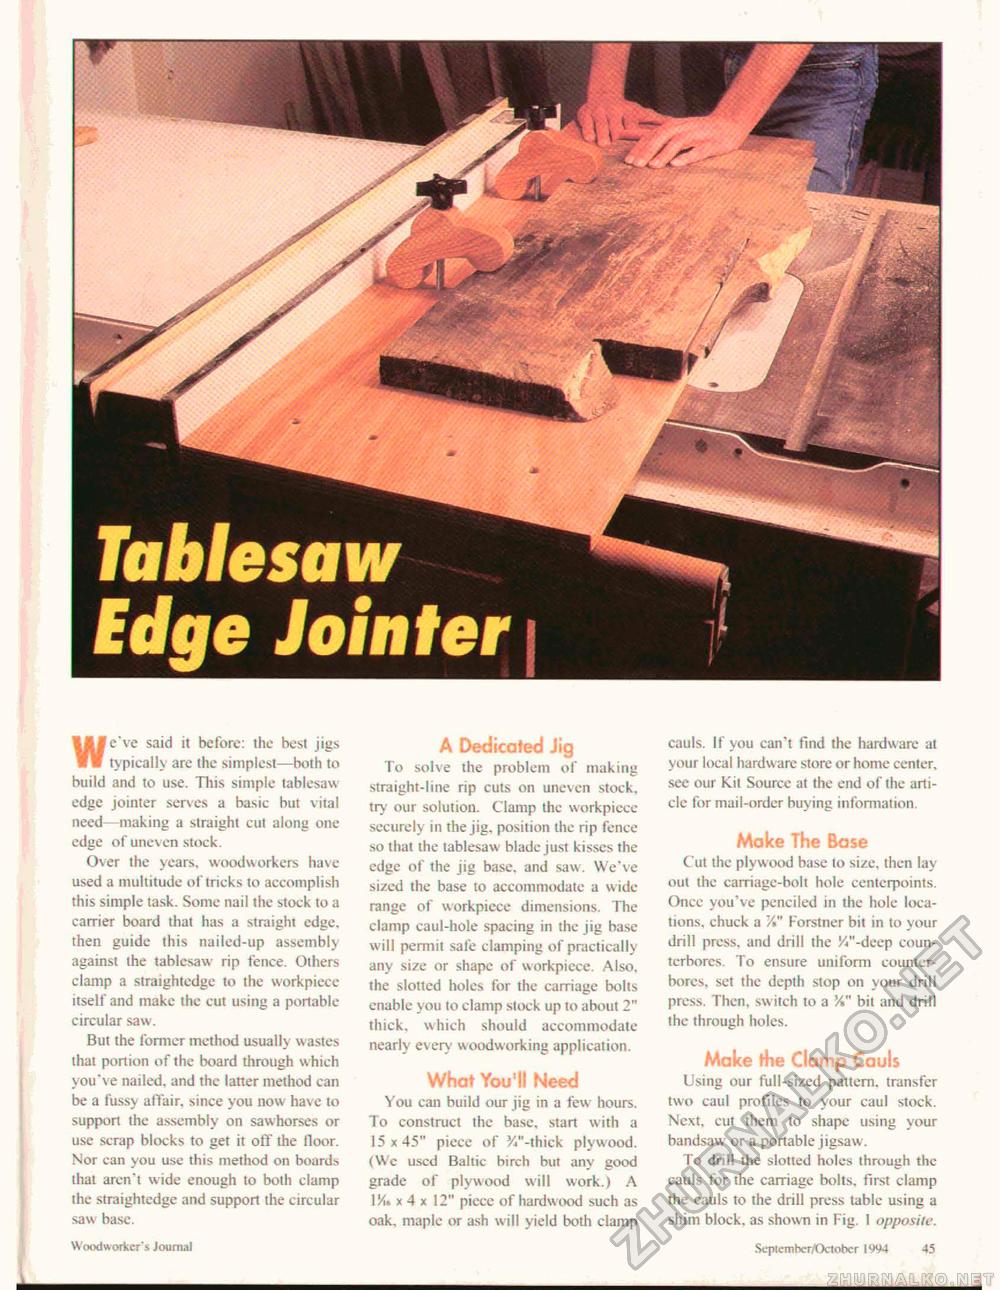
TablesawEdge JointerWe've said it before: the best jigs typically are the simplest—both to build and to use. This simple tablesaw edge jointer serves a basic but vital need—making a straight cut along one edge of uneven stock. er the years, woodworkers have used a multitude of tricks to accomplish this simple task. Some nail the stock to a carrier board that has a straight edge, then guide this nailed-up assembly against the tablesaw rip fence. Others clamp a straightedge to the workpiece itself and make the cut using a portable circular saw. But the former method usually w astes that portion of the board through which you've nailed, and the latter method can be a fussy alfair. since you now have to support the assembly on sawhorses or use scrap blocks to get it off the floor. Nor can you use this method on boards that aren't wide enough to both clamp the straightedge and support the circular S3w: base. A Dedicated Jig To solve the problem of making straight-line rip cuts on uneven stock, try our solution. Clamp the workpiece securely in the jig, position the rip fence so that the tablesaw blade just kisses the edge of the jig base, and saw. We've sized the base to accommodate a w ide range of workpiece dimensions. The clamp caul-hole spacing in the jig base will permit safe clamping of practically any size or shape of workpiece. Also, the slotted holes for the carriage bolts enable you to clamp stock up to about 2" thick, which should accommodate nearly every woodworking application. What You'll Need You can build our jig in a few hours. To construct the base, start with a 15x45" piece of 3//'-thick plywood. (We used Baltic birch but any good grade of plywood will work.) A IXx4x 12" piece of hardw ood such as oak, maple or ash will yield both clamp cauls. If you can't find the hardware at your local hardw are store or home center, see our Kit Source at the end of the article for mail-order buying information. Make The Base Cut the plywood base to size, then lay out the carriage-bolt hole centerpoints. Once you've penciled in the hole locations, chuck a V*" Forstner bit in to your drill press, and drill the W'-deep coun-terborcs. To ensure uniform counter-bores, set the depth stop on your drill press. Then, switch to a J4" bit and drill the through holes. Make the Clamp Cauls Using our full-sized pattern, transfer two caul profiles to your caul stock. Next, cut them to shape using your bandsaw or a portable jigsaw . To drill the slotted holes through the cauls for the carriage bolts, first clamp the cauls to the drill press table using a shim block, as shown in Fig. 1 opposite. Woodworker" < Journal September/October 1904 45 |


