Woodworker's Journal 2001-25-2, страница 50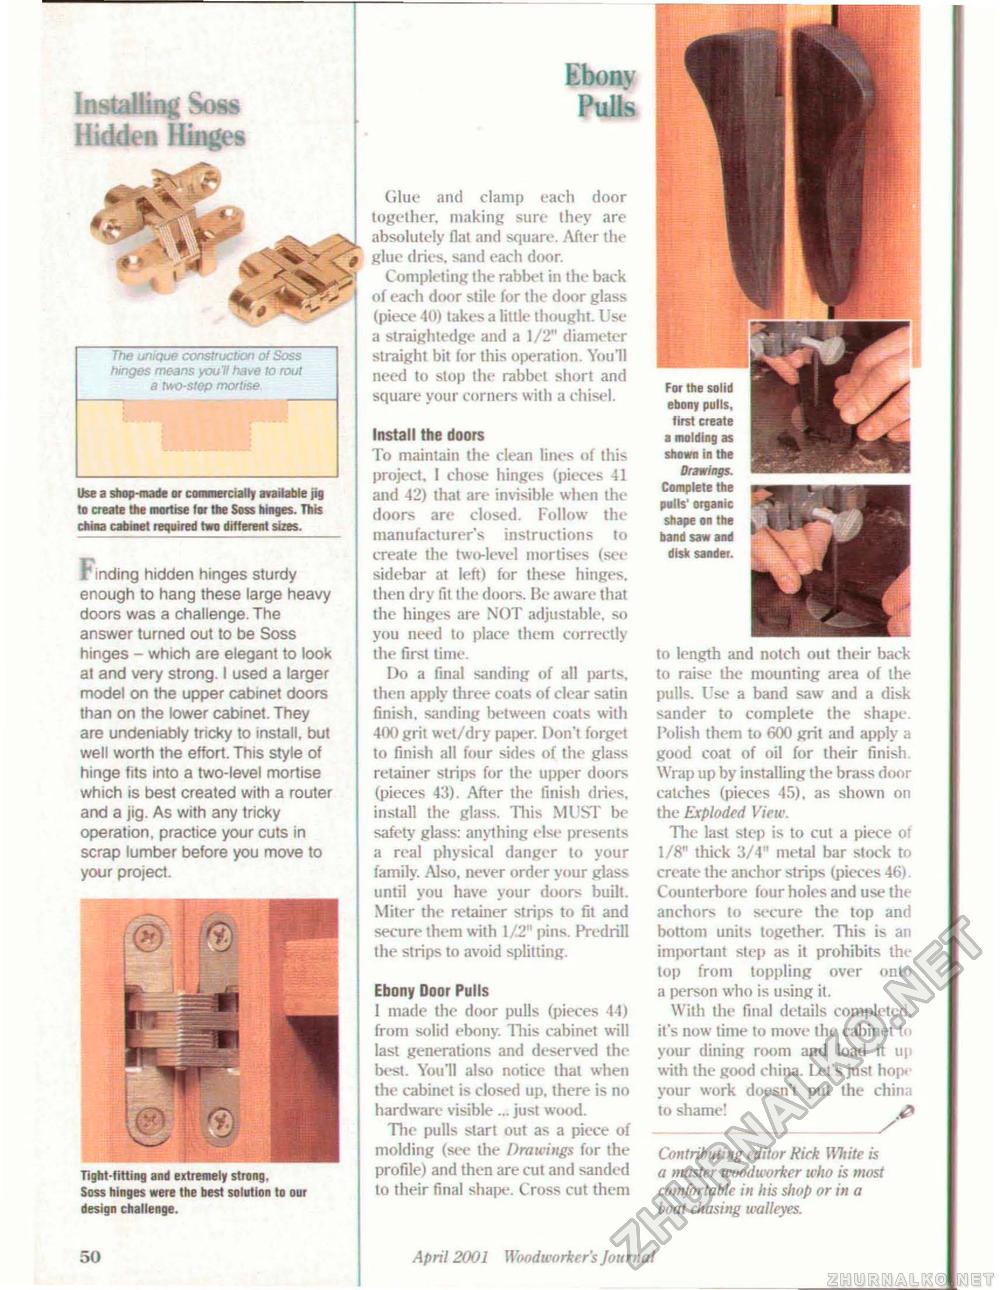
Installing Soss Hidden Hinges Ebonv Pulls The unique construction ot Soss hinges means you'll have to rout a two-step mortise Use a shop-made or commercially available fig to create the mortise lar the Soss hinges. This china cabinet required two ditlerent sizes. Finding hidden hinges sturdy enough to hang these large heavy doors was a challenge. The answer turned out to be Soss hinges - which are elegant to look at and very strong. I used a larger model on the upper cabinet doors than on the lower cabinet. They are undeniably tricky to install, but well worth the effort. This style of hinge fits into a two-level mortise which is best created with a router and a jig. As with any tricky operation, practice your cuts in scrap lumber before you move to your project. Tight-fitting and extremely strong. Soss hinges were the best solutinn to our design challenge. Glue and clamp each door together, making sure they are absolutely flat and square. After the glue dries, sand each door. Completing the rabbet in the back of each door stile for the door glass (piece 40) takes a little thought Use a straightedge and a 1/2" diameter straight bit for this operation. YouH need to stop the rabbet short and square your corners with a chisel. Install the doors To maintain the clean lines of this project I chose hinges (pieces 41 and 42) that are invisible when the doors are closed. Follow the manufacturer's instructions to create the two-level mortises (set-sidebar at left) for these hinges, then dry fit the doors. Be aware that the hinges are NOT adjustable, so you need to place them correctly the first time. Do a final sanding of all parts, then apply three coals of clear satin finish, sanding between coats with 400 grit wet/dry paper. Don't forget to finish all four sides of the glass retainer strips for the upper doors (pieces 43). After the finish dries, install the glass. This MUST be safety glass: anything else presents a real physical danger to your family. Also, never order your glass until you have your doors built. Miter the retainer strips to fit and secure them with 1/2" pins. Predrill the strips to avoid splitting. Ebony Door Pulls 1 made the door pulls (pieces 44) from solid ebony. This cabinet will lasi generations and deserved the best. You'll also notice thai when the cabinet is closed up, there is no hardware visible ... just wood. The pulls start out as a piece of molding (see the Drawings for the profile) and then are cut and sanded to their final shape. Cross cut them to length and notch out their back to raise the mounting area of the pulls. Use a band saw and a disk sander to complete the shape. Polish them to 600 grit and apply a good coat of oil for their finish. Wrap up by installing the brass door catches (pieces 45), as shown on the Exploded View. The last step is to cul a piece of 1/8" thick 3/4" metal bar stock to create the anchor strips (pieces 46). Counterbore four holes and use the anchors to secure the top and bottom units together. This is an imjjortant step as it prohibits the top from toppling over onto a person who is using it. With the final details completed, it's now time to move the cabinet to your dining room and load it up with the good china. Let's just hope your work doesn't put the china to shame! ^ Contributing editor Rick White is a master woodworker who is most comfortable in Itis shop or in a boat chasing walleyes. For the solid ebony pulls, first create a molding as shown in the Drawings. Complete the pulls' organic shape on the band saw and disk sander. 50 April 2001 Woodworker's Journal |


