Woodworker's Journal 2004-28-4, страница 34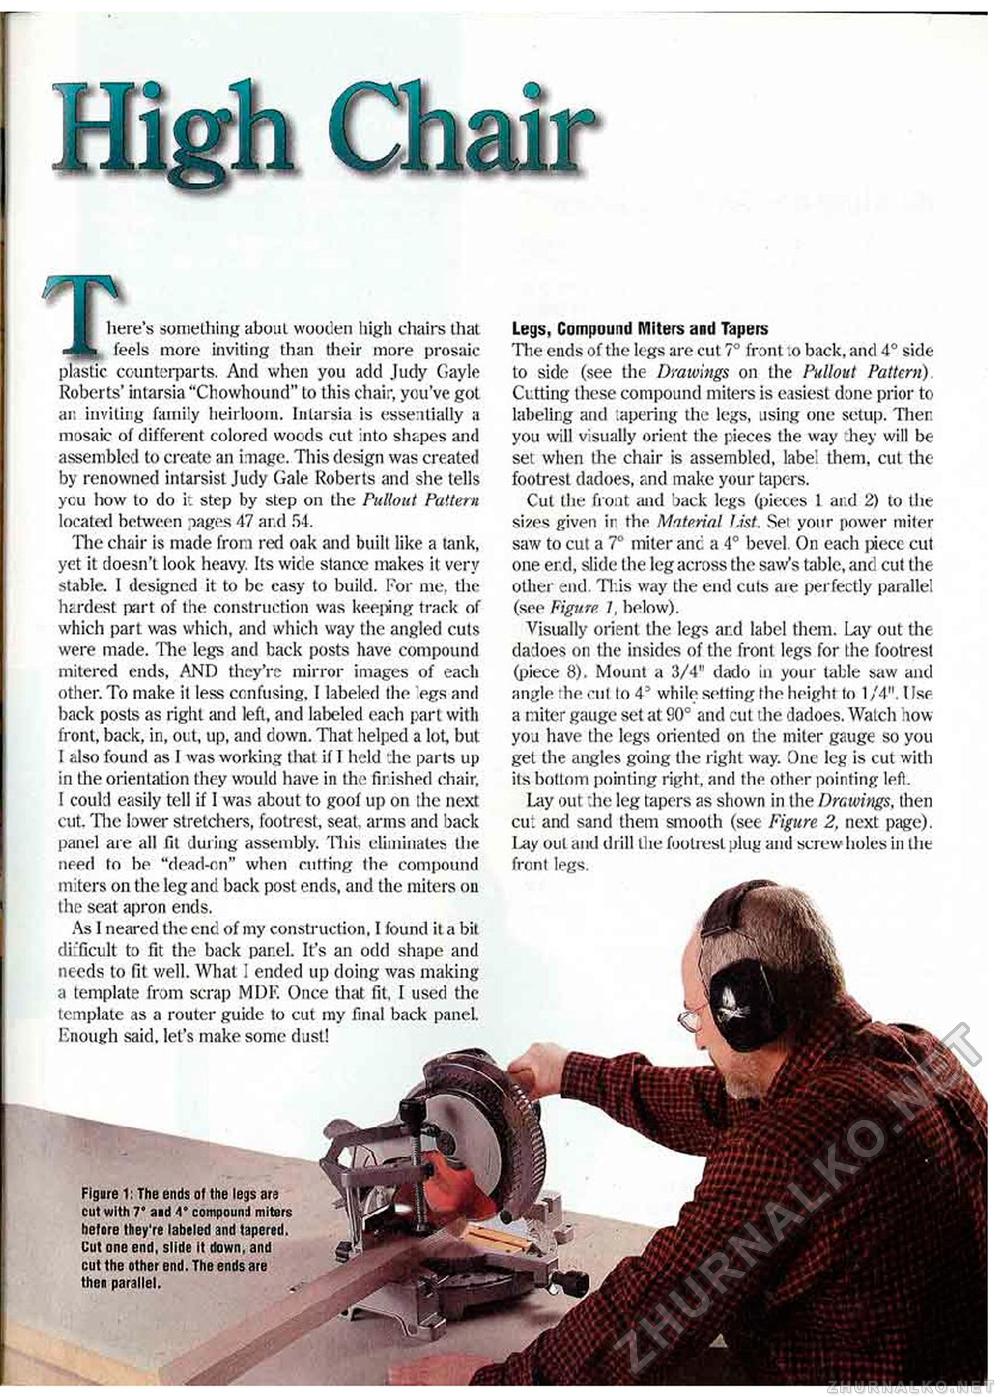
High ChairFigure 1: The ends of the legs ars cut with 7* aid 4* compound miters before they're labeled and tapered. Cut one end, slide it down, and cut the other end. The ends are then parallel. here's something about wooden high chairs that ^Plu feels more inviting than their more prosaic plastic counterparts. And when you add Judy Gayle Roberts' intarsia "Chowhound" lo this chair, you've got an inviting family heirloom. Intarsia is essentially a mosaic of different colored woods cut into shapes and assembled to create an image. This design was created by renowned intarsist Judy Gale Roberts and she tells ycu how to do k step by step on the Pultout Pattern located between pages 47 ar.d 54. The chair is made from red oak and built like a tank, yet it doesn't look heavy. Its wide stance makes it very stable. I designed it to be easy to build. For me, the hardest part of the construction was keeping track of which part was which, and which way the angled cuts were made. The legs and back posts have compound mitered ends, AND they're mirror images of each other. To make it less confusing, I labeled the egs and back posts as right and left, and labeled each part with front, back, in, out, up, and down. That helped a lot, but I also found as I was working tliat if I held ;he parts up in the orientation they would have in the finished chair, I could easily tell if I was about to goof up on the next cut. The lower stretchers, footrest, seal, arms and back panel are all fit during assembly. This eliminates the need to he "dead-cn" when cutting the compound miters on the leg and back post ends, and the miters on the seat apron ends. As 1 neared the end of my construction, I found it a bit difficult to fit the back panel. It's an odd shape and needs to fit well. What I ended up doing was making a template from scrap MDF. Once that fit, I used the template as a router guide to cut my final back panel. Enough said, let's make some dust! Legs, Compound Miters and Tapers The ends of the legs are cut 7° front o back, and 4° side-to side (see the Drawings on the Pullout Pattern) Cutting these compound miters is easiest done prior to labeling and ;apering the legs, using one setup. Ther. you will visually orient the pieces the way hey will be set when the chair is assembled, label them, cut the footrest dadoes, and make your tapers. Cut the front and 'jack legs (pieces 1 aild to llie sizes given ir the Mn.tp.rial JJst. Set your power miter saw to cut a 7° miter anc a 4° bevel On each ])iecc cut one erd. slide the leg across the saw's table, and cut the other end. This way the end cuts are perfectly parallel (see Figure I, below). Visually orient the legs ar.d label them. Lay out the dadoes on the insides of the front legs for the footrest (piece 8). Mount a 3/4" dado in your table saw and angle the cut lo 43 while setting the height to 1/4". I Ise a miter gauge set at 90° and cut the dadoes. Watch how you have the legs oriented on the miter gauge so you get the angles going the right way. One leg is cut with its bottom pointing right, and the other pointing left. Lay out .he leg tapers as shown in the Drawings, then cut and sand them smooth (see Figure 2. next page). I>ay out and drill the footrest plug and screw holes in the front legs. |


