Woodworker's Journal 2004-28-6, страница 14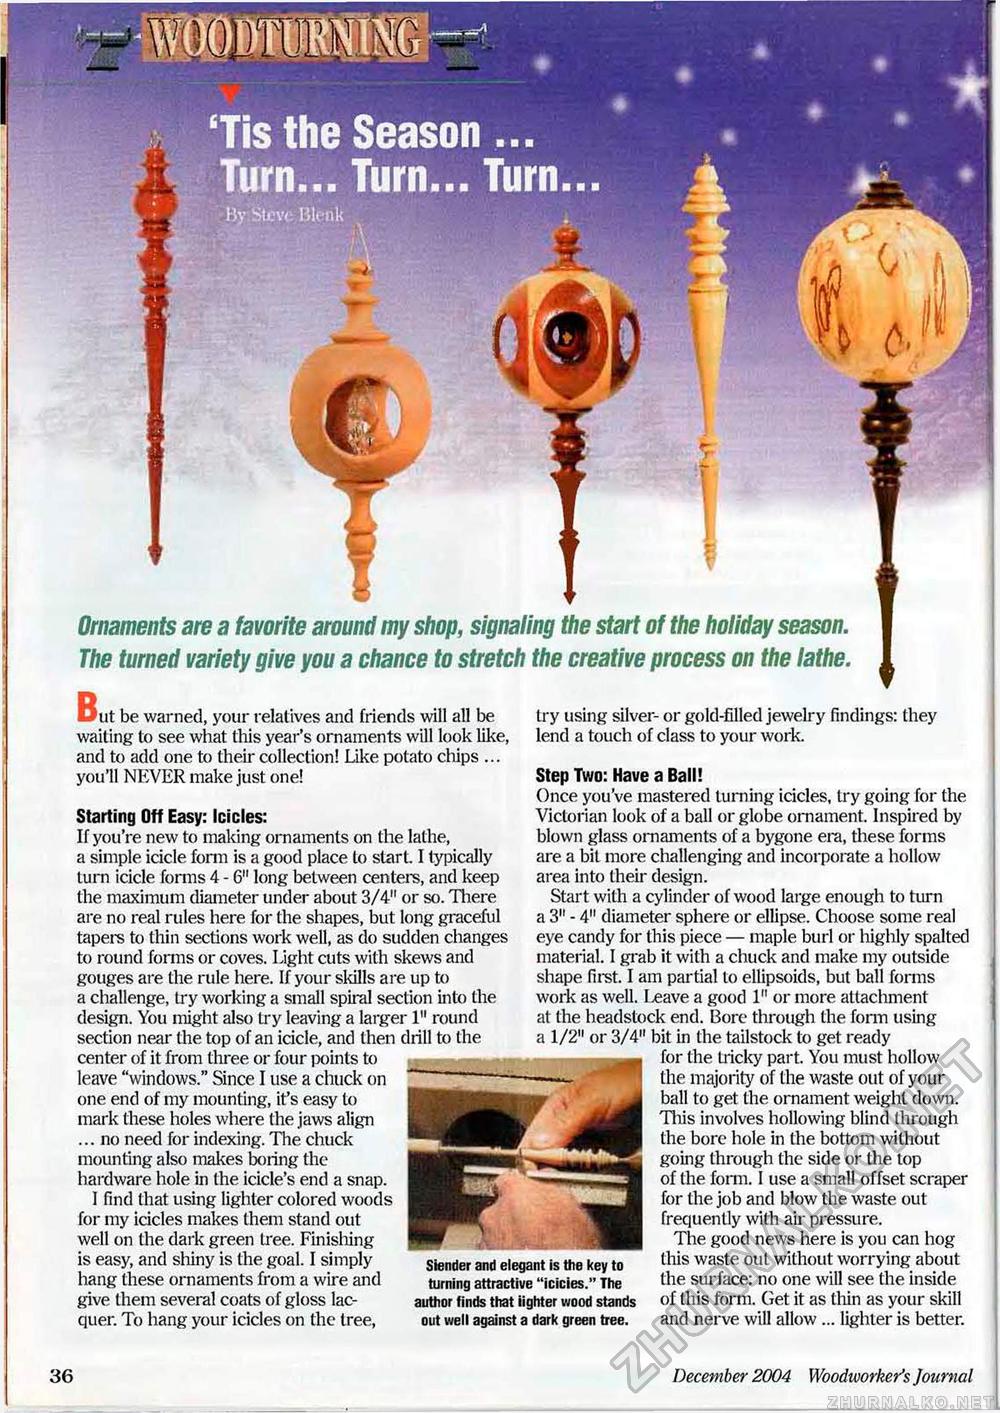
Ornaments are a favorite around my shop, signaling the start of the holiday season. The turned variety give you a chance to stretch the creative process on the lathe. ut be warned, your relatives and friends will all be waiting to see what this year's ornaments will look like, and to add one to their collection! Like potato chips ... you'll NEVER make just one! Starting Off Easy: Icicles: If you're new to making ornaments on the lathe, a simple icicle form is a good place to start. I typically turn icicle forms 4 - 6" long between centers, and keep the maximum diameter under about 3/4" or so. There are no real rules here for the shapes, but long graceful tapers to thin sections work well, as do sudden changes to round forms or coves. Light cuts with skews and gouges are the rule here. If your skills are up to a challenge, try working a small spiral section into the design. You might also try leaving a larger 1" round section near the top of an icicle, and then chill to the center of it from three or four ix>ints to leave "windows." Since I use a chuck on one end of my mounting, it's easy to mark these holes where the jaws align ... no need for indexing. The chuck mounting also makes boring the hardware hole in the icicle's end a snap. I find that using lighter colored woods for my icicles makes them stand out well on the dark green tree. Finisliing is easy, and shiny is the goal. I simply hang these ornaments from a wire and give them several coats of gloss lacquer. To hang your icicles on the tree, Siender and elegant is the key to turning attractive "icicies." The author finds that lighter wood stands out well against a dark green tree. try using silver- or gold-filled jewelry findings: they lend a touch of class to your work. Step Two: Have a Ball! Once you've mastered turning icicles, try going for the Victorian look of a ball or globe ornament. Inspired by blown glass ornaments of a bygone em, these forms are a bit more challenging and incorporate a hollow area into their design. Start with a cylinder of wood large enough to turn a 3" - 4" diameter sphere or ellipse. Choose some real eye candy for this piece — maple burl or highly spalted material. I grab it with a chuck and make my outside shape first. I am partial to ellipsoids, but ball forms work as well. Leave a good 1" or more attachment at the headstock end. Bore through the form using a 1/2" or 3/4" bit in the tailstock to get ready for the tricky part. You must hollow the majority of the waste out of your ball to get the ornament weight clown. This involves hollowing blind through the bore hole in the bottom without going through the side or the top of the form. I use a small offset scraper for the job and blow the waste out frequently with air pressure. The good news here is you can hog this waste out without worrying about the surface: no one will see the inside of this form. Get it as thin as your skill and nerve will allow ... lighter is better. 36 December 2004 Woodworker's Journal |


