Woodworker's Journal 2004-28-6, страница 27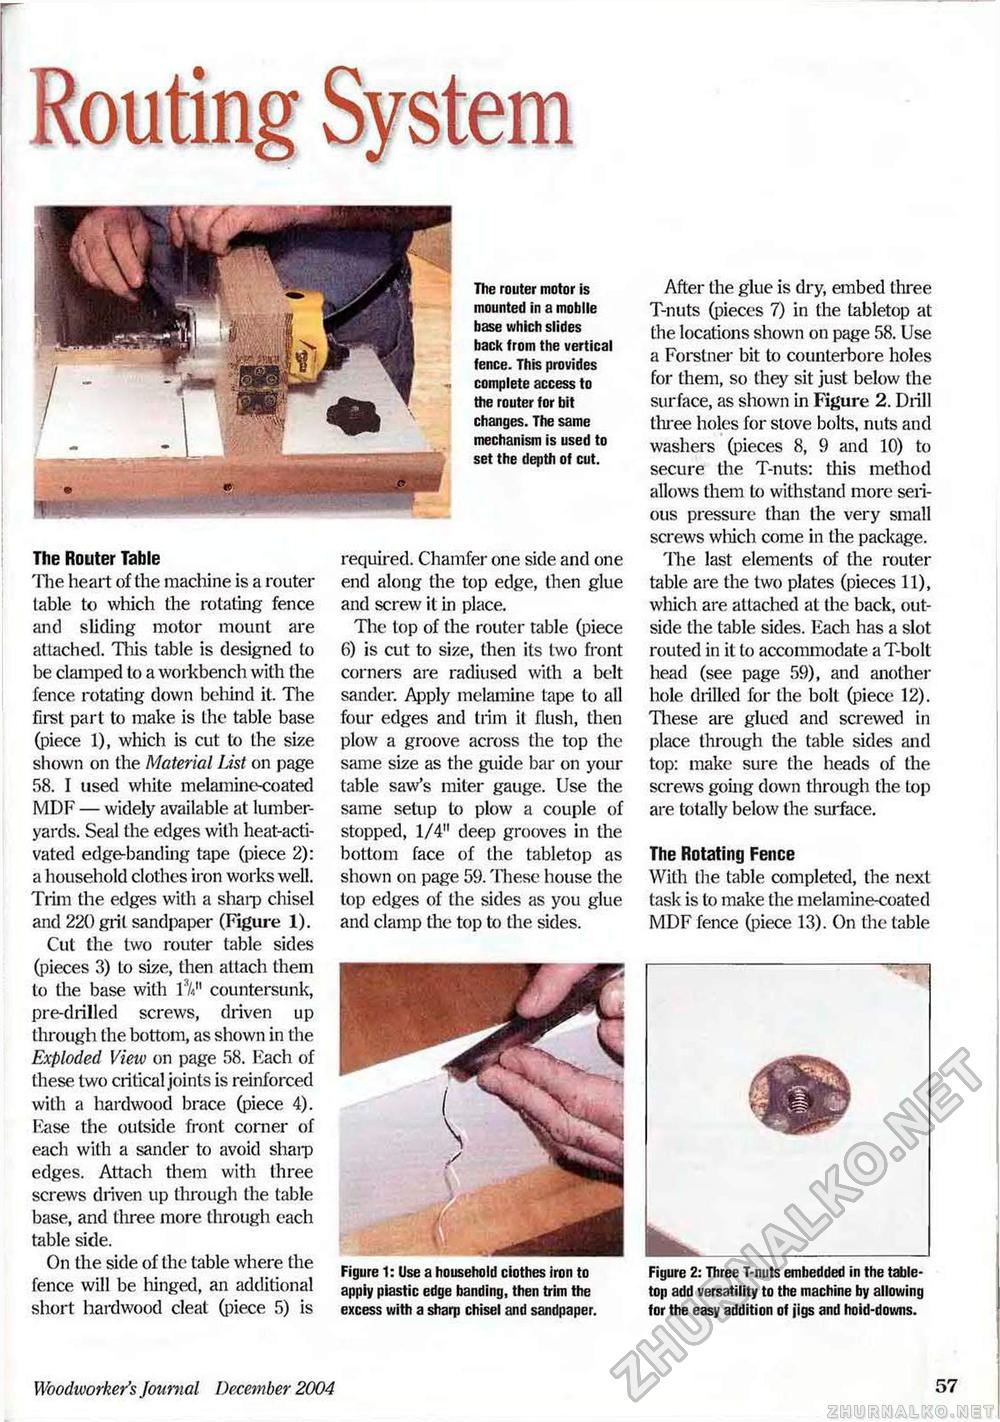
Routing SystemThe router motor is mounted in a mobile base which slides back from the vertical fence. This provides complete access to the router for bit changes. The same mechanism is used to set the depth of cut. •4 fpP - r The Router Table The heart of the machine is a router table to which the rotating fence and sliding motor mount are attached. This table is designed to be clamped to a workbench with the fence rotating down behind it. The first part to make is the table base (piece 1), which is cut to the size shown on the Material List on page 58. I used white melamine-coated MDF — widely available at lumberyards. Seal the edges with heat-activated edge-banding tape (piece 2): a household clothes iron works well. Trim the edges with a shaip chisel and 220 grit sandpaper (Figure 1). Cut the two router table sides (pieces 3) to size, then attach them to the base with l7«n countersunk, pre-drilled screws, driven up through the bottom, as shown in the Exploded View on page 58. Each of these two critical joints is reinforced with a hardwood brace (piece 4). Kase the outside front corner of each with a sander to avoid shaip edges. Attach them with three screws driven up through the table base, and three more through each table side. On the side of the table where the fence will be hinged, an additional short hardwood cleat (piece 5) is required. Chamfer one side and one end along the top edge, then glue and screw it in place. The top of the router table (piece 6) is cut to size, then its two front corners are radiused with a belt sander. Apply melamine tape to all four edges and trim it flush, then plow a groove across the top the same size as the guide bar on your table saw's miter gauge. Use the same setup to plow a couple of stopped, 1/4" deep grooves in the bottom face of the tabletop as shown on page 59. These house the top edges of the sides as you glue and clamp the top to the sides. After the glue is dry, embed three T-nuts (pieces 7) in the tabletop at the locations shown on page 58. Use a Forstner bit to counterbore holes for them, so they sit just below the surface, as shown in Figure 2. Drill three holes for stove bolts, nuts and washers (pieces 8, 9 and 10) to secure the T-nuts: this method allows them to withstand more serious pressure than the very small screws which come in the package. Hie last elements of the router table are the two plates (pieces 11), which are attached at the back, outside the table sides. Each has a slot routed in it to accommodate a T-bolt head (see page 59), and another hole drilled for the bolt (piece 12). These are glued and screwed in place through the table sides and top: make sure the heads of the screws going down through the top are totally below the surface. The Rotating Fence With the table completed, the next task is to make the melamine-coated MDF fence (piece 13). On the table Figure 1: Use a household ciothes iron to appiy plastic edge banding, then trim the excess with a sharp chisel and sandpaper. Figure 2: Three T-nuts embedded in the table-top add versatility to the machine by allowing for the easy addition of jigs and hoid-downs. Woodworker's Journal Decernber 2004 57 |


