Woodworker's Journal 2004-28-6, страница 30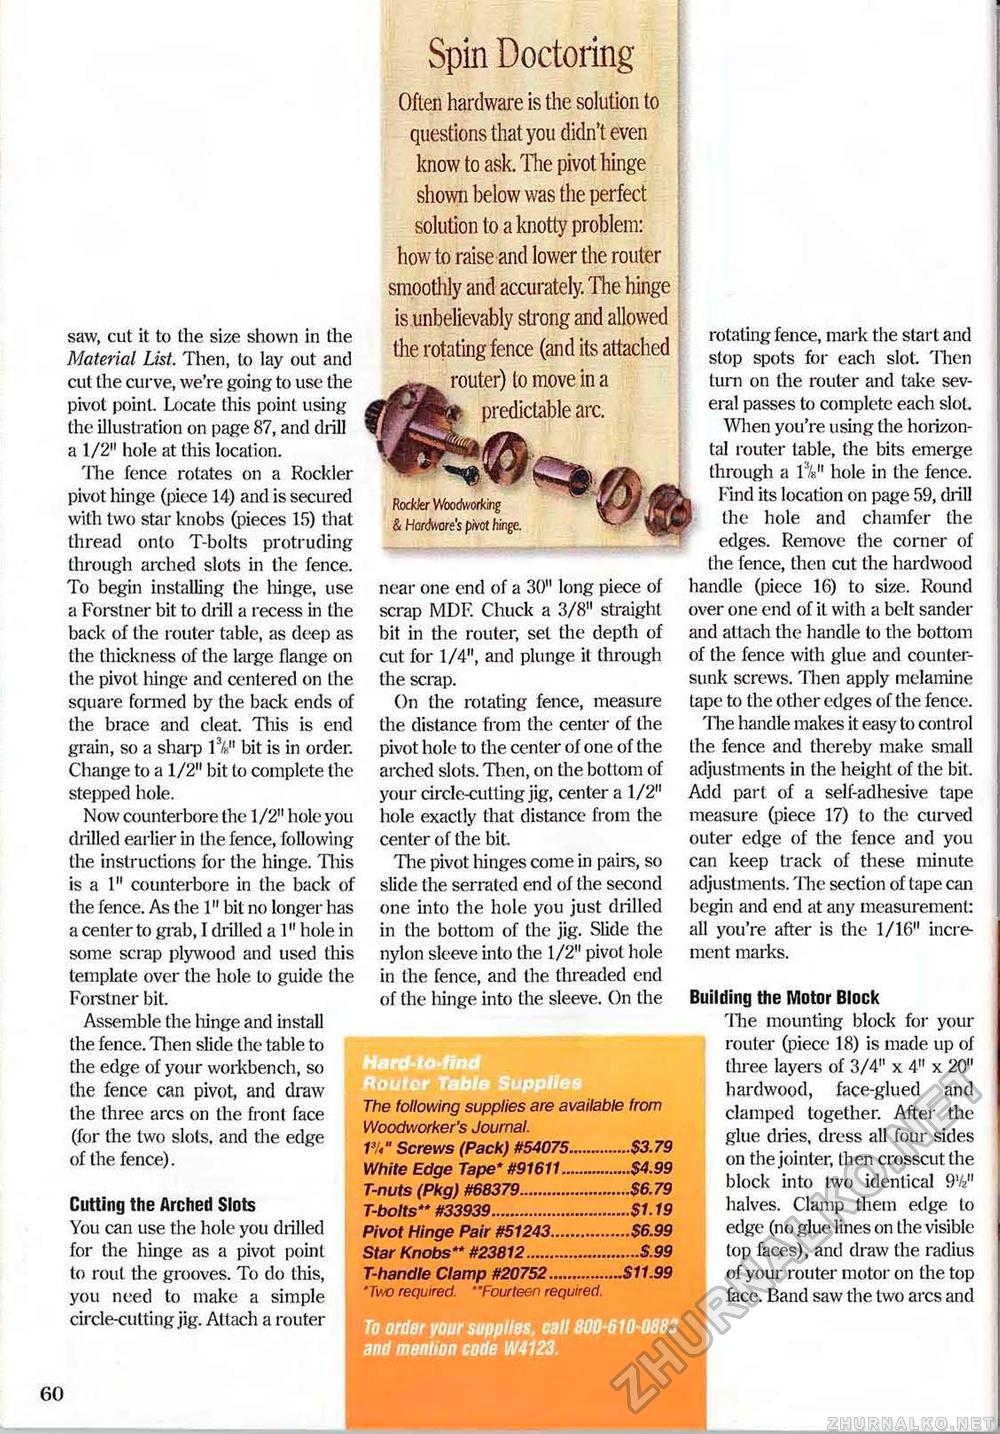
saw, cut it to the size shown in the Material List. Then, to lay out and cut the curve, we're going to use the pivot point. Locate this point using the illustration on page 87, and chill a 1/2" hole at this location. The fence rotates on a Rockier pivot hinge (piece 14) and is secured with two star knobs (pieces 15) that thread onto T-bolts protruding through arched slots in the fence. To begin installing the hinge, use a Forstner bit to drill a recess in the back of the router table, as deep as the thickness of the large flange on the pivot hinge and centered on the square formed by the back ends of the brace and cleat. This is end grain, so a shaip l3/«" bit is in order. Change to a 1/2" bit to complete the stepped hole. Now counterbore the 1/2" hole you drilled earlier in the fence, following the instructions for the hinge. This is a 1" counterbore in the back of the fence. As the 1" bit no longer has a center to grab, I drilled a 1" hole in some scrap plywood and used this template over the hole to guide the Forstner bit. Assemble the hinge and install the fence. Then slide the table to the edge of your workbench, so the fence can pivot, and draw the three arcs on the front face (for the two slots, and the edge of the fence). Cutting the Arched Slots You can use the hole you drilled for the hinge as a pivot point to rout the grooves. To do this, you need to make a simple circle-cutting jig. Attach a router Spin Doctoring Often hardware is the solution to questions that you didn't even know to ask. The pivot hinge shown below was the perfect solution to a knotty problem: how to raise and lower the router smoothly and accurately. The hinge is unbelievably strong and allowed Hie rotating fence (and its attached router) to move in a predictable arc. ^wmrni » Rockier Woodworking & Hardware's pivot hinge. near one end of a 30" long piece of scrap MDF. Chuck a 3/8" straight bit in the router, set the depth of cut for 1/4", and plunge it through the scrap. On the rotating fence, measure the distance from the center of the pivot hole to the center of one of the arched slots. Then, on the bottom of your circle-cutting jig, center a 1/2" hole exactly that distance from the center of the bit. The pivot hinges come in pairs, so slide the serrated end of the second one into the hole you just drilled in the bottom of the jig. Slide the nylon sleeve into the 1/2" pivot hole in the fence, and the threaded end of the hinge into the sleeve. On the The following supplies are available from Woodworker's Journal. VU" Screws (Pack) #54075..............$3.79 White Edge Tape* #91611................$4.99 T-nuts (Pkg) #68379........................$6.79 T-bolts** #33939..............................$1.19 Pivot Hinge Pair #51243................$6.99 Star Knobs** #23812........................$.99 T-handle Clamp #20752................$11.99 'Two required. '''Fourteen required. rotating fence, mark the start and stop spots for each slot. Then turn on the router and take several passes to complete each slot. When you're using the horizontal router table, the bits emerge through a lV' hole in the fence. Find its location on page 59, drill the hole and chamfer the edges. Remove the corner of the fence, then cut the hardwood handle (piece 16) to size. Round over one end of it with a belt sander and attach the handle to the bottom of the fence with glue and countersunk screws. Then apply melamine tape to the other edges of the fence. The handle makes it easy to control the fence and thereby make small adjustments in the height of the bit. Add part of a self-adhesive tape measure (piece 17) to the curved outer edge of the fence and you can keep track of these minute adjustments. The section of tape can begin and end at any measurement: all you're after is the 1/16" increment marks. Building the Motor Block rI1ie mounting block for your router (piece 18) is made up of three layers of 3/4" x 4" x 20" hardwood, face-glued and clamped together. After the glue dries, dress all four sides on the jointer, then crosscut the block into two identical 9V2" halves. Clamp them edge to edge (no glue lines on the visible top faces), and draw the radius of your router motor on the top face. Band saw the two arcs and 60 |


