Woodworker's Journal 2004-Winter, страница 47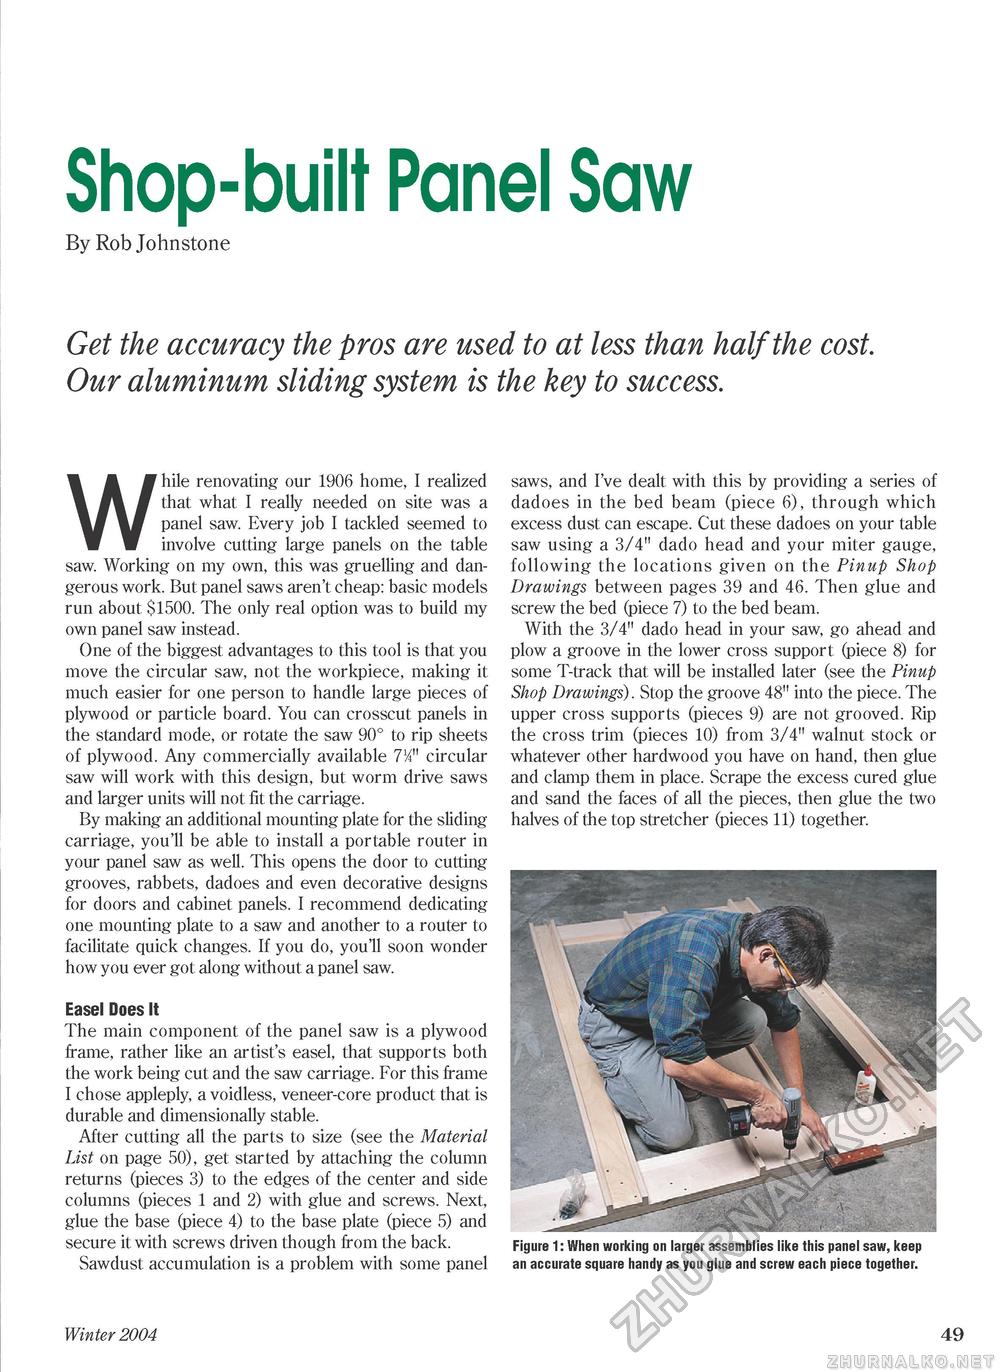
Shop-built Panel SawBy Rob Johnstone Get the accuracy the pros are used to at less than half the cost. Our aluminum sliding system is the key to success.While renovating our 1906 home, I realized that what I really needed on site was a panel saw. Every job I tackled seemed to involve cutting large panels on the table saw. Working on my own, this was gruelling and dangerous work. But panel saws aren't cheap: basic models run about $1500. The only real option was to build my own panel saw instead. One of the biggest advantages to this tool is that you move the circular saw, not the workpiece, making it much easier for one person to handle large pieces of plywood or particle board. You can crosscut panels in the standard mode, or rotate the saw 90° to rip sheets of plywood. Any commercially available 7/4" circular saw will work with this design, but worm drive saws and larger units will not fit the carriage. By making an additional mounting plate for the sliding carriage, you'll be able to install a portable router in your panel saw as well. This opens the door to cutting grooves, rabbets, dadoes and even decorative designs for doors and cabinet panels. I recommend dedicating one mounting plate to a saw and another to a router to facilitate quick changes. If you do, you'll soon wonder how you ever got along without a panel saw. Easel Does It The main component of the panel saw is a plywood frame, rather like an artist's easel, that supports both the work being cut and the saw carriage. For this frame I chose appleply, a voidless, veneer-core product that is durable and dimensionally stable. After cutting all the parts to size (see the Material List on page 50), get started by attaching the column returns (pieces 3) to the edges of the center and side columns (pieces 1 and 2) with glue and screws. Next, glue the base (piece 4) to the base plate (piece 5) and secure it with screws driven though from the back. Sawdust accumulation is a problem with some panel Winter 2004 saws, and I've dealt with this by providing a series of dadoes in the bed beam (piece 6), through which excess dust can escape. Cut these dadoes on your table saw using a 3/4" dado head and your miter gauge, following the locations given on the Pinup Shop Drawings between pages 39 and 46. Then glue and screw the bed (piece 7) to the bed beam. With the 3/4" dado head in your saw, go ahead and plow a groove in the lower cross support (piece 8) for some T-track that will be installed later (see the Pinup Shop Drawings). Stop the groove 48" into the piece. The upper cross supports (pieces 9) are not grooved. Rip the cross trim (pieces 10) from 3/4" walnut stock or whatever other hardwood you have on hand, then glue and clamp them in place. Scrape the excess cured glue and sand the faces of all the pieces, then glue the two halves of the top stretcher (pieces 11) together. Figure 1: When working on larger assemblies like this panel saw, keep an accurate square handy as you glue and screw each piece together. 49 |


