Woodworker's Journal 2006-30-2, страница 48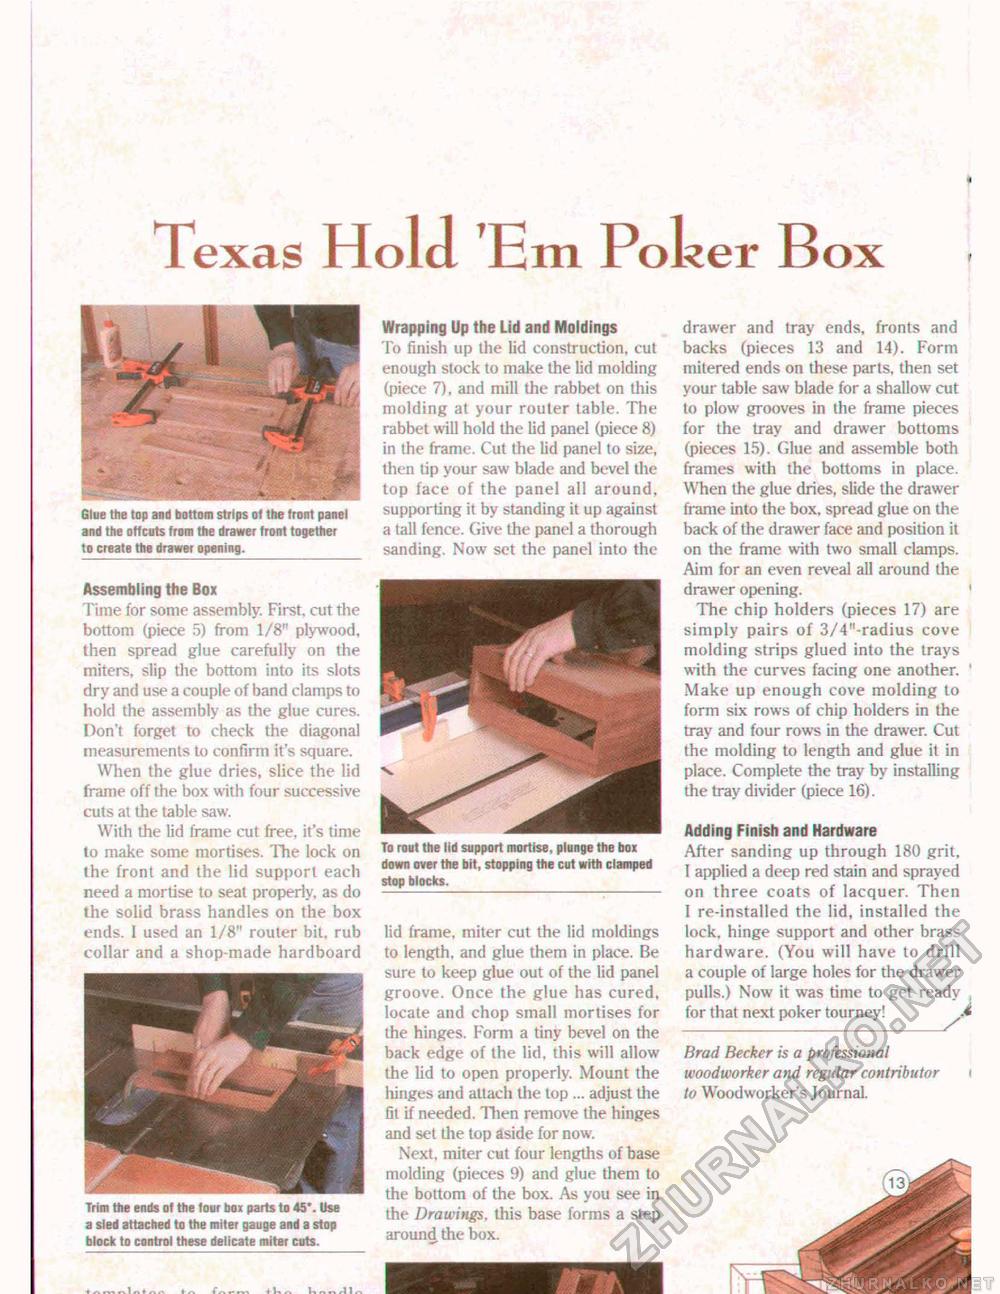
Texas Hold 'Em Poker Box Glue the top and bottom strips of the front panel and the offcuts from the drawer front together to create the drawer opening. Assembling the Box Time for some assembly. First, cut the bottom (piece 5) from 1/8" plywood, then spread glue carefully on the miters, slip the bottom into its slots dry and use a couple of band clamps to hold the assembly as the glue cures. Don't forget to check the diagonal measurements to confirm it's square. When the glue dries, slice the lid frame off the box with four successive cuts at the table saw. With the lid frame cut free, it's time to make some mortises. The lock on the front and the lid support each need a mortise to seal properly, as do the solid brass handles on the box ends. I used an 1/8" router bit, rub collar and a shop-made hardboard Trim the ends of the four box parts to 45*. Use a sled attached to the miter gauge and a stop block to control these delicate miter cuts. Wrapping Up the Lid and Moldings To finish up the lid construction, cut enough stock to make the lid molding (piece 7), and mill the rabbet on this molding at your router table. The rabbet will hold the lid panel (piece 8) in the frame. Cut the lid panel to size, then tip your saw blade and bevel the top face of the panel all around, supporting it by standing it up against a tall fence. Give the panel a thorough sanding. Now set the panel into the To rout the lid support mortise, plunge the box down over the bit, stopping the cut with clamped stop blocks. lid frame, miter cut the lid moldings to length, and glue them in place. Be sure to keep glue out of the lid panel groove. Once the glue has cured, locale and chop small mortises for the hinges. Form a tiny bevel on the back edge of the lid, this will allow the lid to open properly. Mount the hinges and attach the top ... adjust the fit if needed. Then remove the hinges and set the top aside for now. Next, miter cut four lengths of base molding (pieces 9) and glue them to the bottom of the box. As you see in the Drawings, this base forms a step around the box. drawer and tray ends, fronts and backs (pieces 13 and 14). Form mitered ends on these parts, then set your table saw blade for a shallow cut to plow grooves in the frame pieces for the tray and drawer bottoms (pieces 15). Glue and assemble both frames with the bottoms in place. When the glue dries, slide the drawer frame into the box, spread glue on the back of the drawer face and position it on the frame with two small clamps. Aim for an even reveal all around the drawer opening. The chip holders (pieces 17) are simply pairs of 3/4"-radius cove molding strips glued into the trays with the curves facing one another. Make up enough cove molding lo form six rows of chip holders in the tray and four rows in the drawer. Cut the molding to length and glue it in place. Complete the tray by installing the tray divider (piece 16). Adding Finish and Hardware After sanding up through 180 grit, I applied a deep red stain and sprayed on three coats of lacquer. Then I re-installed the lid, installed the lock, hinge support and other brass hardware. (You will have to drill a couple of large holes for the drawer pulls.) Now it was time to get ready for that next poker tourney!_^ Brad Becker is a professional woodworker and regular contributor to Woodworker's Journal. + A f\l nt + li A V» ni** «•! 1 «■ |


