Woodworker's Journal 2006-30-Winter, страница 30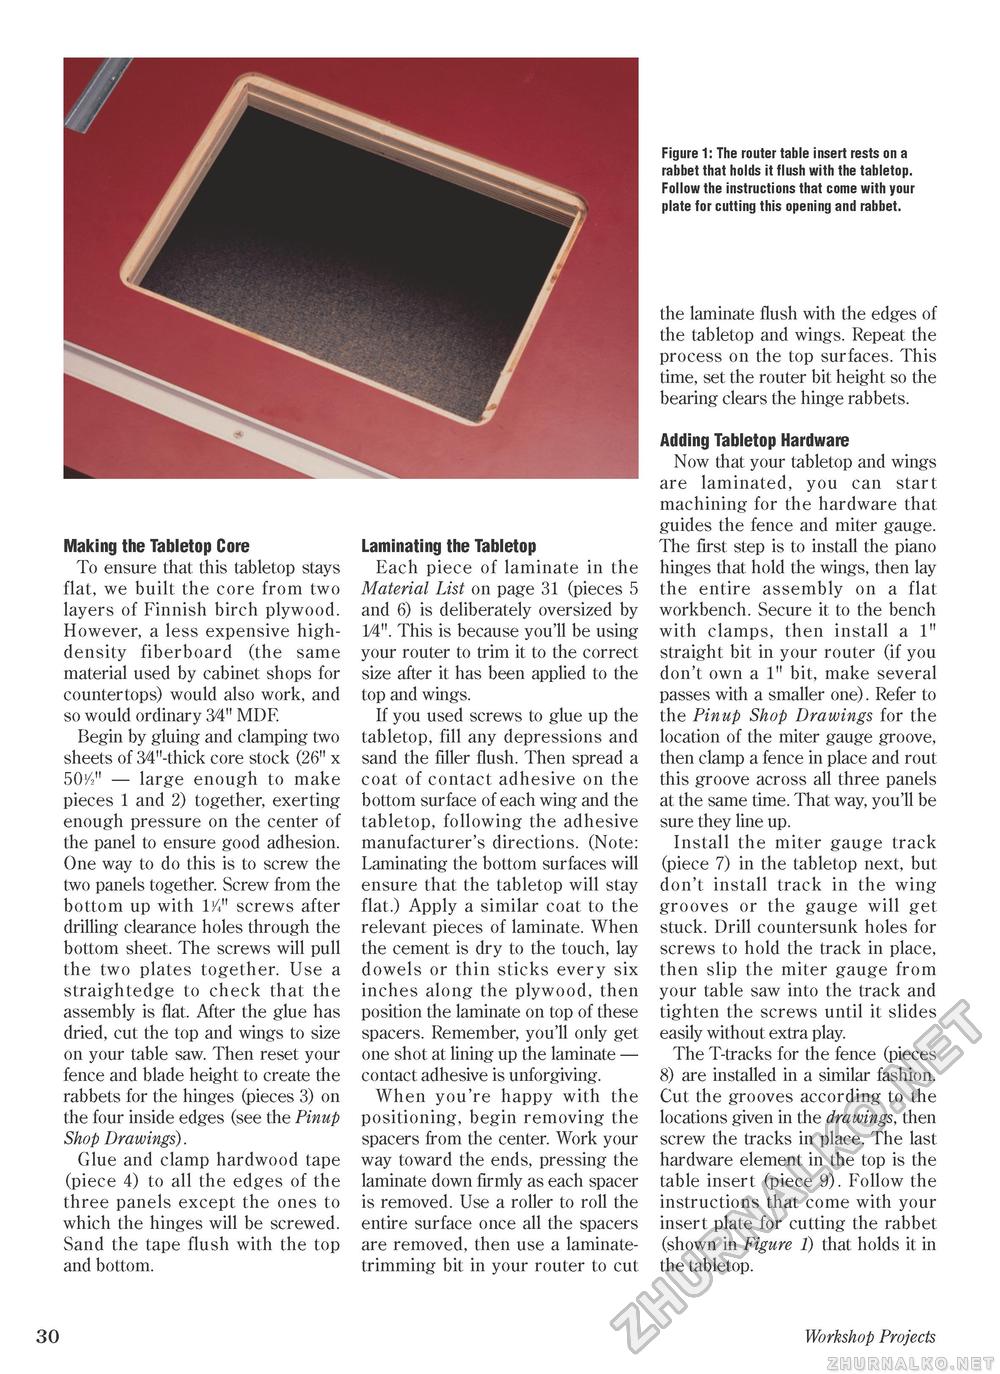
Making the Tabletop Core To ensure that this tabletop stays flat, we built the core from two layers of Finnish birch plywood. However, a less expensive high-density fiberboard (the same material used by cabinet shops for countertops) would also work, and so would ordinary 34" MDF. Begin by gluing and clamping two sheets of 34"-thick core stock (26" x 50/2" — large enough to make pieces 1 and 2) together, exerting enough pressure on the center of the panel to ensure good adhesion. One way to do this is to screw the two panels together. Screw from the bottom up with 11/4" screws after drilling clearance holes through the bottom sheet. The screws will pull the two plates together. Use a straightedge to check that the assembly is flat. After the glue has dried, cut the top and wings to size on your table saw. Then reset your fence and blade height to create the rabbets for the hinges (pieces 3) on the four inside edges (see the Pinup Shop Drawings). Glue and clamp hardwood tape (piece 4) to all the edges of the three panels except the ones to which the hinges will be screwed. Sand the tape flush with the top and bottom. Laminating the Tabletop Each piece of laminate in the Material List on page 31 (pieces 5 and 6) is deliberately oversized by 14". This is because you'll be using your router to trim it to the correct size after it has been applied to the top and wings. If you used screws to glue up the tabletop, fill any depressions and sand the filler flush. Then spread a coat of contact adhesive on the bottom surface of each wing and the tabletop, following the adhesive manufacturer's directions. (Note: Laminating the bottom surfaces will ensure that the tabletop will stay flat.) Apply a similar coat to the relevant pieces of laminate. When the cement is dry to the touch, lay dowels or thin sticks every six inches along the plywood, then position the laminate on top of these spacers. Remember, you'll only get one shot at lining up the laminate — contact adhesive is unforgiving. When you're happy with the positioning, begin removing the spacers from the center. Work your way toward the ends, pressing the laminate down firmly as each spacer is removed. Use a roller to roll the entire surface once all the spacers are removed, then use a laminate-trimming bit in your router to cut Figure 1: The router table insert rests on a rabbet that holds it flush with the tabletop. Follow the instructions that come with your plate for cutting this opening and rabbet. the laminate flush with the edges of the tabletop and wings. Repeat the process on the top surfaces. This time, set the router bit height so the bearing clears the hinge rabbets. Adding Tabletop Hardware Now that your tabletop and wings are laminated, you can start machining for the hardware that guides the fence and miter gauge. The first step is to install the piano hinges that hold the wings, then lay the entire assembly on a flat workbench. Secure it to the bench with clamps, then install a 1" straight bit in your router (if you don't own a 1" bit, make several passes with a smaller one). Refer to the Pinup Shop Drawings for the location of the miter gauge groove, then clamp a fence in place and rout this groove across all three panels at the same time. That way, you'll be sure they line up. Install the miter gauge track (piece 7) in the tabletop next, but don't install track in the wing grooves or the gauge will get stuck. Drill countersunk holes for screws to hold the track in place, then slip the miter gauge from your table saw into the track and tighten the screws until it slides easily without extra play. The T-tracks for the fence (pieces 8) are installed in a similar fashion. Cut the grooves according to the locations given in the drawings, then screw the tracks in place. The last hardware element in the top is the table insert (piece 9). Follow the instructions that come with your insert plate for cutting the rabbet (shown in Figure 1) that holds it in the tabletop. 30 Workshop Projects |


