Woodworker's Journal 2006-30-Winter, страница 33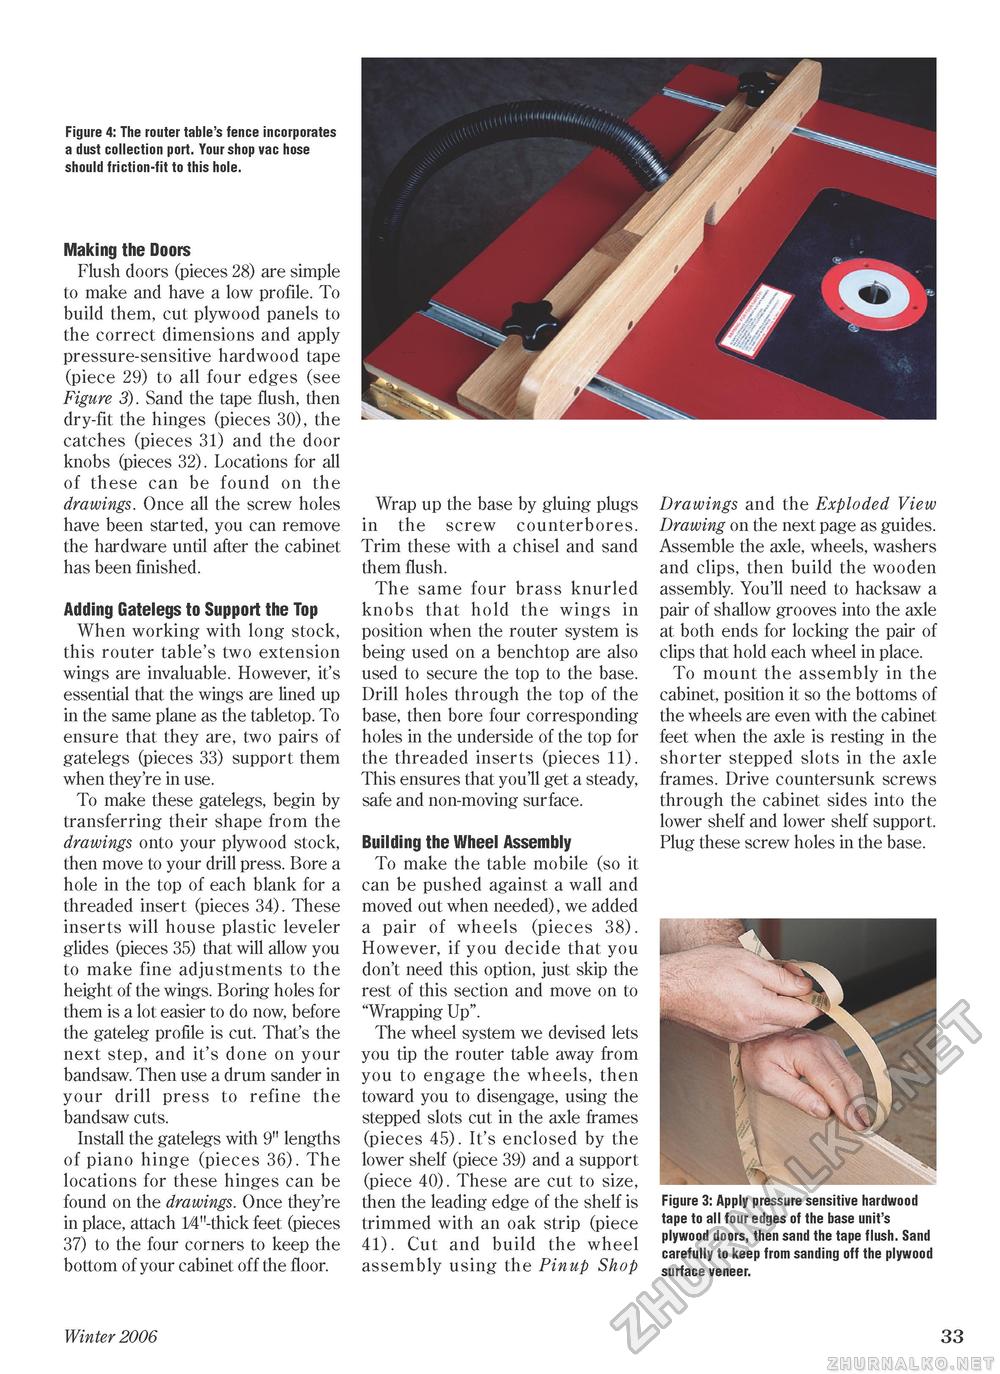
Figure 4: The router table's fence incorporates a dust collection port. Your shop vac hose should friction-fit to this hole. Making the Doors Flush doors (pieces 28) are simple to make and have a low profile. To build them, cut plywood panels to the correct dimensions and apply pressure-sensitive hardwood tape (piece 29) to all four edges (see Figure 3). Sand the tape flush, then dry-fit the hinges (pieces 30), the catches (pieces 31) and the door knobs (pieces 32). Locations for all of these can be found on the drawings. Once all the screw holes have been started, you can remove the hardware until after the cabinet has been finished. Adding Gatelegs to Support the Top When working with long stock, this router table's two extension wings are invaluable. However, it's essential that the wings are lined up in the same plane as the tabletop. To ensure that they are, two pairs of gatelegs (pieces 33) support them when they're in use. To make these gatelegs, begin by transferring their shape from the drawings onto your plywood stock, then move to your drill press. Bore a hole in the top of each blank for a threaded insert (pieces 34). These inserts will house plastic leveler glides (pieces 35) that will allow you to make fine adjustments to the height of the wings. Boring holes for them is a lot easier to do now, before the gateleg profile is cut. That's the next step, and it's done on your bandsaw. Then use a drum sander in your drill press to refine the bandsaw cuts. Install the gatelegs with 9" lengths of piano hinge (pieces 36). The locations for these hinges can be found on the drawings. Once they're in place, attach 1/4"-thick feet (pieces 37) to the four corners to keep the bottom of your cabinet off the floor. Wrap up the base by gluing plugs in the screw counterbores. Trim these with a chisel and sand them flush. The same four brass knurled knobs that hold the wings in position when the router system is being used on a benchtop are also used to secure the top to the base. Drill holes through the top of the base, then bore four corresponding holes in the underside of the top for the threaded inserts (pieces 11). This ensures that you'll get a steady, safe and non-moving surface. Building the Wheel Assembly To make the table mobile (so it can be pushed against a wall and moved out when needed), we added a pair of wheels (pieces 38). However, if you decide that you don't need this option, just skip the rest of this section and move on to "Wrapping Up". The wheel system we devised lets you tip the router table away from you to engage the wheels, then toward you to disengage, using the stepped slots cut in the axle frames (pieces 45). It's enclosed by the lower shelf (piece 39) and a support (piece 40). These are cut to size, then the leading edge of the shelf is trimmed with an oak strip (piece 41). Cut and build the wheel assembly using the Pinup Shop Drawings and the Exploded View Drawing on the next page as guides. Assemble the axle, wheels, washers and clips, then build the wooden assembly. You'll need to hacksaw a pair of shallow grooves into the axle at both ends for locking the pair of clips that hold each wheel in place. To mount the assembly in the cabinet, position it so the bottoms of the wheels are even with the cabinet feet when the axle is resting in the shorter stepped slots in the axle frames. Drive countersunk screws through the cabinet sides into the lower shelf and lower shelf support. Plug these screw holes in the base. Figure 3: Apply pressure sensitive hardwood tape to all four edges of the base unit's plywood doors, then sand the tape flush. Sand carefully to keep from sanding off the plywood surface veneer. Winter 2006 33 |


