Woodworker's Journal 2006-30-Winter, страница 36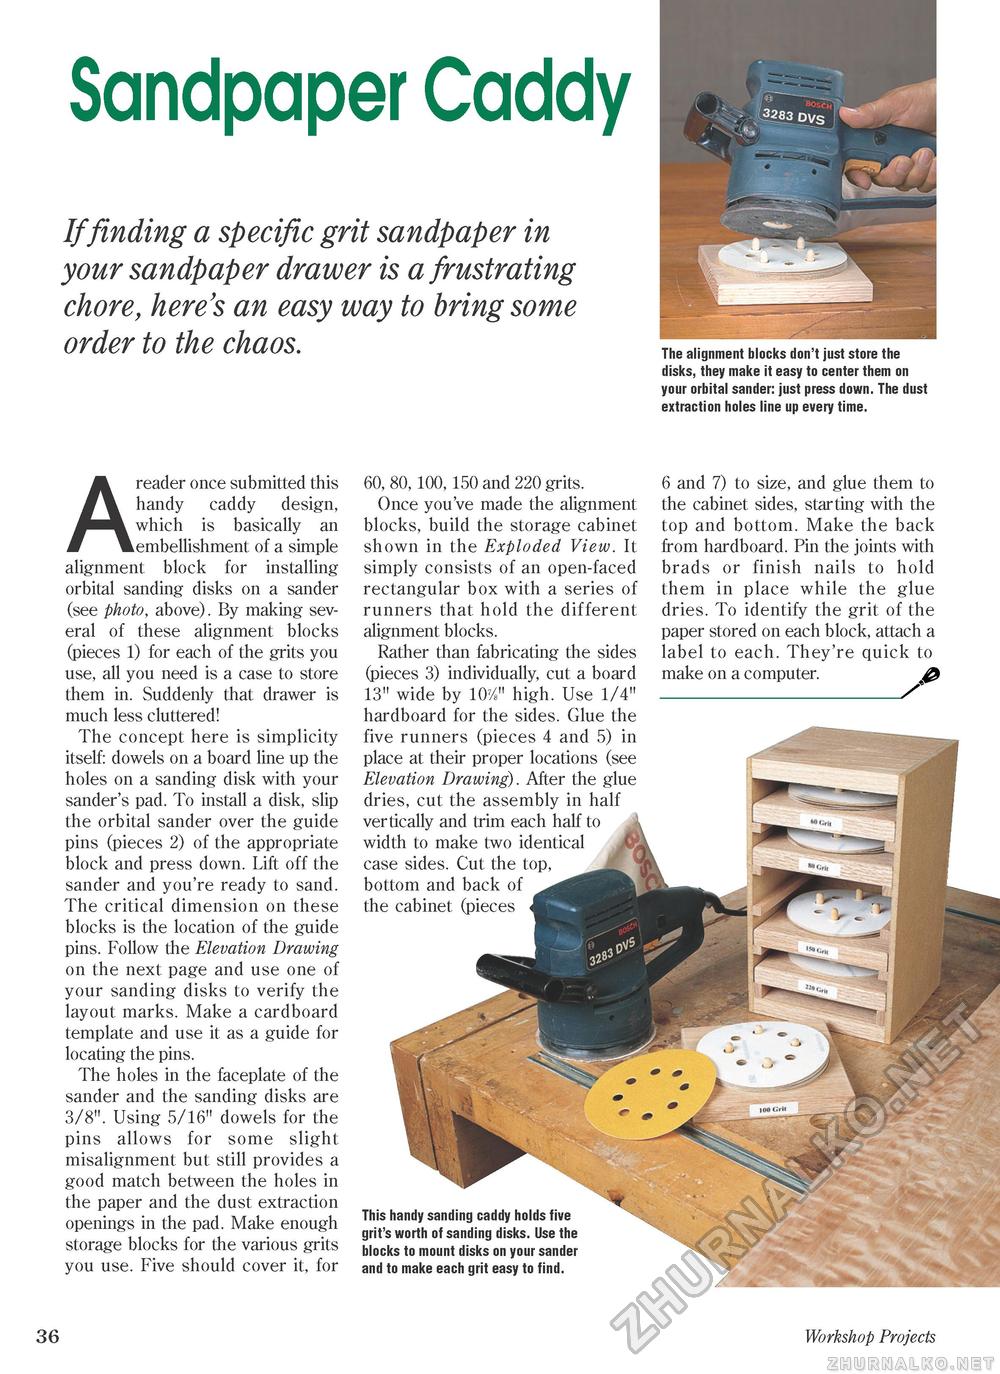
Sandpaper CaddyIf finding a specific grit sandpaper in your sandpaper drawer is a frustrating chore, here's an easy way to bring some order to the chaos. The alignment blocks don't just store the disks, they make it easy to center them on your orbital sander: just press down. The dust extraction holes line up every time. A reader once submitted this handy caddy design, which is basically an embellishment of a simple alignment block for installing orbital sanding disks on a sander (see photo, above). By making several of these alignment blocks (pieces 1) for each of the grits you use, all you need is a case to store them in. Suddenly that drawer is much less cluttered! The concept here is simplicity itself: dowels on a board line up the holes on a sanding disk with your sander's pad. To install a disk, slip the orbital sander over the guide pins (pieces 2) of the appropriate block and press down. Lift off the sander and you're ready to sand. The critical dimension on these blocks is the location of the guide pins. Follow the Elevation Drawing on the next page and use one of your sanding disks to verify the layout marks. Make a cardboard template and use it as a guide for locating the pins. The holes in the faceplate of the sander and the sanding disks are 3/8". Using 5/16" dowels for the pins allows for some slight misalignment but still provides a good match between the holes in the paper and the dust extraction openings in the pad. Make enough storage blocks for the various grits you use. Five should cover it, for 60, 80, 100, 150 and 220 grits. Once you've made the alignment blocks, build the storage cabinet shown in the Exploded View. It simply consists of an open-faced rectangular box with a series of runners that hold the different alignment blocks. Rather than fabricating the sides (pieces 3) individually, cut a board 13" wide by 107/." high. Use 1/4" hardboard for the sides. Glue the five runners (pieces 4 and 5) in place at their proper locations (see Elevation Drawing). After the glue dries, cut the assembly in half vertically and trim each half to width to make two identical case sides. Cut the top, bottom and back of the cabinet (pieces 6 and 7) to size, and glue them to the cabinet sides, starting with the top and bottom. Make the back from hardboard. Pin the joints with brads or finish nails to hold them in place while the glue dries. To identify the grit of the paper stored on each block, attach a label to each. They're quick to make on a computer. £ This handy sanding caddy holds five grit's worth of sanding disks. Use the blocks to mount disks on your sander and to make each grit easy to find. 36 Workshop Projects |


