Woodworker's Journal 2006-30-Winter, страница 80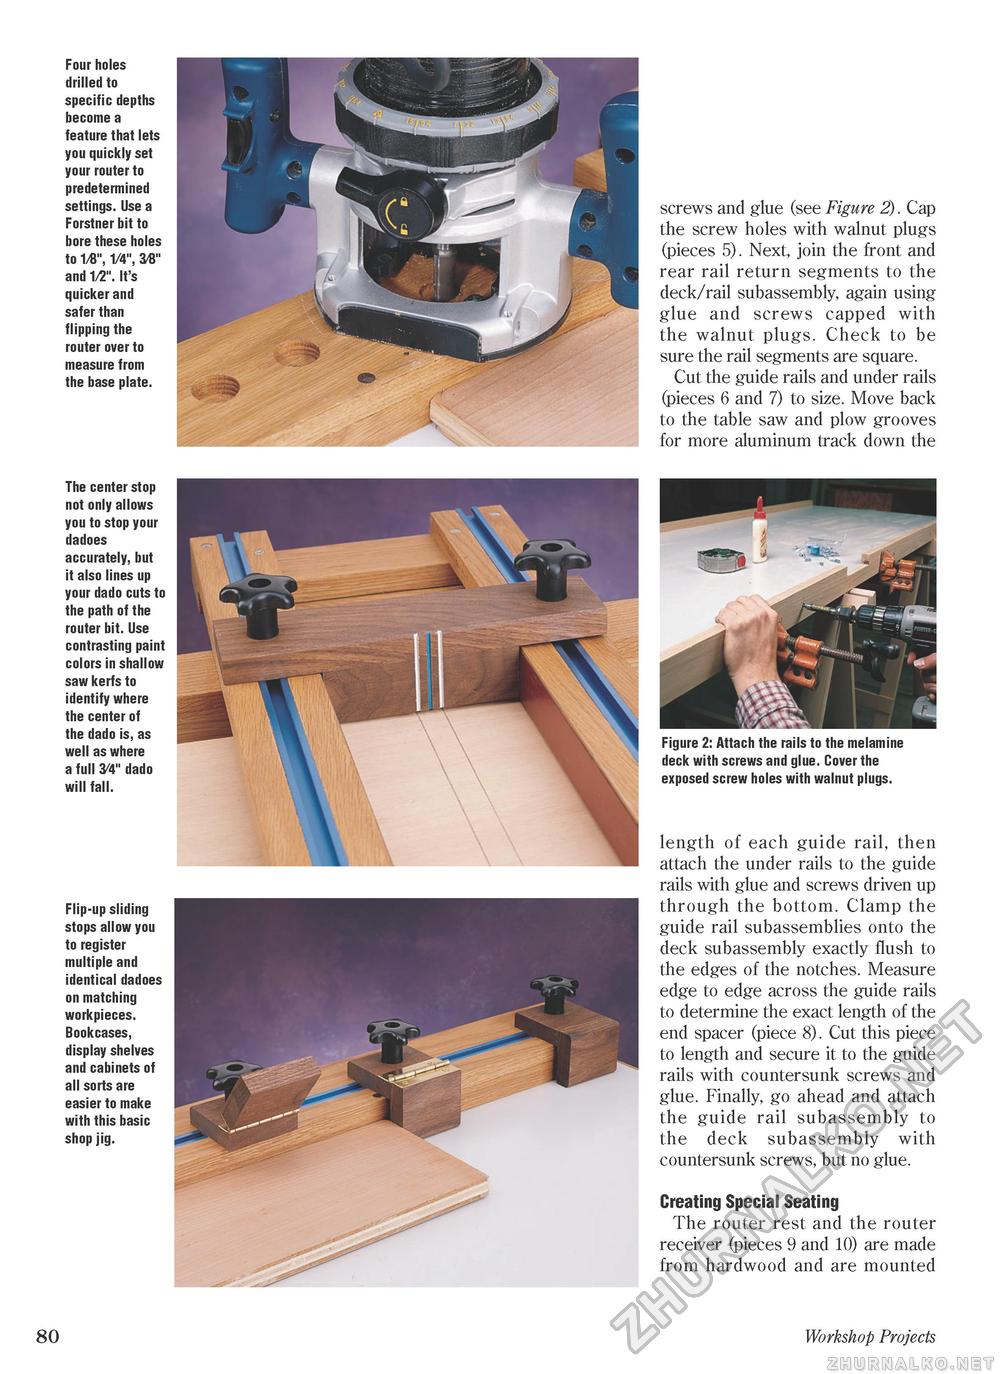
Four holes drilled to specific depths become a feature that lets you quickly set your router to predetermined settings. Use a Forstner bit to bore these holes to 1/8", 1/4", 38" and 1/2". It's quicker and safer than flipping the router over to measure from the base plate. screws and glue (see Figure 2). Cap the screw holes with walnut plugs (pieces 5). Next, join the front and rear rail return segments to the deck/rail subassembly, again using glue and screws capped with the walnut plugs. Check to be sure the rail segments are square. Cut the guide rails and under rails (pieces 6 and 7) to size. Move back to the table saw and plow grooves for more aluminum track down the The center stop not only allows you to stop your dadoes accurately, but it also lines up your dado cuts to the path of the router bit. Use contrasting paint colors in shallow saw kerfs to identify where the center of the dado is, as well as where a full 34" dado will fall. Flip-up sliding stops allow you to register multiple and identical dadoes on matching workpieces. Bookcases, display shelves and cabinets of all sorts are easier to make with this basic shop jig. Figure 2: Attach the rails to the melamine deck with screws and glue. Cover the exposed screw holes with walnut plugs. length of each guide rail, then attach the under rails to the guide rails with glue and screws driven up through the bottom. Clamp the guide rail subassemblies onto the deck subassembly exactly flush to the edges of the notches. Measure edge to edge across the guide rails to determine the exact length of the end spacer (piece 8). Cut this piece to length and secure it to the guide rails with countersunk screws and glue. Finally, go ahead and attach the guide rail subassembly to the deck subassembly with countersunk screws, but no glue. Creating Special Seating The router rest and the router receiver (pieces 9 and 10) are made from hardwood and are mounted 80 Workshop Projects |


