Woodworker's Journal 2006-30-Winter, страница 81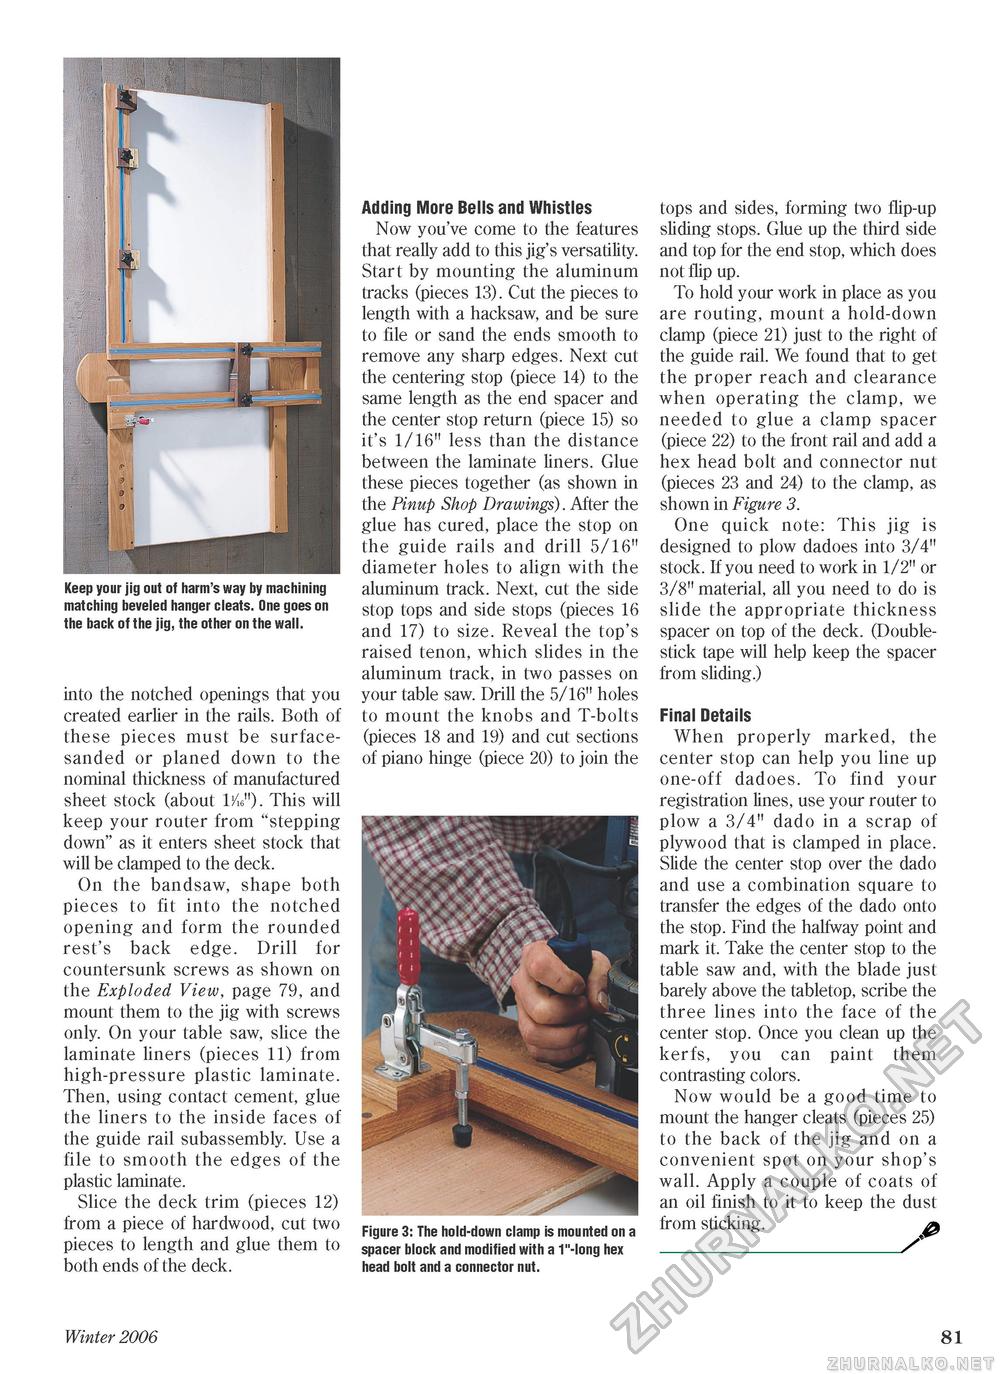
Keep your jig out of harm's way by machining matching beveled hanger cleats. One goes on the back of the jig, the other on the wall. into the notched openings that you created earlier in the rails. Both of these pieces must be surface-sanded or planed down to the nominal thickness of manufactured sheet stock (about l/ie"). This will keep your router from "stepping down" as it enters sheet stock that will be clamped to the deck. On the bandsaw, shape both pieces to fit into the notched opening and form the rounded rest's back edge. Drill for countersunk screws as shown on the Exploded View, page 79, and mount them to the jig with screws only. On your table saw, slice the laminate liners (pieces ll) from high-pressure plastic laminate. Then, using contact cement, glue the liners to the inside faces of the guide rail subassembly. Use a file to smooth the edges of the plastic laminate. Slice the deck trim (pieces 12) from a piece of hardwood, cut two pieces to length and glue them to both ends of the deck. Adding More Bells and Whistles Now you've come to the features that really add to this jig's versatility. Start by mounting the aluminum tracks (pieces 13). Cut the pieces to length with a hacksaw, and be sure to file or sand the ends smooth to remove any sharp edges. Next cut the centering stop (piece 14) to the same length as the end spacer and the center stop return (piece 15) so it's 1/16" less than the distance between the laminate liners. Glue these pieces together (as shown in the Pinup Shop Drawings). After the glue has cured, place the stop on the guide rails and drill 5/16" diameter holes to align with the aluminum track. Next, cut the side stop tops and side stops (pieces 16 and 17) to size. Reveal the top's raised tenon, which slides in the aluminum track, in two passes on your table saw. Drill the 5/16" holes to mount the knobs and T-bolts (pieces 18 and 19) and cut sections of piano hinge (piece 20) to join the Figure 3: The hold-down clamp is mounted on a spacer block and modified with a 1"-long hex head bolt and a connector nut. tops and sides, forming two flip-up sliding stops. Glue up the third side and top for the end stop, which does not flip up. To hold your work in place as you are routing, mount a hold-down clamp (piece 21) just to the right of the guide rail. We found that to get the proper reach and clearance when operating the clamp, we needed to glue a clamp spacer (piece 22) to the front rail and add a hex head bolt and connector nut (pieces 23 and 24) to the clamp, as shown in Figure 3. One quick note: This jig is designed to plow dadoes into 3/4" stock. If you need to work in 1/2" or 3/8" material, all you need to do is slide the appropriate thickness spacer on top of the deck. (Double-stick tape will help keep the spacer from sliding.) Final Details When properly marked, the center stop can help you line up one-off dadoes. To find your registration lines, use your router to plow a 3/4" dado in a scrap of plywood that is clamped in place. Slide the center stop over the dado and use a combination square to transfer the edges of the dado onto the stop. Find the halfway point and mark it. Take the center stop to the table saw and, with the blade just barely above the tabletop, scribe the three lines into the face of the center stop. Once you clean up the kerfs, you can paint them contrasting colors. Now would be a good time to mount the hanger cleats (pieces 25) to the back of the jig and on a convenient spot on your shop's wall. Apply a couple of coats of an oil finish to it to keep the dust from sticking. _/ Winter 2006 81 |


