Woodworker's Journal 2008-32-3, страница 41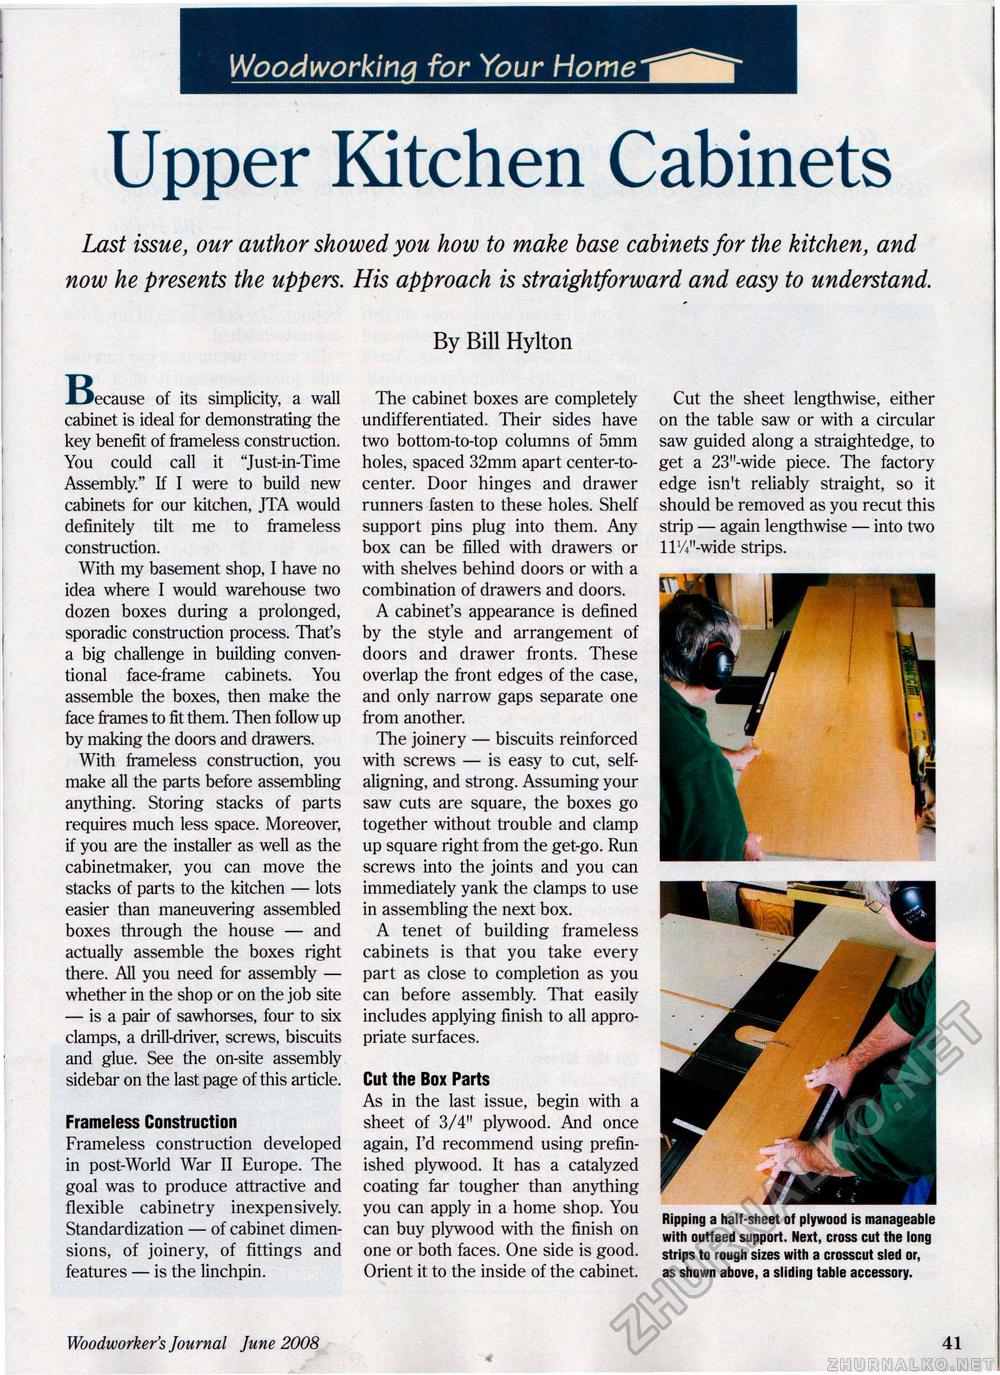
Woodworking for Your Home Upper Kitchen Cabinets Last issue, our author showed you how to make base cabinets for the kitchen, and now he presents the uppers. His approach is straightforward and easy to understand. Be : ecause of its simplicity, a wall cabinet is ideal for demonstrating the key benefit of frameless construction. You could call it "Just-in-Time Assembly." If I were to build new cabinets for our kitchen, JTA would definitely tilt me to frameless construction. With my basement shop, I have no idea where I would warehouse two dozen boxes during a prolonged, sporadic construction process. That's a big challenge in building conventional face-frame cabinets. You assemble the boxes, then make the face frames to fit them. Then follow up by making the doors and drawers. With frameless construction, you make all the parts before assembling anything. Storing stacks of parts requires much less space. Moreover, if you are the installer as well as the cabinetmaker, you can move the stacks of parts to the kitchen — lots easier than maneuvering assembled boxes through the house — and actually assemble the boxes right there. All you need for assembly — whether in the shop or on the job site — is a pair of sawhorses, four to six clamps, a drill-driver, screws, biscuits and glue. See the on-site assembly sidebar on the last page of this article. Frameless Construction Frameless construction developed in post-World War II Europe. The goal was to produce attractive and flexible cabinetry inexpensively. Standardization — of cabinet dimensions, of joinery, of fittings and features — is the linchpin. By Bill Hylton The cabinet boxes are completely undifferentiated. Their sides have two bottom-to-top columns of 5mm holes, spaced 32mm apart center-to-center. Door hinges and drawer runners fasten to these holes. Shelf support pins plug into them. Any box can be filled with drawers or with shelves behind doors or with a combination of drawers and doors. A cabinet's appearance is defined by the style and arrangement of doors and drawer fronts. These overlap the front edges of the case, and only narrow gaps separate one from another. The joinery — biscuits reinforced with screws — is easy to cut, self-aligning, and strong. Assuming your saw cuts are square, the boxes go together without trouble and clamp up square right from the get-go. Run screws into the joints and you can immediately yank the clamps to use in assembling the next box. A tenet of building frameless cabinets is that you take every part as close to completion as you can before assembly. That easily includes applying finish to all appropriate surfaces. Cut the Box Parts As in the last issue, begin with a sheet of 3/4" plywood. And once again, I'd recommend using prefin-ished plywood. It has a catalyzed coating far tougher than anything you can apply in a home shop. You can buy plywood with the finish on one or both faces. One side is good. Orient it to the inside of the cabinet. Cut the sheet lengthwise, either on the table saw or with a circular saw guided along a straightedge, to get a 23"-wide piece. The factory edge isn't reliably straight, so it should be removed as you recut this strip — again lengthwise — into two llW'-wide strips. Ripping a half-sheet of plywood is manageable with outfeed support. Next, cross cut the long strips to rough sizes with a crosscut sled or, as shown above, a sliding table accessory. Woodworker's Journal June 2008 41 |


