Woodworker's Journal 2008-32-3, страница 39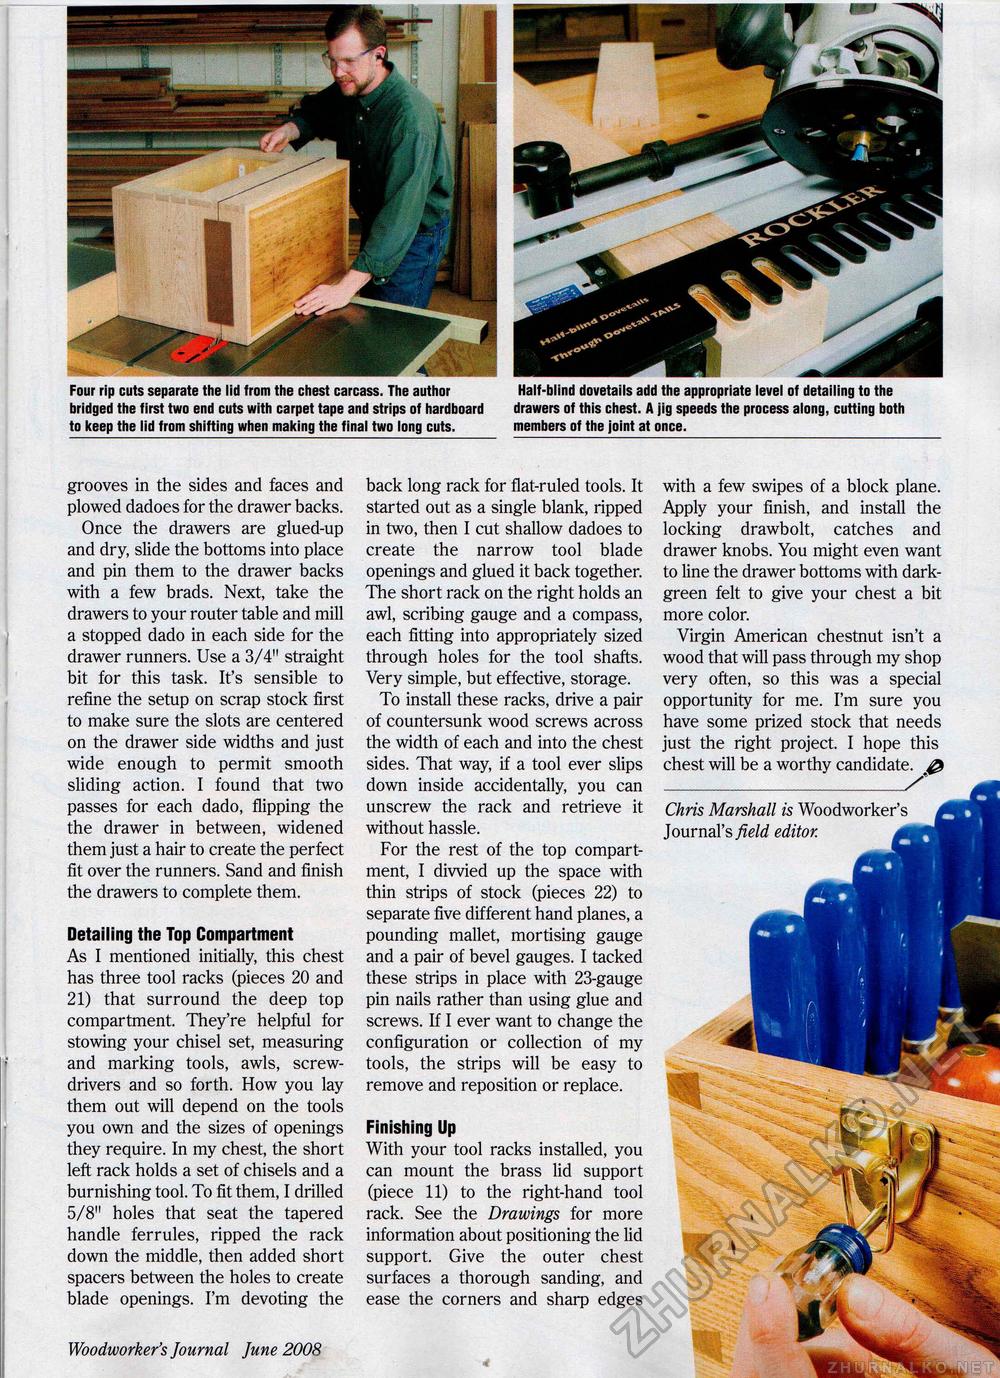
Half-blind dovetails add the appropriate level of detailing to the drawers of this chest. A jig speeds the process along, cutting both members of the joint at once. Four rip cuts separate the lid from the chest carcass. The author bridged the first two end cuts with carpet tape and strips of hardboard to keep the lid from shifting when making the final two long cuts. grooves in the sides and faces and plowed dadoes for the drawer backs. Once the drawers are glued-up and dry, slide the bottoms into place and pin them to the drawer backs with a few brads. Next, take the drawers to your router table and mill a stopped dado in each side for the drawer runners. Use a 3/4" straight bit for this task. It's sensible to refine the setup on scrap stock first to make sure the slots are centered on the drawer side widths and just wide enough to permit smooth sliding action. I found that two passes for each dado, flipping the the drawer in between, widened them just a hair to create the perfect fit over the runners. Sand and finish the drawers to complete them. Detailing the Top Compartment As I mentioned initially, this chest has three tool racks (pieces 20 and 21) that surround the deep top compartment. They're helpful for stowing your chisel set, measuring and marking tools, awls, screwdrivers and so forth. How you lay them out will depend on the tools you own and the sizes of openings they require. In my chest, the short left rack holds a set of chisels and a burnishing tool. To fit them, I drilled 5/8" holes that seat the tapered handle ferrules, ripped the rack down the middle, then added short spacers between the holes to create blade openings. I'm devoting the Woodworker's Journal June 2008 39 back long rack for flat-ruled tools. It started out as a single blank, ripped in two, then I cut shallow dadoes to create the narrow tool blade openings and glued it back together. The short rack on the right holds an awl, scribing gauge and a compass, each fitting into appropriately sized through holes for the tool shafts. Very simple, but effective, storage. To install these racks, drive a pair of countersunk wood screws across the width of each and into the chest sides. That way, if a tool ever slips down inside accidentally, you can unscrew the rack and retrieve it without hassle. For the rest of the top compartment, I divvied up the space with thin strips of stock (pieces 22) to separate five different hand planes, a pounding mallet, mortising gauge and a pair of bevel gauges. I tacked these strips in place with 23-gauge pin nails rather than using glue and screws. If I ever want to change the configuration or collection of my tools, the strips will be easy to remove and reposition or replace. Finishing Up With your tool racks installed, you can mount the brass lid support (piece 11) to the right-hand tool rack. See the Drawings for more information about positioning the lid support. Give the outer chest surfaces a thorough sanding, and ease the corners and sharp edges with a few swipes of a block plane. Apply your finish, and install the locking drawbolt, catches and drawer knobs. You might even want to line the drawer bottoms with dark-green felt to give your chest a bit more color. Virgin American chestnut isn't a wood that will pass through my shop very often, so this was a special opportunity for me. I'm sure you have some prized stock that needs just the right project. I hope this chest will be a worthy candidate. Chris Marshall is Woodworker's Journal's field editor. |


