Woodworker's Journal 2008-32-4, страница 24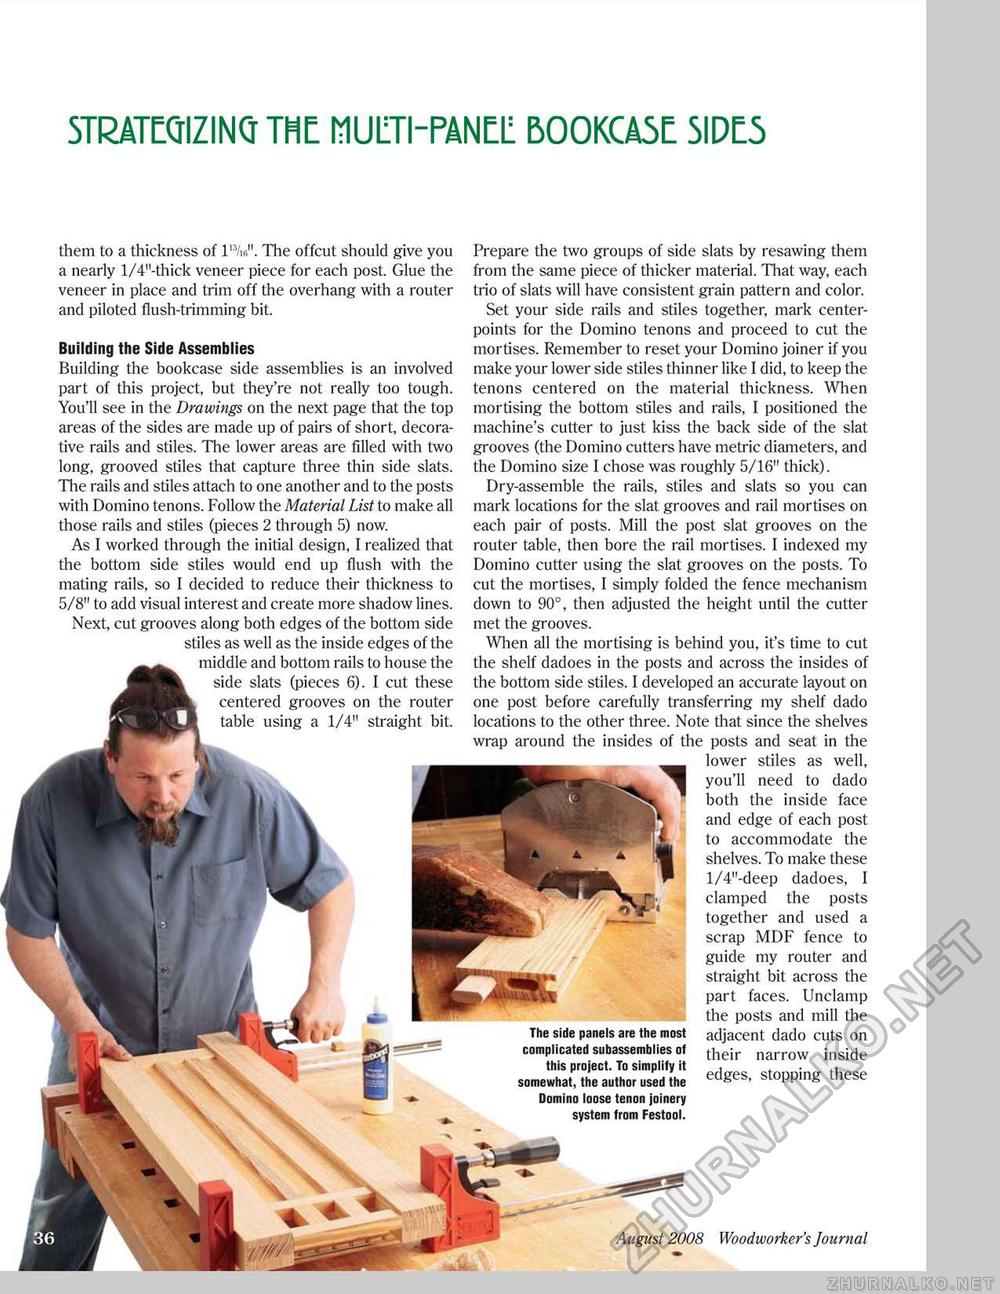
STRATEGIZING THE MUliTI-PANEL B00KCA5E 5IDC5 them to a thickness of l'V. The offcut should give you a nearly 1/4"-thick veneer piece for each post. Glue the veneer in place and trim off the overhang with a router and piloted flush-trimming bit. Building the Side Assemblies Building the bookcase side assemblies is an involved part of this project, but they're not really too tough. You'll see in the Drawings on the next page that the top areas of the sides are made up of pairs of short, decorative rails and stiles. The lower areas are filled with two long, grooved stiles that capture three thin side slats. The rails and stiles attach to one another and to the posts with Domino tenons. Follow the Material List to make all those rails and stiles (pieces 2 through 5) now. As I worked through the initial design, I realized that the bottom side stiles would end up flush with the mating rails, so I decided to reduce their thickness to 5/8" to add visual interest and create more shadow lines. Next, cut grooves along both edges of the bottom side stiles as well as the inside edges of the ^^^ middle and bottom rails to house the side slats (pieces 6). I cut these centered grooves on the router table using a 1/4" straight bit. Prepare the two groups of side slats by resawing them from the same piece of thicker material. That way, each trio of slats will have consistent grain pattern and color. Set your side rails and stiles together, mark center-points for the Domino tenons and proceed to cut the mortises. Remember to reset your Domino joiner if you make your lower side stiles thinner like I did, to keep the tenons centered on the material thickness. When mortising the bottom stiles and rails, I positioned the machine's cutter to just kiss the back side of the slat grooves (the Domino cutters have metric diameters, and the Domino size I chose was roughly 5/16" thick). Dry-assemble the rails, stiles and slats so you can mark locations for the slat grooves and rail mortises on each pair of posts. Mill the post slat grooves on the router table, then bore the rail mortises. I indexed my Domino cutter using the slat grooves on the posts. To cut the mortises, I simply folded the fence mechanism down to 90°, then adjusted the height until the cutter met the grooves. When all the mortising is behind you, it's time to cut the shelf dadoes in the posts and across the insides of the bottom side stiles. I developed an accurate layout on one post before carefully transferring my shelf dado locations to the other three. Note that since the shelves wrap around the insides of the posts and seat in the lower stiles as well, you'll need to dado both the inside face and edge of each post to accommodate the shelves. To make these l/4"-deep dadoes, I clamped the posts together and used a scrap MDF fence to guide my router and straight bit across the part faces. Unclamp the posts and mill the The side panels are the most adjacent dado cuts on complicated subassemblies of their narrow inside this project. To simplify it , . . ., somewhat, the author used the edSes- stoPPm« these Domino loose tenon joinery system from Festool. .. - * '• August 2008 Woodworker's Journal |


