Woodworker's Journal 2008-32-6, страница 47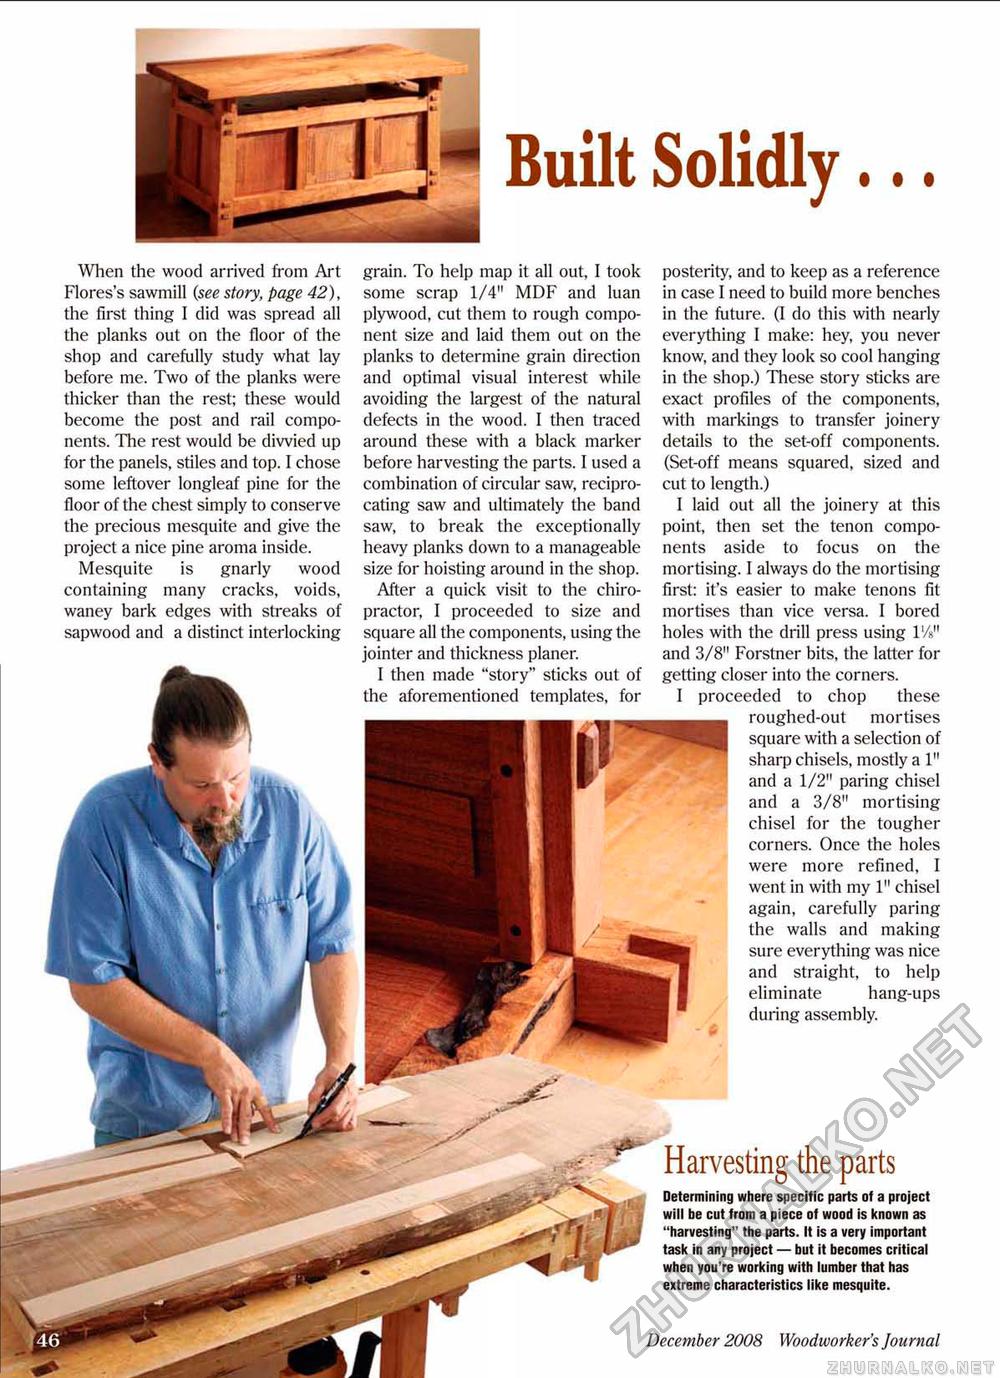
Built Solidly... When the wood arrived front Art Flores's sawmill {see story, page 42), the first thing I did was spread all the planks out on the floor of the shop and carefully study what lay before me. Two of the planks were thicker than the rest; these would become the post and rail components. The rest would be divvied up for the panels, stiles and top. f chose some leftover longleaf pine for the floor of the chest simply to conserve the precious mesquite and give the project a nice pine aroma inside. Mesquite is gnarly wood containing many cracks, voids, waney hark edges with streaks of sapwood and a distinct interlocking grain. To help map it all out, I took some scrap 1/4" MDF and luan plywood, cut them to rough component size and laid them out on the planks to determine grain direction and optimal visual interest while avoiding the largest of the natural defects in the wood. I then traced around these with a black marker before harvesting the parts, I used a combination of circular saw, reciprocating saw and ultimately the band saw, to break the exceptionally heavy planks down to a manageable size for hoisting around in the shop. After a quick visit to the chiropractor, I proceeded to size and square all the components, using the jointer and thickness planer. I then made "story" sticks out of the aforementioned templates, for posterity, and to keep as a reference in case I need to build more benches in the future, (I do this with nearly everything I make: hey, you never know, and they look so cool hanging in the shop,) These story sticks are exact profdes of the components, with markings to transfer joinery details to the set-off components. (Set-off means squared, sized and cut to length.) I laid out all the joinery at this point then set the tenon components aside to focus on the mortising. I always do the mortising first: it's easier to make tenons fit mortises than vice versa, I bored holes with the drill press using l'/s" and 3/8" Forstner bits, the latter for getting closer into the corners. I proceeded to chop these roughed-out mortises square with a selection of sharp chisels, mostly a 1" and a 1/2" paring chisel and a 3/8" mortising chisel for the tougher corners. Once the holes were more refined, I went in with my 1" chisel again, carefully paring the walls and making sure everything was nice and straight, to help eliminate hang-ups during assembly. Harvesting the parts Determining where specific parts of a project will be cut from a piece of wood is known as "harvesting" the parts. It is a very important task in any project — but it becomes critical when you're working with lumber that has extreme characteristics like mesquite. 47 December 2008 Woodworker's Journal |


