Woodworker's Journal 2008-32-6, страница 51
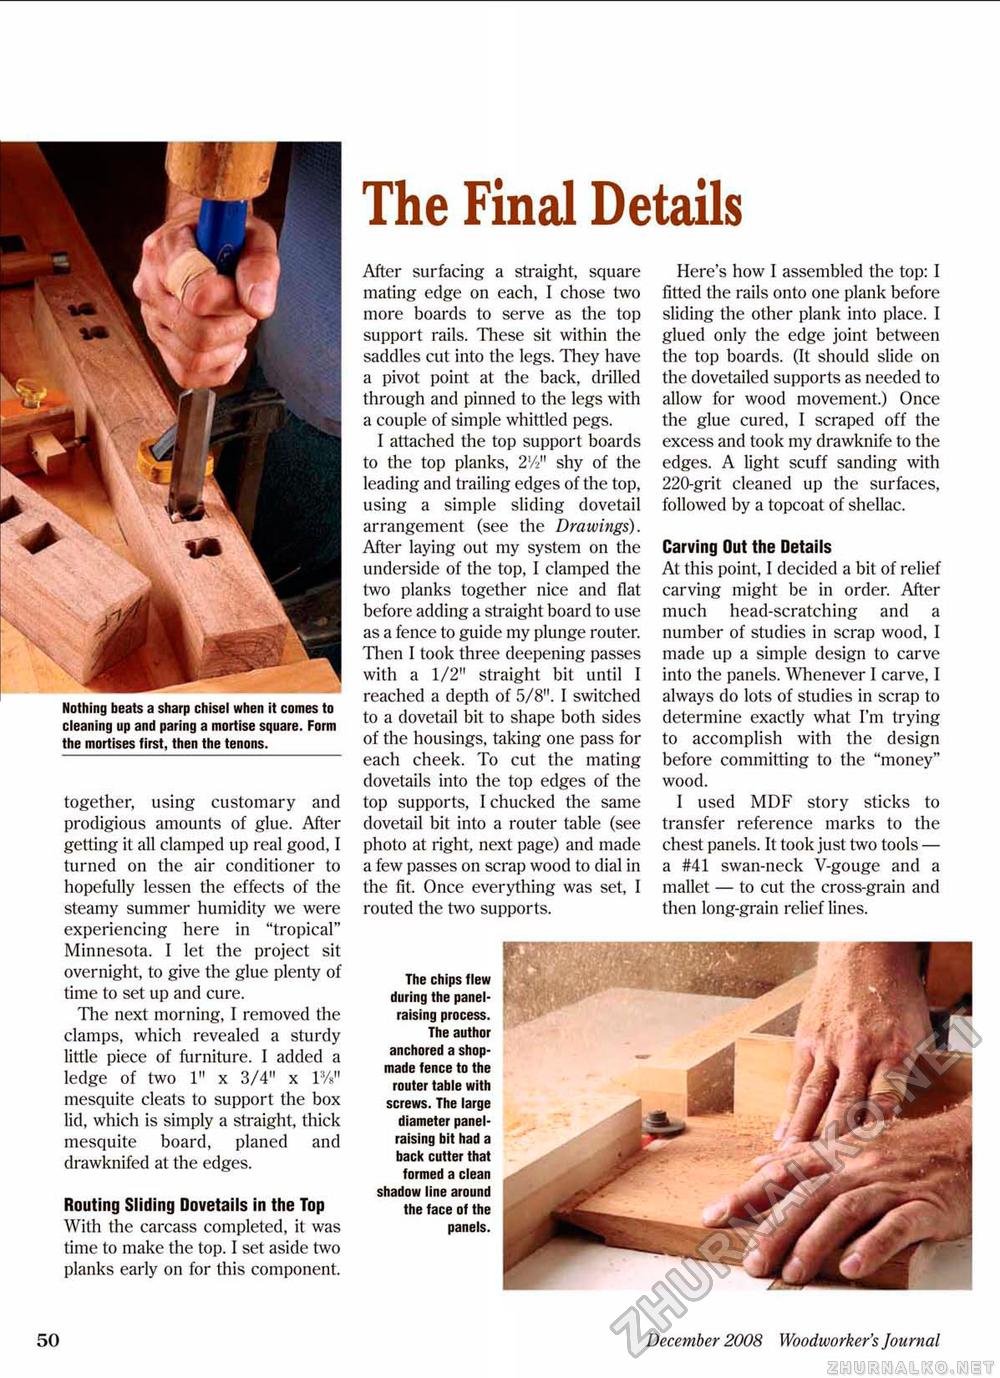
Nothing beats a sharp chisel when it comes to cleaning up and paring a mortise square. Form the mortises first, then the tenons. The Final Details together, using customary and prodigious amounts of glue. After getting it all clamped up real good, 1 turned on the air conditioner to hopefully lessen the effects of the steamy summer humidity we were experiencing here in "tropical" Minnesota. I let the project sit overnight, to give the glue plenty of time to set up and cure. The next morning, I removed the clamps, which revealed a sturdy little piece of furniture. 1 added a ledge of two 1" x 3/4" x 1%" mesquite cleats to support the box lid, which is simply a straight, thick mesquite board, planed and drawknifed at the edges. Routing Sliding Dovetails in the Top With the carcass completed, it was time to make the top. I set aside two planks early on for this component. After surfacing a straight, square mating edge on each, I chose two more boards to serve as the top support rails. These sit within the saddles cut into the legs. They have a pivot point at the back, drilled through and pinned to the legs with a couple of simple whittled pegs. I attached the top support boards to the top planks, 2'/*" shy of the leading anci trailing edges of the top, using a simple sliding dovetail arrangement (see the Drawings). After laying out my system on the underside of the top, I clamped the two planks together nice and flat before adding a straight board to use as a fence to guide my plunge router, Tlien I took three deepening passes with a 1/2" straight bit until I reached a depth of 5/8". I switched to a dovetail bit to shape both sides of the housings, taking one pass for each cheek. To cut the mating dovetails into the top edges of the top supports, I chucked the same dovetail bit into a router table (see photo at light, next page) and made a few passes on scrap wood to dial in the fit. Once everything was set, I routed the two supports. Here's how I assembled the top: I fitted the rails onto one plank before sliding the other plank into place, I glued only the edge joint between the top boards, (It should slide on the dovetailed supports as needed to allow for wood movement.) Once the glue cured, I scraped off the excess and took my drawknife to the edges. A light scuff sanding with 220-grit cleaned up the surfaces, followed by a topcoat of shellac. Carving Out the Details At this point, I decided a bit of relief carving might be in order. After much head-scratching and a number of studies in scrap wood, 1 made up a simple design to carve into the panels. Whenever I carve, I always do lots of studies in scrap to determine exactly what I'm trying to accomplish with the design before committing to the "money" wood. I used MDF story sticks to transfer reference marks to the chest panels. It took just two tools — a #41 swan-neck V-gouge and a mallet — to cut the cross-grain and then long-grain relief lines. The chips flew during the panel-raising process. The author anchored a shop-made fence to the router table with screws. The large diameter panel-raising bit had a back cutter that formed a clean shadow line around the face of the panels. 50 December 2008 Woodworker's Journal |


