Woodworker's Journal 2009-33-1, страница 43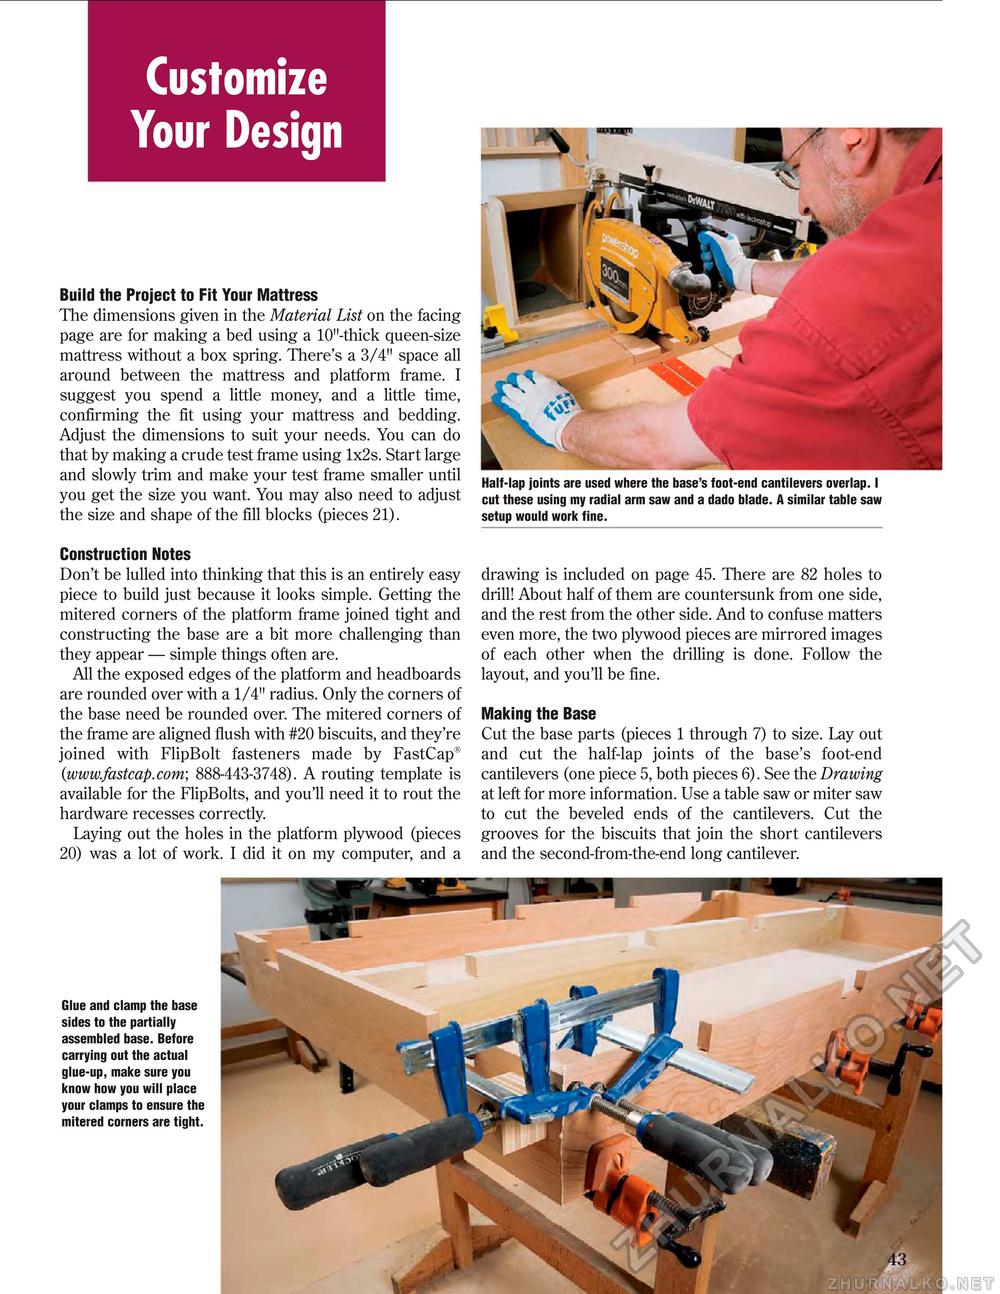
Customize Your Design Build the Project to Fit Your Mattress The dimensions given in the Material List on the facing page are for making a bed using a 10"-thick queen-size mattress without a box spring. There's a 3/4" space all around between the mattress and platform frame. I suggest you spend a little money, and a little time, confirming the fit using your mattress and bedding. Adjust the dimensions to suit your needs. You can do that by making a crude test frame using 1x2s. Start large and slowly trim and make your test frame smaller until you get the size you want. You may also need to adjust the size and shape of the fill blocks (pieces 21). Construction Notes Don't be lulled into thinking that this is an entirely easy piece to build just because it looks simple. Getting the mitered corners of the platform frame joined tight and constructing the base are a bit more challenging than they appear — simple things often are. All the exposed edges of the platform and headboards are rounded over with a 1/4" radius. Only the corners of the base need be rounded over. The mitered corners of the frame are aligned flush with #20 biscuits, and they're joined with FlipBolt fasteners made by FastCap® (www.fastcap.com; 888-443-3748). A routing template is available for the FlipBolts, and you'll need it to rout the hardware recesses correctly. Laying out the holes in the platform plywood (pieces 20) was a lot of work. I did it on my computer, and a Half-lap joints are used where the base's foot-end cantilevers overlap. I cut these using my radial arm saw and a dado blade. A similar table saw setup would work fine. drawing is included on page 45. There are 82 holes to drill! About half of them are countersunk from one side, and the rest from the other side. And to confuse matters even more, the two plywood pieces are mirrored images of each other when the drilling is done. Follow the layout, and you'll be fine. Making the Base Cut the base parts (pieces 1 through 7) to size. Lay out and cut the half-lap joints of the base's foot-end cantilevers (one piece 5, both pieces 6). See the Drawing at left for more information. Use a table saw or miter saw to cut the beveled ends of the cantilevers. Cut the grooves for the biscuits that join the short cantilevers and the second-from-the-end long cantilever. Glue and clamp the base sides to the partially assembled base. Before carrying out the actual glue-up, make sure you know how you will place your clamps to ensure the mitered corners are tight. |


