Woodworker's Journal 2009-33-1, страница 44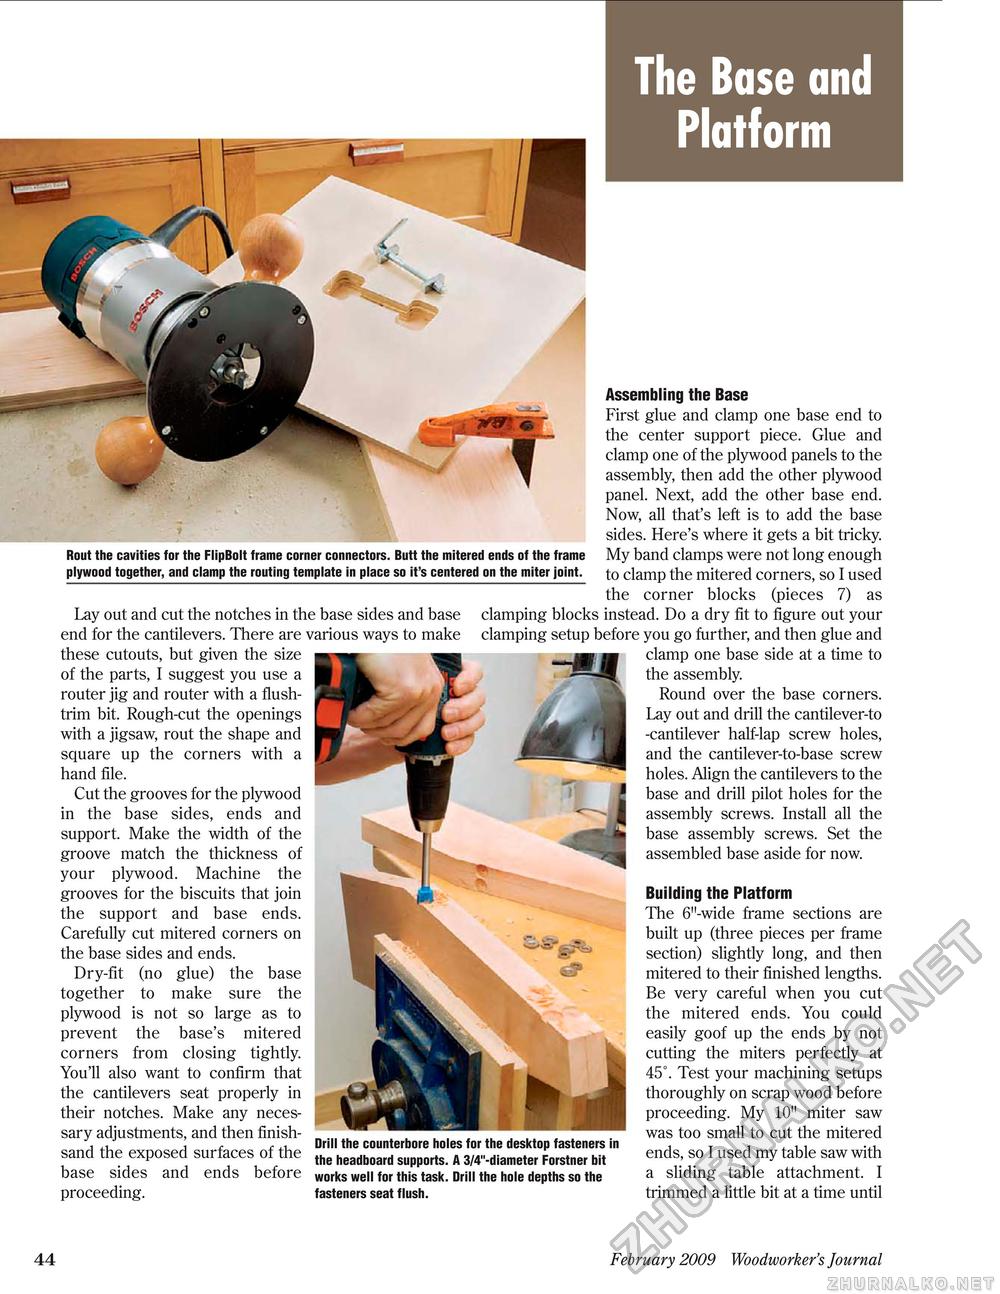
The Base and Platform Rout the cavities for the FlipBolt frame corner connectors. Butt the mitered ends of the frame plywood together, and clamp the routing template in place so it's centered on the miter joint. Lay out and cut the notches in the base sides and base end for the cantilevers. There are various ways to make these cutouts, but given the size of the parts, I suggest you use a router jig and router with a flush-trim bit. Rough-cut the openings with a jigsaw, rout the shape and square up the corners with a hand file. Cut the grooves for the plywood in the base sides, ends and support. Make the width of the groove match the thickness of your plywood. Machine the grooves for the biscuits that join the support and base ends. Carefully cut mitered corners on the base sides and ends. Dry-fit (no glue) the base together to make sure the plywood is not so large as to prevent the base's mitered corners from closing tightly. You'll also want to confirm that the cantilevers seat properly in their notches. Make any necessary adjustments, and then finish- , , , , , , Drill the counterbore holes for the desktop fasteners in sand tne exposed surtaces ot tne the headboard supp0rts. a 3/4"-diameter Forstner bit base sides and ends before works well for this task. Drill the hole depths so the proceeding. fasteners seat flush. Assembling the Base First glue and clamp one base end to the center support piece. Glue and clamp one of the plywood panels to the assembly, then add the other plywood panel. Next, add the other base end. Now, all that's left is to add the base sides. Here's where it gets a bit tricky. My band clamps were not long enough to clamp the mitered corners, so I used the corner blocks (pieces 7) as clamping blocks instead. Do a dry fit to figure out your clamping setup before you go further, and then glue and clamp one base side at a time to the assembly. Round over the base corners. Lay out and drill the cantilever-to -cantilever half-lap screw holes, and the cantilever-to-base screw holes. Align the cantilevers to the base and drill pilot holes for the assembly screws. Install all the base assembly screws. Set the assembled base aside for now. Building the Platform The 6"-wide frame sections are built up (three pieces per frame section) slightly long, and then mitered to their finished lengths. Be very careful when you cut the mitered ends. You could easily goof up the ends by not cutting the miters perfectly at 45°. Test your machining setups thoroughly on scrap wood before proceeding. My 10" miter saw was too small to cut the mitered ends, so I used my table saw with a sliding table attachment. I trimmed a little bit at a time until 44 February 2009 Woodworker's Journal |


