Woodworker's Journal 2009-33-4, страница 21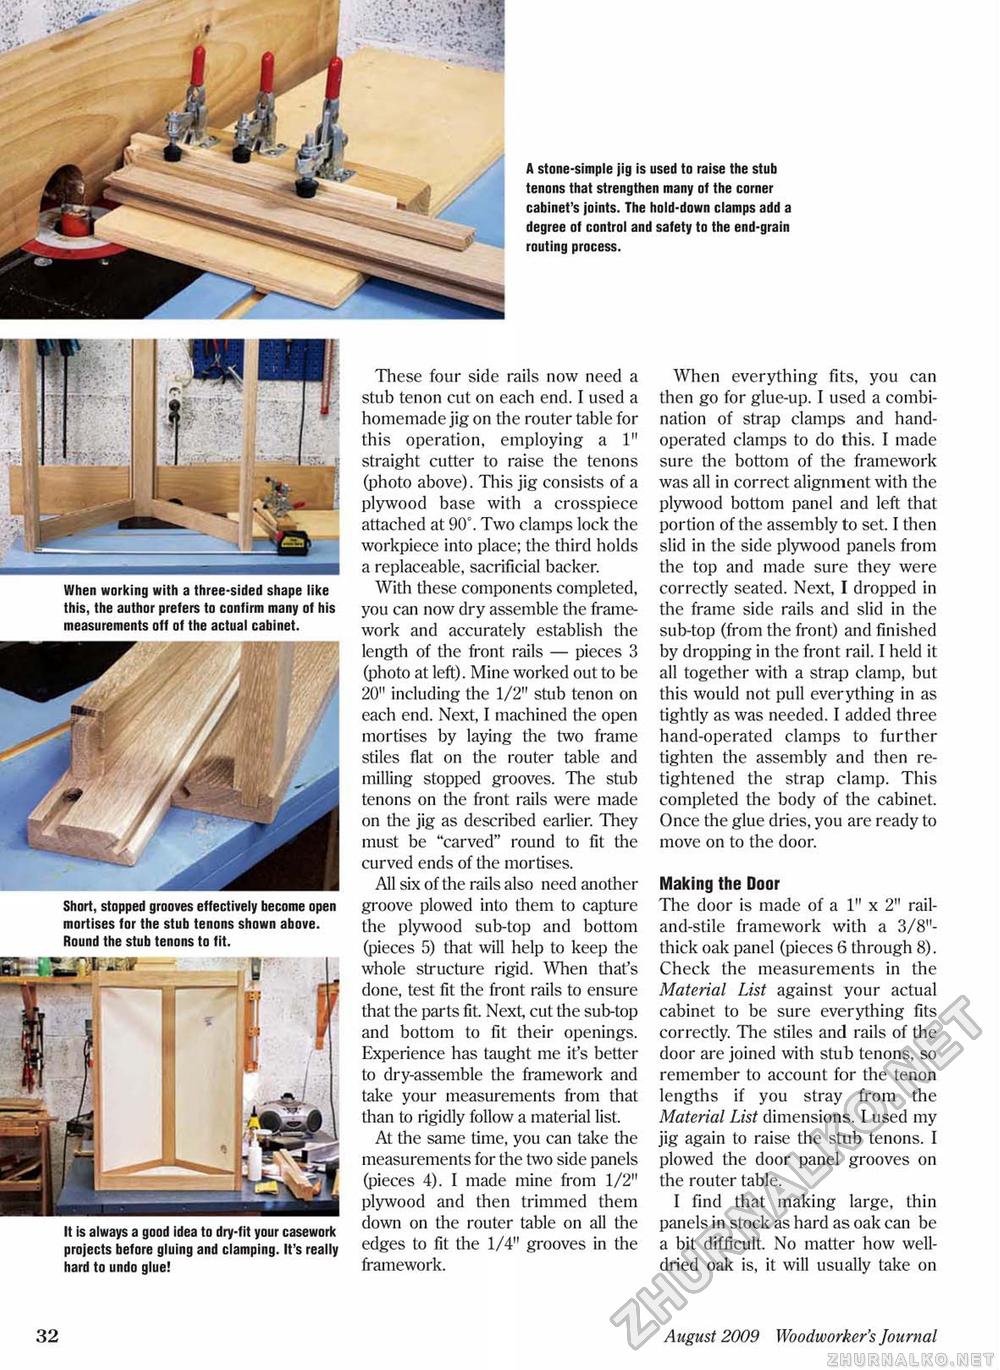
Short, stopped grooves effectively become open mortises for the stub tenons shown above. Round the stub tenons to fit. It is always a good idea to dry-fit your casework projects before gluing and clamping. It's really hard to undo glue! A stone-simple jig is used to raise the stub tenons that strengthen many of the corner cabinet's joints. The hold-down clamps add a degree of control and safety to the end-grain routing process. These four side rails now need a stub tenon cut on each end. I used a homemade jig on the router table for this operation, employing a 1" straight cutter to raise the tenons (photo above). This jig consists of a plywood base with a crosspiece attached at 90°. Two clamps lock the workpiece into place; the third holds a replaceable, sacrificial backer. With these components completed, you can now dry assemble the framework and accurately establish the length of the front rails — pieces 3 (photo at left). Mine worked out to be 20" including the 1/2" stub tenon on each end. Next, I machined the open mortises by laying the two frame stiles flat on the router table and milling stopped grooves. The stub tenons on the front rails were made on the jig as described earlier. They must be "carved" round to fit the curved ends of the mortises. All six of the rails also need another groove plowed into them to capture the plywood sub-top and bottom (pieces 5) that will help to keep the whole structure rigid. When that's done, test fit the front rails to ensure that the parts fit. Next, cut the sub-top and bottom to fit their openings. Experience has taught me it's better to dry-assemble the framework and take your measurements from that than to rigidly follow a material list. At the same time, you can take the measurements for the two side panels (pieces 4). I made mine from 1/2" plywood and then trimmed them down on the router table on all the edges to fit the 1/4" grooves in the framework. When everything fits, you can then go for glue-up. I used a combination of strap clamps and hand-operated clamps to do this. I made sure the bottom of the framework was all in correct alignment with the plywood bottom panel and left that portion of the assembly to set. I then slid in the side plywood panels from the top and made sure they were correctly seated. Next, I dropped in the frame side rails and slid in the sub-top (from the front) and finished by dropping in the front rail. I held it all together with a strap clamp, but this would not pull everything in as tightly as was needed. I added three hand-operated clamps to further tighten the assembly and then re-tightened the strap clamp. This completed the body of the cabinet. Once the glue dries, you are ready to move on to the door. Making the Door The door is made of a 1" x 2" rail-and-stile framework with a 3/8"-thick oak panel (pieces 6 through 8). Check the measurements in the Material List against your actual cabinet to be sure everything fits correctly. The stiles and rails of the door are joined with stub tenons, so remember to account for the tenon lengths if you stray from the Material List dimensions. I used my jig again to raise the stub tenons. I plowed the door panel grooves on the router table. I find that making large, thin panels in stock as hard as oak can be a bit difficult. No matter how well-dried oak is, it will usually take on When working with a three-sided shape like this, the author prefers to confirm many of his measurements off of the actual cabinet. 32 August 2009 Woodworker's Journal |


