Woodworker's Journal 2011-35-1, страница 48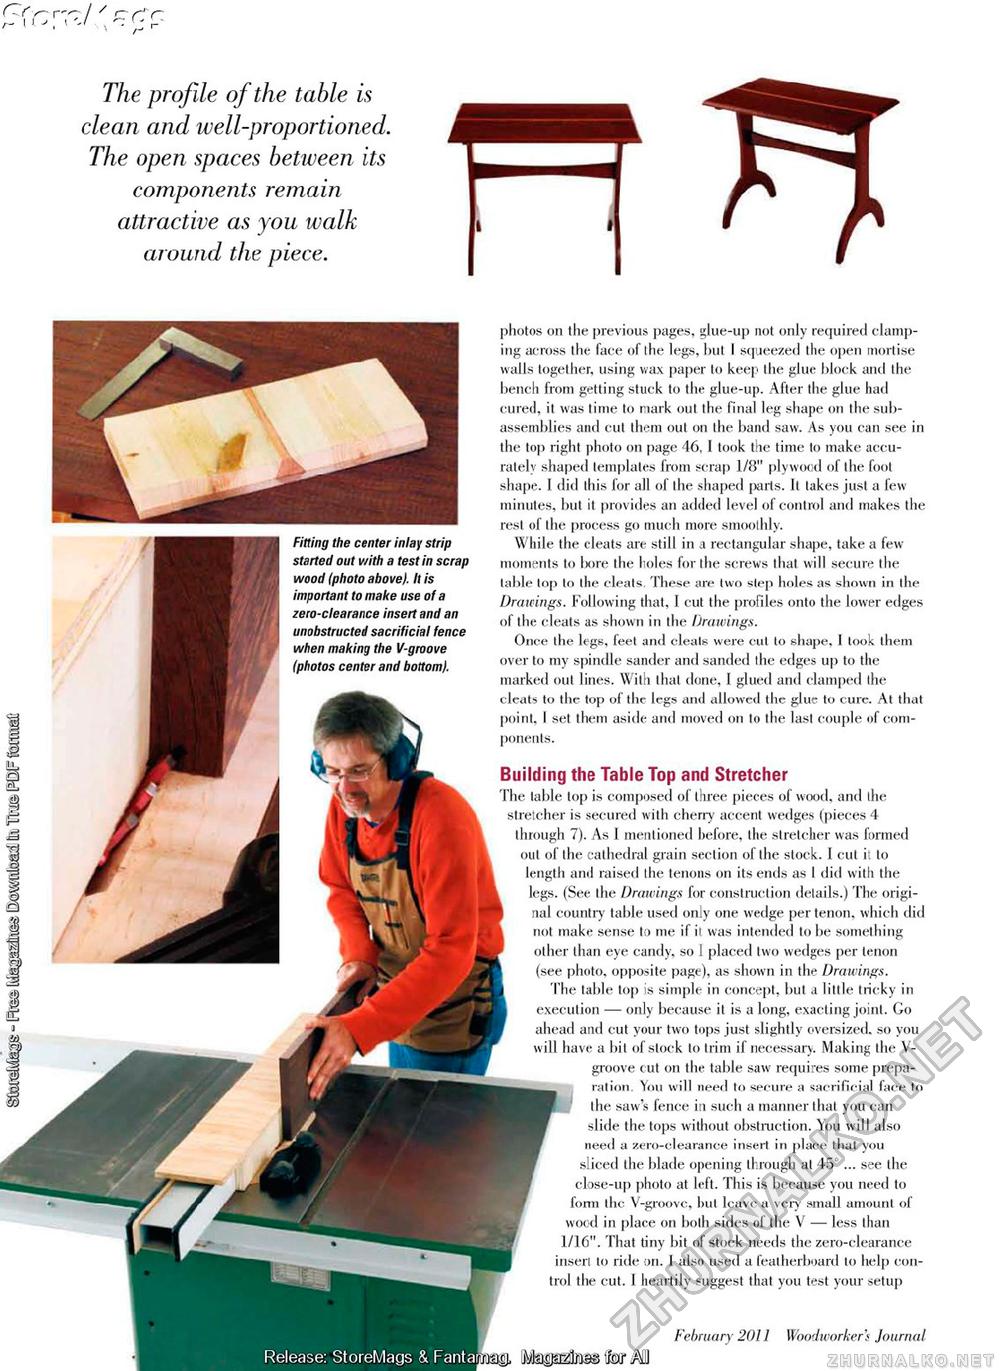
y— / / r* c r { w| iv T ^ !-- The profile of the table is clean and well-proportioned. The open spaces between its components remain attractive as you walk around the piece. February 2011 Woodworkers Journal iVto^i^Lrias ifexr Ml Fitting the center inlay strip started out with a test in scrap wood (photo above). It is important to make use of a zero-clearance insert and an unobstructed sacrificial fence when making the V-groove (photos center and bottom). photos on the previous pages, glue-up not only required clamping across the face of the legs, but I squeezed the open mortise walls together, using wax paper to keep the glue block and the bench from getting stuck to the glue-up. After the glue had cured, it was time to nark out the final leg shape on the subassemblies and cut them out on the band saw. As you can see in the top right photo on page 46, I took the time to make accurately shaped templates from scrap 1/8" plywood of the foot shape. 1 did this for all of the shaped parts. It takes just a few minutes, but it provides an added level of control and makes the rest of the process go much more smoothly. While the cleats are still in a rectangular shape, take a few moments to bore the holes for the screws that will secure the table top to the cleats. These are two step holes as shown in the Drawings. Following that, 1 cut the profiles onto the lower edges of the cleats as shown in the Drawings. Once the legs, feet and cleats were cut to shape, 1 look them over to my spindle sander and sanded the edges up to the marked out lines. With that done, 1 glued and clamped the cleats to the top of the legs and allowed the glue to cure. At that point, I set them aside and moved on to the last couple of components. Building the Table Top and Stretcher The table top is composed of three pieces of wood, and the stretcher is secured with cherry accent wedges (pieces 4 through 7). As 1 mentioned before, the stretcher was formed out of the cathedral grain section of the stock. I cut it to length and raised the tenons on its ends as I did with the legs. (See the Drawings for construction details.) The original country table used only one wedge per tenon, which did not make sense to me if it was intended to be something other than eye candy, so 1 placed two wedges per tenon (see photo, opposite page), as shown in the Drawings. The table top is simple in concept, but a little tricky in execution — only because it is a long, exacting joint. Go ahead and cut your two tops just slightly oversized, so you will have a bit of stock to trim if necessary. Making the V-groove cut on the table saw requires some preparation. You will need to secure a sacrificial face to the saw's fence in such a manner that you can slide the tops without obstruction. You will also need a zero-clearance insert in place that you sliced the blade opening through at 45°... see the close-up photo at left. This is because you need to form the V-groovc, hut leave a very small amount of wood in place on both sides of the V — less than 1/16". That tiny bit of stock needs the zero-clearance insert to ride on. 1 also used a featherboard to help control the cut. 1 heartily suggest that you test your setup |


