Woodworker's Journal fall-2008, страница 37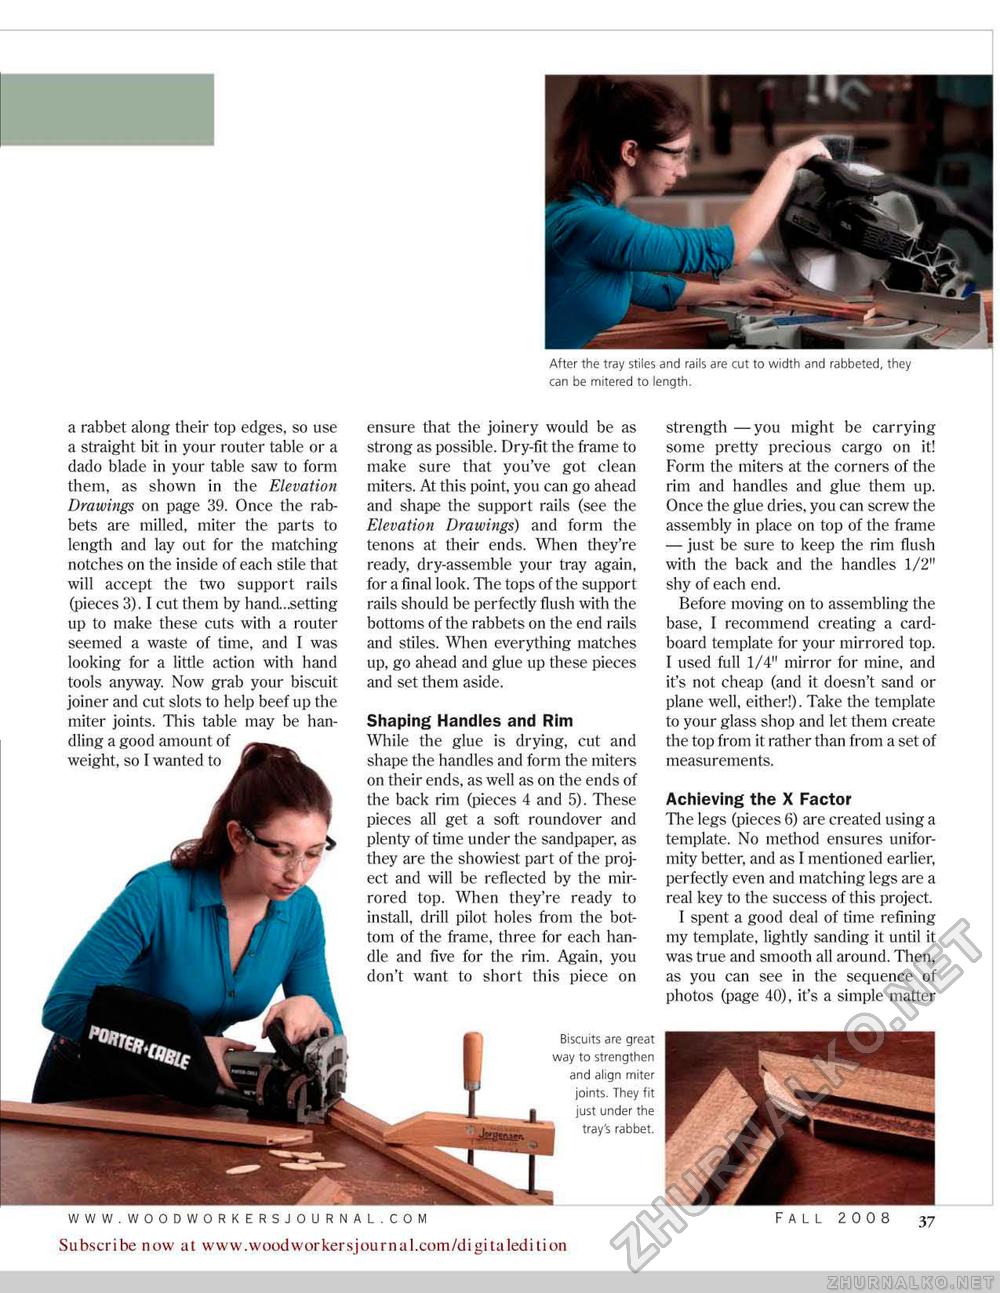
After the tray stiles and rails are cut to width and rabbeted, they can be mitered to length. Biscuits are great way to strengthen and align miter joints. They fit just under the tray's rabbet. WWW.WOODWORKERSJOURNAL.COM FALL 2 00 8 37 Subscribe now at www.woodwoirkersjouriial.com/digitaledition strength —you might he carrying some pretty precious cargo on it! Form the miters at the corners of the rim and handles and glue them up. Once the glue dries, you can screw the assembly in place on top of the frame — just be sure to keep the rim flush with the back and the handles 1/2" shy of each end. Before moving on to assembling the base, I recommend creating a cardboard template for your mirrored top, 1 used full 1/4" mirror for mine, and it's not cheap (and it doesn't sand or plane well, either!). Take the template to your glass shop and let them create the top from it rather than from a set of measurements. a rabbet along their top edges, so use a straight bit in your router table or a dado blade in your table saw to form them, as shown in the Elevation Drawings 011 page 39. Once the rabbets are milled, miter the parts to length and lay out for the matching notches on the inside of each stile that will accept the two support rails (pieces 3). I cut them by hand..setting up to make these cuts with a router seemed a waste of time, and I was looking for a little action with hand tools anyway. Now grab your biscuit joiner and cut slots to help beef up the miter joints. This table may be handling a good amount of weight, so 1 wanted to ensure that the joinery would be as strong as possible. Dry-fit the frame to make sure that you've got clean miters. At this point, you can go ahead and shape the support rails (see the Elevation Drawings) and form the tenons at their ends. When they're ready, dry-assemble your tray again, for a final look. The tops of the support rails should be perfectly flush with the bottoms of the rabbets on the end rails and stiles. When everything matches up, go ahead and glue up these pieces and set them aside. Shaping Handles and Rim While the glue is drying, cut and shape the handles and form the miters on their ends, as well as on the ends of the back rim (pieces 4 and 5). These pieces ail get a soft roundover and plenty of time under the sandpaper, as they are the showiest part of the project and will be reflected by the mirrored top. When they're ready to install, drill pilot holes from the bottom of the frame, three for each handle and five for the rim. Again, you don't want to short this piece on Achieving the X Factor The legs (pieces 6) are created using a template. No method ensures uniformity better, and as I mentioned earlier, perfectly even and matching legs are a real key to the success of this project. I spent a good deal of time refining my template, lightly sanding it until it was true and smooth all around. Then, as you can see in the sequence of photos (page 40), it's a simple matter |


