Woodworker's Journal fall-2008, страница 40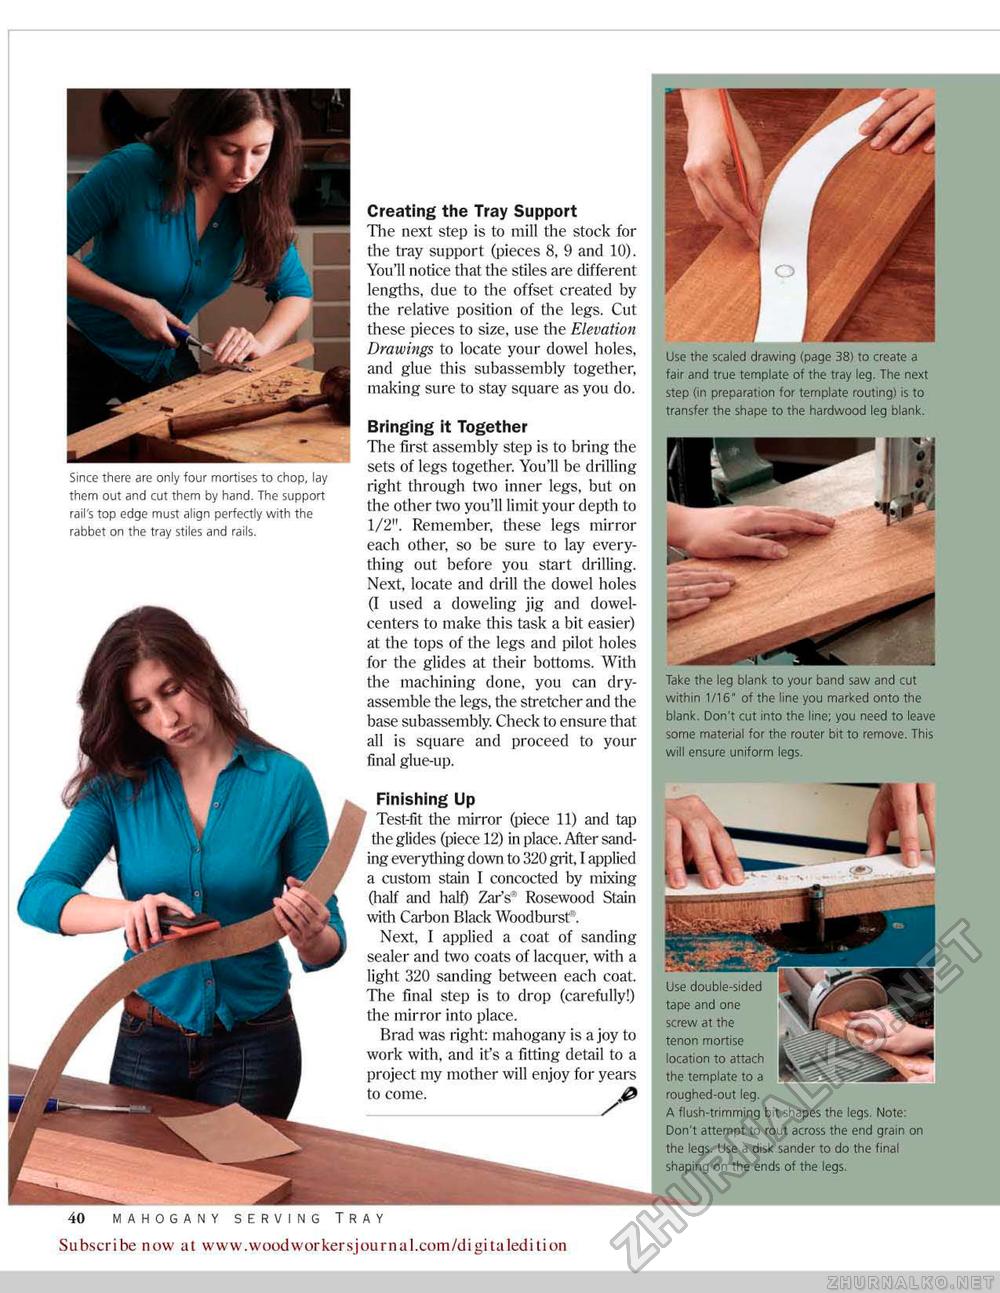
Since there are only four mortises to chop, (ay them out and cut them by hand. The support rail's top edge must align perfectly with the rabbet on the tray stiles and rails. Creating the Tray Support The next step is to miil the stock for the tray support (pieces 8, 9 and 10). You'll notice that the stiles are different lengths, due to the offset created by the relative position of the legs. Cut these pieces to size, use the Elevation Drawings to locate your dowel holes, and glue this subassembly together, making sure to stay square as you do. Use the scaled drawing (page 38) to create a fair and true tempfate of the tray leg. The next step (in preparation for template routing) is to transfer the shape to the hardwood leg blank. Take the leg blank to your band saw and cut within 1/16" of the line you marked onto the blank. Don't cut into the line; you need to leave some material for the router bit to remove. This will ensure uniform legs. Bringing it Together The first assembly step is to faring the sets of legs together. You'll be drilling right through two inner legs, but on the other two you'll limit your depth to 1/2". Remember, these legs mirror each other, so be sure to lay everything out before you start drilling. Next, locate and drill the dowel holes (I used a doweling jig and dowel-centers to make this task a bit easier) at the tops of the legs and pilot holes for the glides at their bottoms. With the machining done, you can dry-assemble the legs, the stretcher and the base subassembly. Check to ensure that all is square and proceed to your final glue-up. Finishing Up Test-fit the mirror (piece 11) and tap the glides (piece 12) in place. After sanding everything down to 320 grit, I applied a custom stain 1 concocted by mixing (half and half) Zar's - Rosewood Stain with Carbon Black Woodbursf . Next, I applied a coat of sanding sealer and two coats of lacquer, with a light 320 sanding between each coat. The final step is to drop (carefully!) the mirror into place. Brad was right: mahogany is a joy to work with, and it's a fitting detail to a project my mother will enjoy for years to come. y Use double-sided tape and one screw at the tenon mortise location to attach the template to a roughed-out leg. A flush-trimming bit shapes the legs. Note: Don't attempt to rout across the end grain on the legs. Use a disk sander to do the final shaping on the ends of the legs. 40 ArtS & CrAFtS STYLE SiDE TABLE Subscribe now at www.woodworkersjournal.com/digitaledition |


