Woodworker's Journal fall-2008, страница 42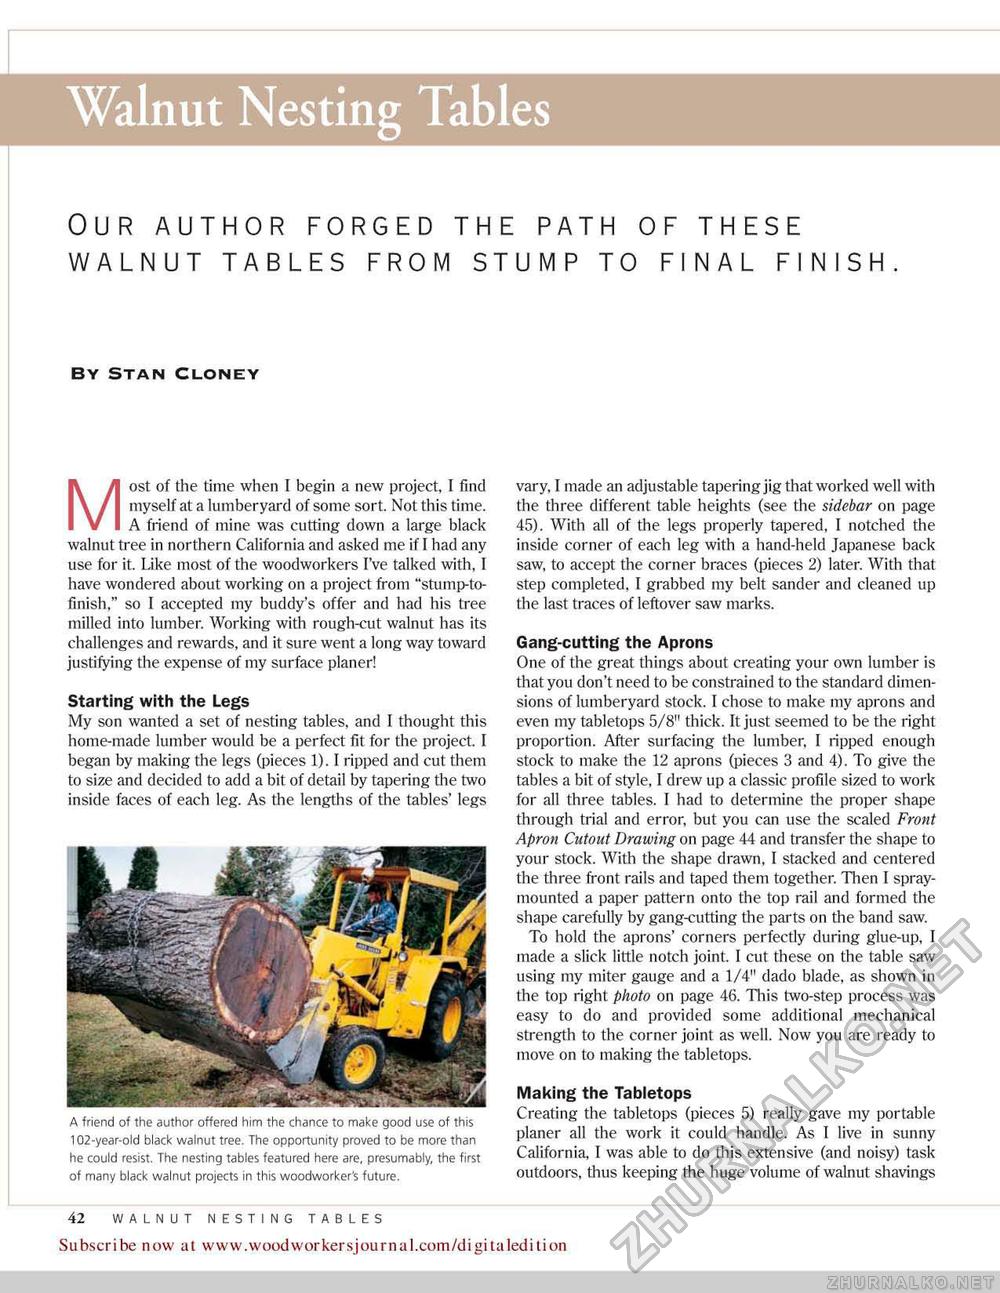
Walnut Nesting Tables OUR AUTHOR FORGED THE PATH OF THESE WALNUT TABLES FROM STUMP TO FINAL FINISH. by stan cloney Most of the time when I begin a new project, I find myself at a lumberyard of some sort. Not this time. A friend of mine was cutting down a large black walnut tree in northern California and asked me if I had any use for it. Like most of the woodworkers I've talked with, I have wondered about working on a project from "stump-to-finish," so I accepted my buddy's offer and had his tree milled into lumber. Working with rough-cut walnut has its challenges and rewards, and it sure went a long way toward justifying the expense of my surface planer! Starting with the Legs My son wanted a set of nesting tables, and I thought this home-made lumber would be a perfect fit for the project. I began by making the legs (pieces 1). I ripped and cut them to size and decided to add a bit of detail by tapering the two inside faces of each leg. As the lengths of the tables' legs A friend of the author offered him the chance to make good use of this 102-year-old black walnut tree. The opportunity proved to be more than he couid resist. The nesting tables featured here are, presumably, the first of many black walnut projects in this woodworker's future. vary, I made an adjustable tapering jig that worked well with the three different table heights (see the sidebar on page 45). With all of the legs properly tapered, I notched the inside corner of each leg with a hand-held Japanese back saw, to accept the corner braces (pieces 2) later. With that step completed, I grabbed my belt sander and cleaned up the last traces of leftover saw marks. Gang-cutting the Aprons One of the great things about creating your own lumber is that you don't need to be constrained to the standard dimensions of lumberyard stock. I chose to make my aprons and even my tabletops 5/8" thick. It just seemed to be the right proportion. After surfacing the lumber, I ripped enough stock to make the 12 aprons (pieces 3 and 4). To give the tables a bit of style, I drew up a classic profile sized to work for all three tables. I had to determine the proper shape through trial and error, but you can use the scaled Front Apron Cutout Drawing on page 44 and transfer the shape to your stock. With the shape drawn, I stacked and centered the three front rails and taped them together. Then I spray-mounted a paper pattern onto the top rail and formed the shape carefully by gang-cutting the parts on the band saw. To hold the aprons' corners perfectly during glue-up, I made a slick little notch joint. I cut these on the table saw using my miter gauge and a 1/4" dado blade, as shown in the top right photo on page 46. This two-step process was easy to do and provided some additional mechanical strength to the corner joint as well. Now you are ready to move on to making the tabletops. Making the Tabletops Creating the tabletops (pieces 5) really gave my portable planer all the work it could handle. As I live in sunny California, I was able to do this extensive (and noisy) task outdoors, thus keeping the huge volume of walnut shavings 42 ArTS & CrAFtS STYLE SIDE TABLE Subscribe now at www.woodworkersjournal.com/digitaledition |


