Woodworker's Journal fall-2008, страница 46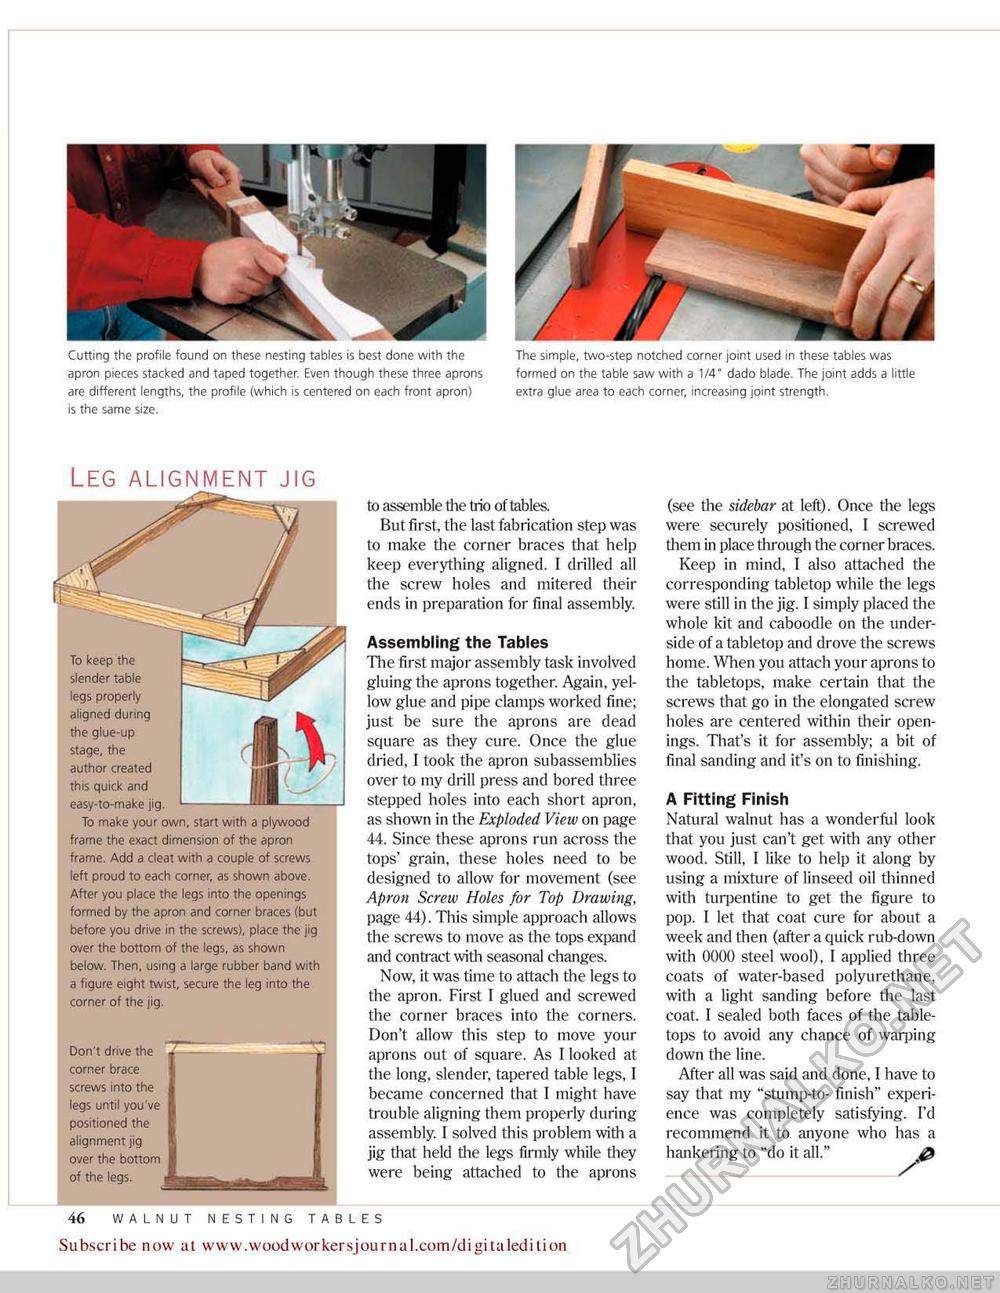
Cutting the profile found on these nesting tables is best done with the apron pieces stacked and taped together. Even though these three aprons are different lengths, the profile (which is centered on each front apron) is the same size. The simple, two-step notched corner joint used in these tables was formed on the table saw with a 1/4" dado blade. The joint adds a little extra glue area to each corner, increasing joint strength. Don't drive the corner brace screws into the legs until you've positioned the alignment jig over the bottom of the legs. to assemble the bio of tables. But first, the last fabrication step was to make the corner braces that help keep everything aligned. I drilled all the screw holes and mitered their ends in preparation for final assembly Assembling the Tables The first major assembly task involved gluing the aprons together. Again, yellow glue and pipe clamps worked fine; just be sure the aprons are dead square as they cure. Once the glue dried, I took the apron subassemblies over to my drill press and bored three stepped holes into each short apron, as shown in the Exploded View on page 44. Since these aprons run across the tops' grain, these holes need to be designed to allow for movement (see Apron Screw Holes for Top Drawing, page 44). This simple approach allows the screws to move as the tops expand and contract with seasonal changes. Now, it was time to attach the legs to the apron. First I glued and screwed the corner braces into the corners. Don't allow this step to move your aprons out of square. As I looked at the long, slender, tapered table legs, I became concerned that I might have trouble aligning them properly during assembly. I solved this problem with a jig that held the legs firmly while they were being attached to the aprons (see the sidebar at left). Once the legs were securely positioned, I screwed them in place through the corner braces. Keep in mind, I also attached the corresponding tabletop while the legs were still in the jig. I simply placed the whole kit and caboodle on the underside of a tabletop and drove the screws home. When you attach your aprons to the tabletops, make certain that the screws that go in the elongated screw holes are centered within their openings. That's it for assembly; a bit of final sanding and it's on to finishing. A Fitting Finish Natural walnut has a wonderful look that you just can't get with any other wood. Still, I like to help it along by using a mixture of linseed oil thinned with turpentine to get the figure to pop. I let that coat cure for about a week and then (after a quick rub-down with 0000 steel wool), [ applied three coats of water-based polyurethane, with a light sanding before the last coat. I sealed both faces of the table-tops to avoid any chance of warping down the line. After all was said and done, I have to say that my "stump-to- finish" experience was completely satisfying. I'd recommend it to anyone who has a hankering to "do it all." 46 ArTS & CrAFtS STYLE SIDE TABLE Subscribe now at www.woodworkersjournal.com/digitaledition leg alignment jig To keep the slender table legs properly aligned during the glue-up stage, the author created this quick and easy-to-make jig. To make your own, start with a plywood frame the exact dimension of the apron frame. Add a cleat with a couple of screws left proud to each corner, as shown above. After you place the legs into the openings formed by the apron and corner braces (but before you drive in the screws), place the jig over the bottom of the tegs, as shown below. Then, using a large rubber band with a figure eight twist, secure the leg into the corner of the jig. |


