Woodworker's Journal fall-2009, страница 26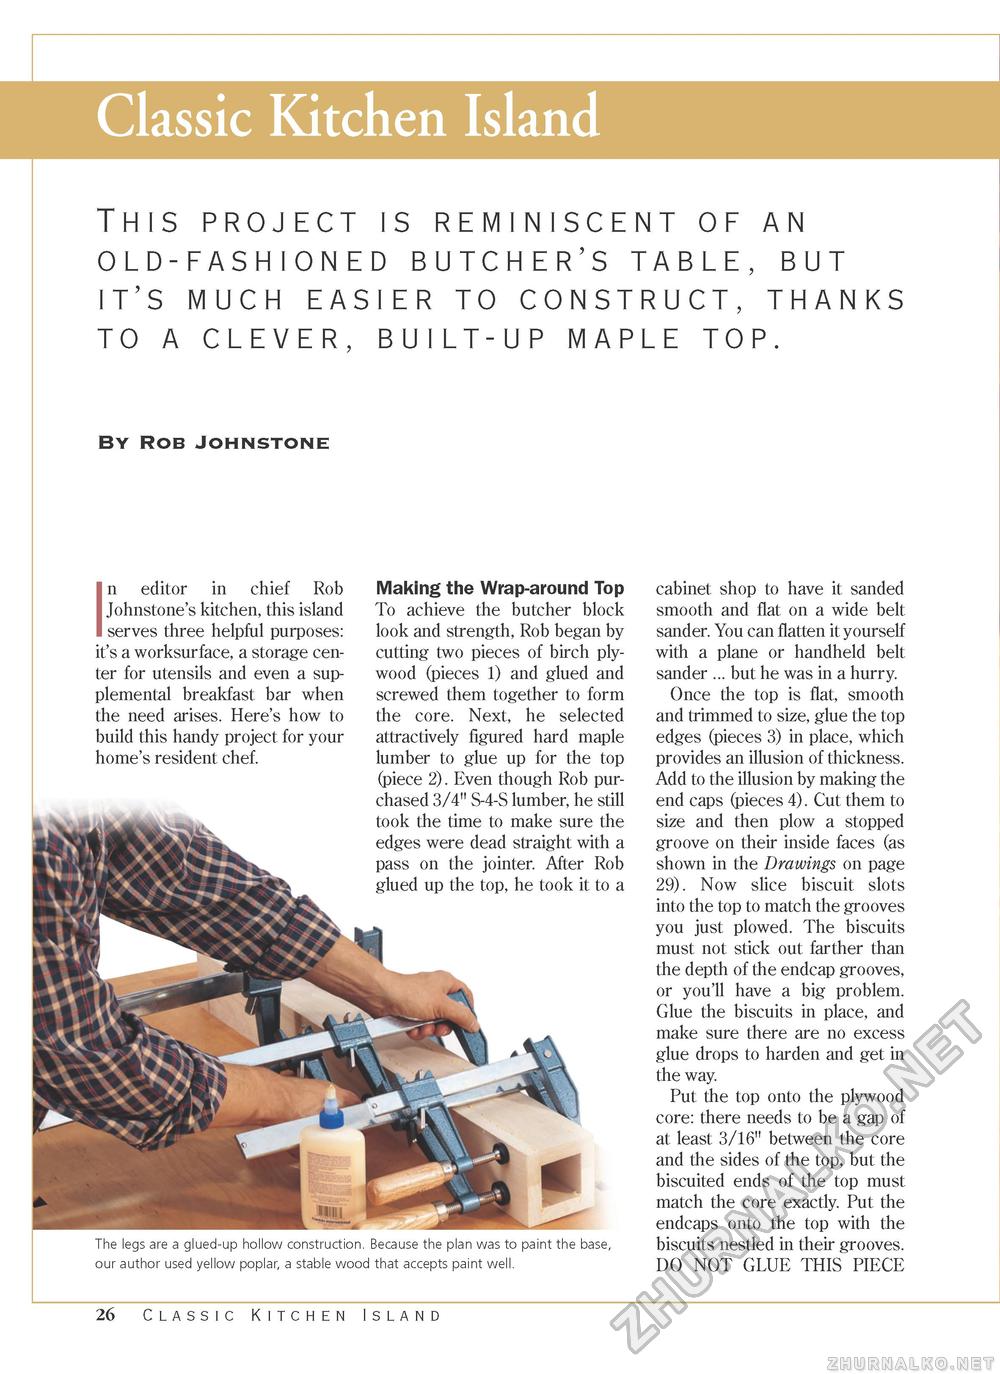
Classic Kitchen Island This project is reminiscent of an old-fashioned butcher's table, but it's much easier to construct, thanks to a clever, built-up maple top. By Rob Johnstone n editor in chief Rob Johnstone's kitchen, this island serves three helpful purposes: it's a worksurface, a storage center for utensils and even a supplemental breakfast bar when the need arises. Here's how to build this handy project for your home's resident chef. Making the Wrap-around Top To achieve the butcher block look and strength, Rob began by cutting two pieces of birch plywood (pieces 1) and glued and screwed them together to form the core. Next, he selected attractively figured hard maple lumber to glue up for the top (piece 2). Even though Rob purchased 3/4" S-4-S lumber, he still took the time to make sure the edges were dead straight with a pass on the jointer. After Rob glued up the top, he took it to a The legs are a glued-up hollow construction. Because the plan was to paint the base, our author used yellow poplar, a stable wood that accepts paint well. cabinet shop to have it sanded smooth and flat on a wide belt sander. You can flatten it yourself with a plane or handheld belt sander ... but he was in a hurry. Once the top is flat, smooth and trimmed to size, glue the top edges (pieces 3) in place, which provides an illusion of thickness. Add to the illusion by making the end caps (pieces 4). Cut them to size and then plow a stopped groove on their inside faces (as shown in the Drawings on page 29). Now slice biscuit slots into the top to match the grooves you just plowed. The biscuits must not stick out farther than the depth of the endcap grooves, or you'll have a big problem. Glue the biscuits in place, and make sure there are no excess glue drops to harden and get in the way. Put the top onto the plywood core: there needs to be a gap of at least 3/16" between the core and the sides of the top, but the biscuited ends of the top must match the core exactly. Put the endcaps onto the top with the biscuits nestled in their grooves. DO NOT GLUE THIS PIECE 26 Classic Kitchen Island |


