Woodworker's Journal fall-2009, страница 29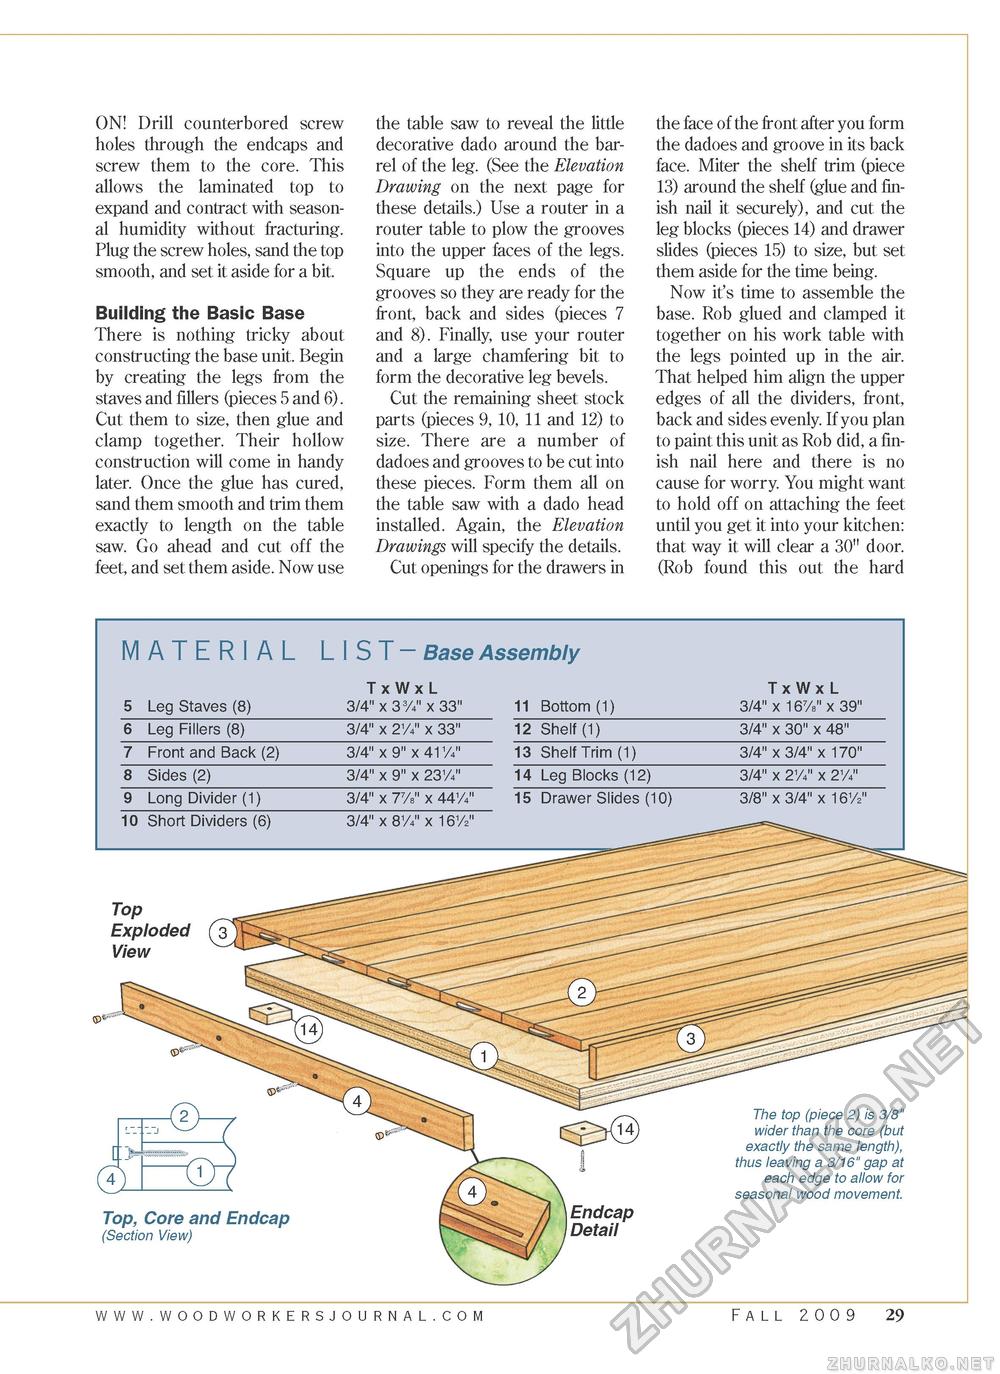
ON! Drill counterbored screw holes through the endcaps and screw them to the core. This allows the laminated top to expand and contract with seasonal humidity without fracturing. Plug the screw holes, sand the top smooth, and set it aside for a bit. Building the Basic Base There is nothing tricky about constructing the base unit. Begin by creating the legs from the staves and fillers (pieces 5 and 6). Cut them to size, then glue and clamp together. Their hollow construction will come in handy later. Once the glue has cured, sand them smooth and trim them exactly to length on the table saw. Go ahead and cut off the feet, and set them aside. Now use the table saw to reveal the little decorative dado around the barrel of the leg. (See the Elevation Drawing on the next page for these details.) Use a router in a router table to plow the grooves into the upper faces of the legs. Square up the ends of the grooves so they are ready for the front, back and sides (pieces 7 and 8). Finally, use your router and a large chamfering bit to form the decorative leg bevels. Cut the remaining sheet stock parts (pieces 9, 10, 11 and 12) to size. There are a number of dadoes and grooves to be cut into these pieces. Form them all on the table saw with a dado head installed. Again, the Elevation Drawings will specify the details. Cut openings for the drawers in the face of the front after you form the dadoes and groove in its back face. Miter the shelf trim (piece 13) around the shelf (glue and finish nail it securely), and cut the leg blocks (pieces 14) and drawer slides (pieces 15) to size, but set them aside for the time being. Now it's time to assemble the base. Rob glued and clamped it together on his work table with the legs pointed up in the air. That helped him align the upper edges of all the dividers, front, back and sides evenly. If you plan to paint this unit as Rob did, a finish nail here and there is no cause for worry. You might want to hold off on attaching the feet until you get it into your kitchen: that way it will clear a 30" door. (Rob found this out the hard
Top Exploded ( 3 ) View © The top (piece 2) is 3/8" wider than the core (but exactly the same length), thus leaving a 3/16" gap at each edge to allow for seasonal wood movement. Top, Core and Endcap (Section View) Fall 2009 29 |
||||||||||||||||||||||||||||


