Woodworker's Journal winter-2010, страница 71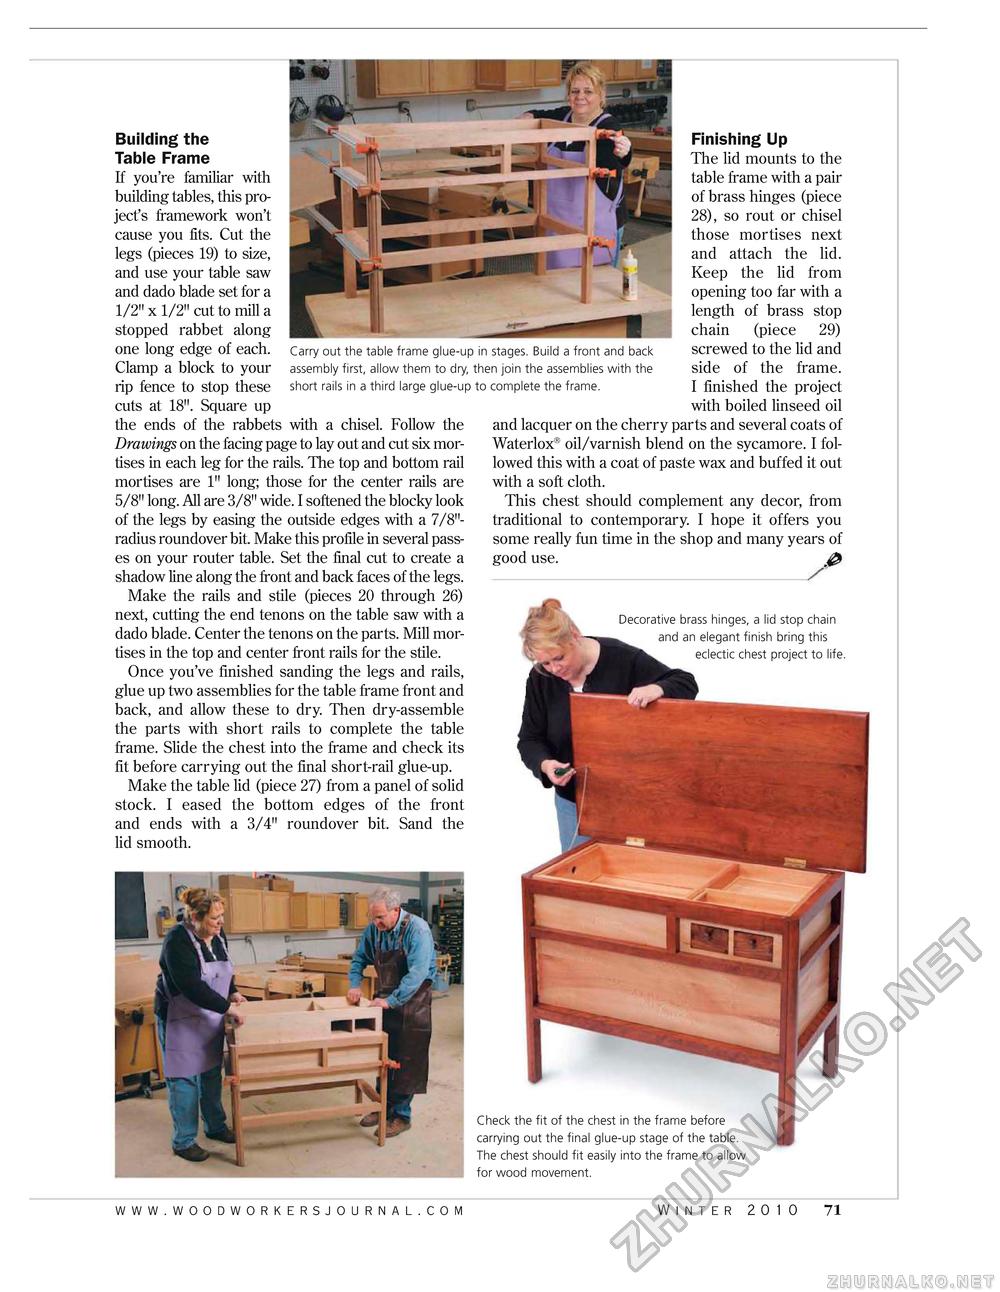
Building the Table Frame If you're familiar with building tables, this project's framework won't cause you fits. Cut the legs (pieces 19) to size, and use your table saw and dado blade set for a 1/2" x 1/2" cut to mill a stopped rabbet along one long edge of each. Clamp a block to your rip fence to stop these cuts at 18". Square up the ends of the rabbets with a chisel. Follow the Drawings on the facing page to lay out and cut six mortises in each leg for the rails. The top and bottom rail mortises are 1" long; those for the center rails are 5/8" long. All are 3/8" wide. I softened the blocky look of the legs by easing the outside edges with a 7/8"-radius roundover bit. Make this profile in several passes on your router table. Set the final cut to create a shadow line along the front and back faces of the legs. Make the rails and stile (pieces 20 through 26) next, cutting the end tenons on the table saw with a dado blade. Center the tenons on the parts. Mill mortises in the top and center front rails for the stile. Once you've finished sanding the legs and rails, glue up two assemblies for the table frame front and back, and allow these to dry. Then dry-assemble the parts with short rails to complete the table frame. Slide the chest into the frame and check its fit before carrying out the final short-rail glue-up. Make the table lid (piece 27) from a panel of solid stock. I eased the bottom edges of the front and ends with a 3/4" roundover bit. Sand the lid smooth. Carry out the table frame glue-up in stages. Build a front and back assembly first, allow them to dry, then join the assemblies with the short rails in a third large glue-up to complete the frame. Finishing Up The lid mounts to the table frame with a pair of brass hinges (piece 28), so rout or chisel those mortises next and attach the lid. Keep the lid from opening too far with a length of brass stop chain (piece 29) screwed to the lid and side of the frame. I finished the project with boiled linseed oil and lacquer on the cherry parts and several coats of Waterlox® oil/varnish blend on the sycamore. I followed this with a coat of paste wax and buffed it out with a soft cloth. This chest should complement any decor, from traditional to contemporary. I hope it offers you some really fun time in the shop and many years of good use. 0 A Decorative brass hinges, a lid stop chain and an elegant finish bring this eclectic chest project to life. Check the fit of the chest in the frame before carrying out the final glue-up stage of the table. The chest should fit easily into the frame to allow for wood movement. Winter 2010 71 |


