Creative Woodworks & crafts 1997-08, страница 16
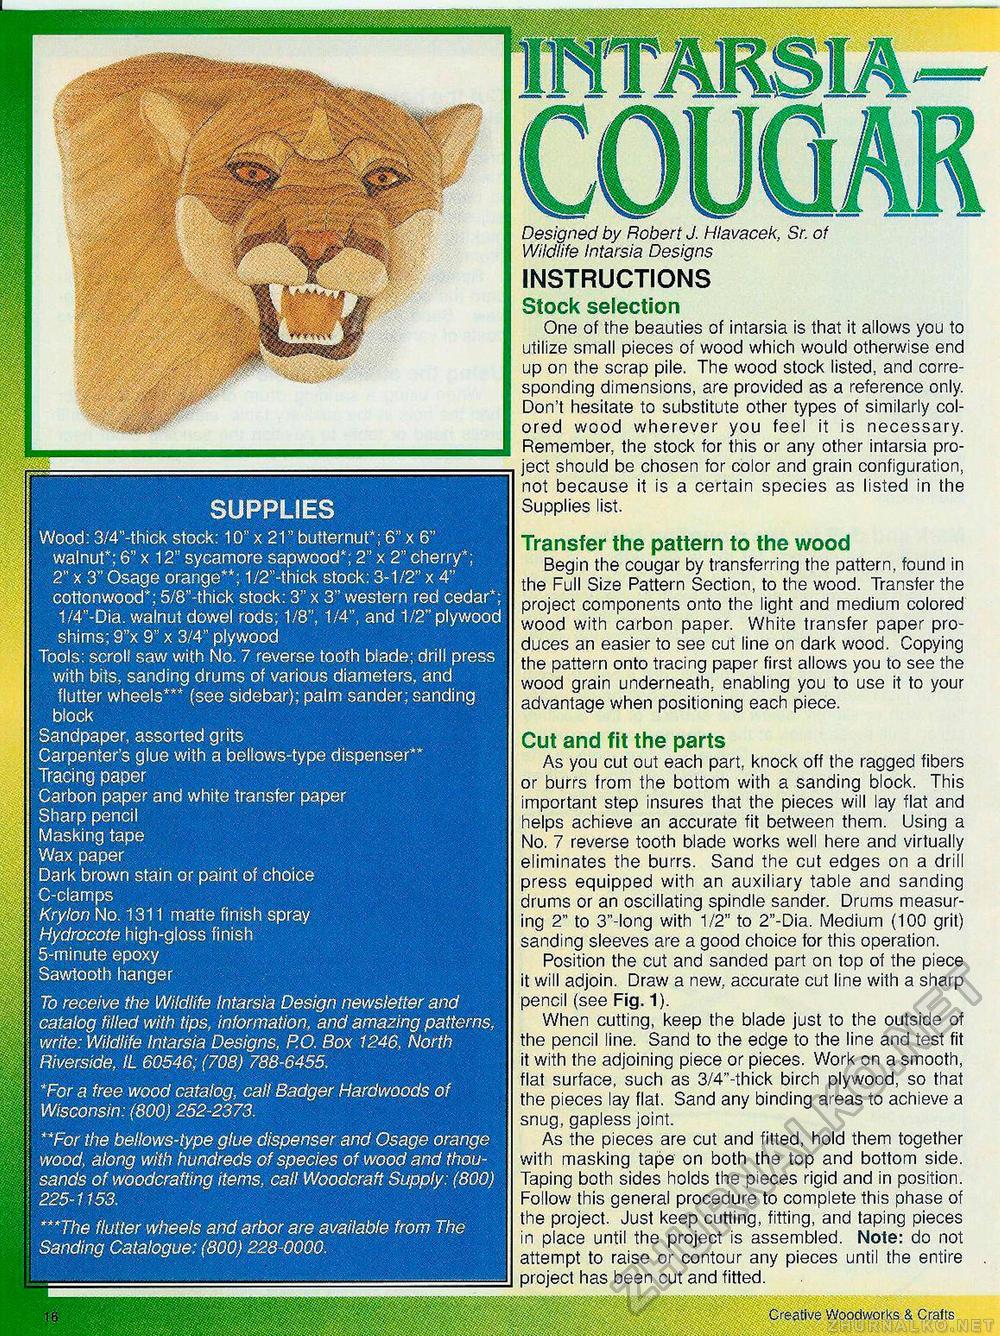
llllll SUPPLIES Wood: 3/4"-thick stock: 10" x 21" butternut*; 6" x 6" walnut*; 6" x 12" sycamore sapwood"; 2" x 2" cherry*; 2" x 3" Osage orange**; 1/2"-thick stock: 3-1/2" x 4" cottonwood*; 5/8"-thick stock: 3" x 3" western red cedar*; 1/4"-Dia. walnut dowel rods; 1/8", 1/4", and 1/2" plywood shims; 9"x 9" x 3/4" plywood Tools: scroll saw with No. 7 reverse tooth blade; drill press with bits, sanding drums of various diameters, and flutter wheels*** (see sidebar); palm sander; sanding block Sandpaper, assorted grits Carpenter's glue with a bellows-type dispenser** Tracing paper Carbon paper and white transfer paper Sharp pencil Masking tape Wax paper Dark brown stain or paint of choice C-ciamps Krylon No. 1311 matte finish spray Hydrocote high-gloss finish 5-minute epoxy Sawtooth hanger To receive the Wildlife intarsia Design newsletter and ;. catalog filled with tips, information, and amazing patterns, ! write: Wildlife Intarsia Designs, P.O. Box 1246, North j[ Riverside, tL 60546; (708) 788-6455. J *For a free wood catalog, call Badger Hardwoods of } Wisconsin: (800) 252-2373. "For the bellows-type glue dispenser and Osage orange : wood, along with hundreds of species of wood and thousands of woodcrafting items, call Woodcraft Supply: (800) 225-1153. Transfer the pattern to the wood Begin the cougar by transferring the pattern, found in the Full Size Pattern Section, to the wood. Transfer the project components onto the light and medium colored wood with carbon paper. White transfer paper produces an easier to see cut line on dark wood. Copying the pattern onto tracing paper first allows you to see the wood grain underneath, enabling you to use it to your advantage when positioning each piece. ***The flutter wheels and arbor are available from The Sanding Catalogue: (800) 228-0000. Cut and fit the parts As you cut out each part, knock off the ragged fibers or burrs from the bottom with a sanding block. This important step insures that the pieces will lay flat and helps achieve an accurate fit between them. Using a No. 7 reverse tooth blade works well here and virtually eliminates the burrs. Sand the cut edges on a drill press equipped with an auxiliary table and sanding drums or an oscillating spindle sander. Drums measuring 2" to 3"-long with 1/2" to 2"-Dia. Medium (100 grit) sanding sleeves are a good choice for this operation. Position the cut and sanded part on top of the piece it will adjoin. Draw a new, accurate cut line with a sharp pencil (see Fig. 1). When cutting, keep the blade just to the outside of the pencil line. Sand to the edge to the line and test fit it with the adjoining piece or pieces. Work on a smooth, flat surface, such as 3/4"-thick birch plywood, so that the pieces lay flat. Sand any binding areas to achieve a snug, gapless joint. As the pieces are cut and fitted, hold them together with masking tape on both the top and bottom side. Taping both sides holds the pieces rigid and in position. Follow this general procedure to complete this phase of the project. Just keep cutting, fitting, and taping pieces in place until the project is assembled. Note: do not attempt to raise or contour any pieces until the entire project has been cut and fitted. Creative Woodworks & Crafts Designed by Robert J. Hlavacek, Sr. of Wildlife Intarsia Designs INSTRUCTIONS Stock selection One of the beauties of intarsia is that it allows you to utilize small pieces of wood which would otherwise end up on the scrap pile. The wood stock listed, and corresponding dimensions, are provided as a reference only. Don't hesitate to substitute other types of similarly colored wood wherever you feel it is necessary. Remember, the stock for this or any other intarsia project should be chosen for color and grain configuration, not because it is a certain species as listed in the Supplies list. |


