Creative Woodworks & crafts 1997-08, страница 62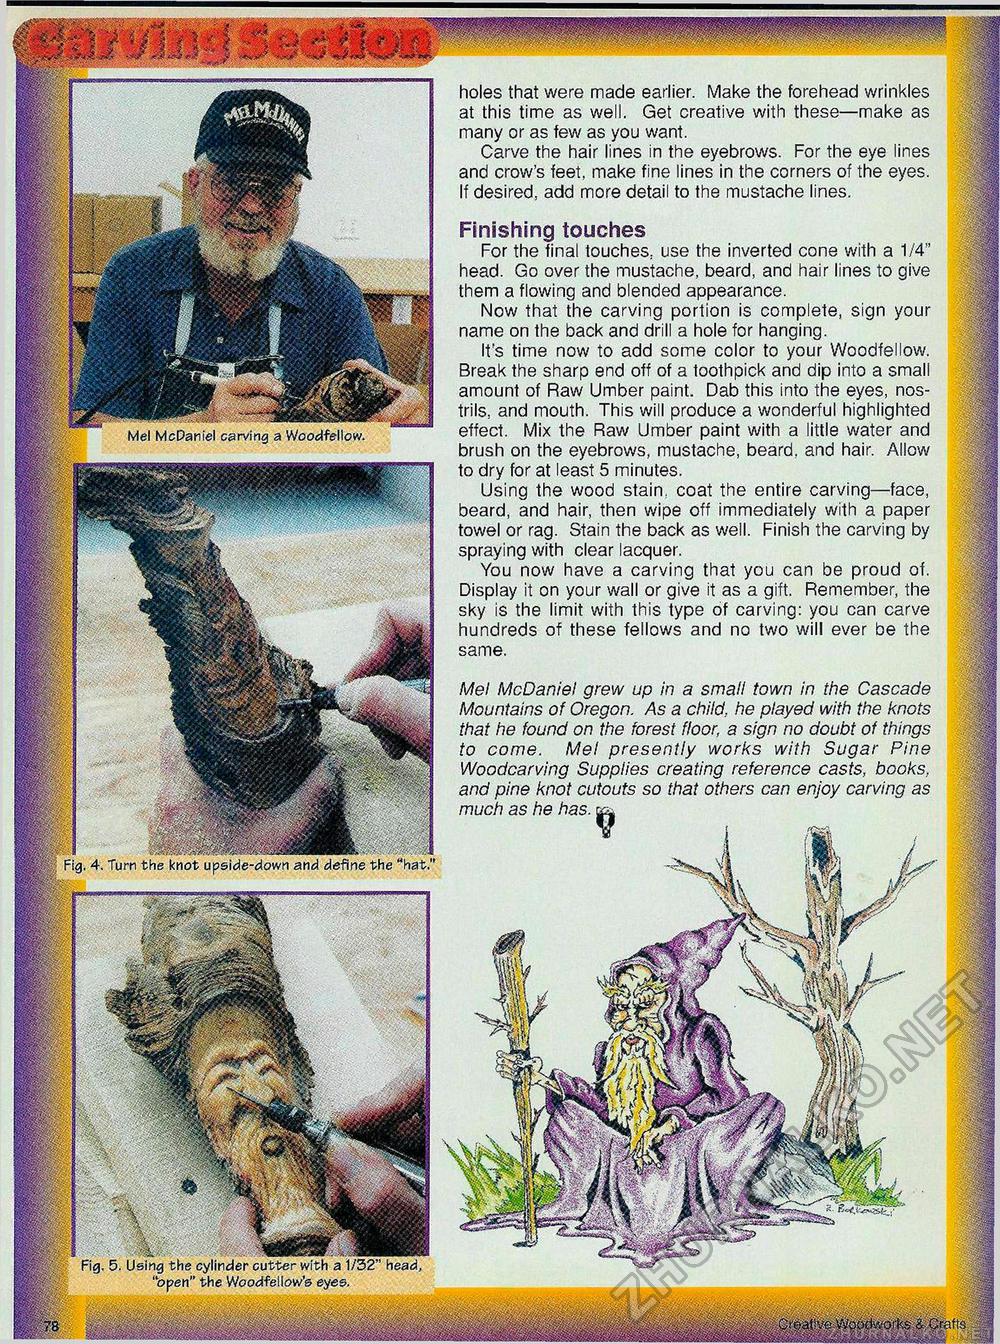
holes that were made earlier. Make the forehead wrinkles at this time as well. Get creative with these—make as many or as few as you want. Carve the hair lines in the eyebrows. For the eye lines and crow's feet, make fine lines in the corners of the eyes. If desired, add more detail to the mustache lines. Finishing touches For the final touches, use the inverted cone with a 1/4" head. Go over the mustache, beard, and hair lines to give them a flowing and blended appearance. Now that the carving portion is complete, sign your name on the back and drill a hole for hanging. It's time now to add some color to your Woodfellow. Break the sharp end off of a toothpick and dip into a small amount of Raw Umber paint. Dab this into the eyes, nostrils, and mouth. This will produce a wonderful highlighted effect. Mix the Raw Umber paint with a little water and brush on the eyebrows, mustache, beard, and hair. Allow to dry for at least 5 minutes. Using the wood stain, coat the entire carving—face, beard, and hair, then wipe off immediately with a paper towel or rag. Stain the back as well. Finish the carving by spraying with clear lacquer. You now have a carving that you can be proud of. Display it on your wall or give it as a gift. Remember, the sky is the limit with this type of carving: you can carve hundreds of these fellows and no two will ever be the same. Mel McDariel carving a Woodfellow. Mel McDaniel grew up in a small town in the Cascade Mountains of Oregon. As a child, he played with the knots that he found on the forest floor, a sign no doubt of things to come. Mel presently works with Sugar Pine Woodcarving Supplies creating reference casts, books, and pine knot cutouts so that others can enjoy carving as much as he has. c&i Fig. 4. Turn the knot upside-down and define the "hat. Fig. 5. Using the cylinder cutter with a 1/32" head "open" the Woodfellow's eyes. |


