Creative Woodworks & crafts 1999-11, страница 44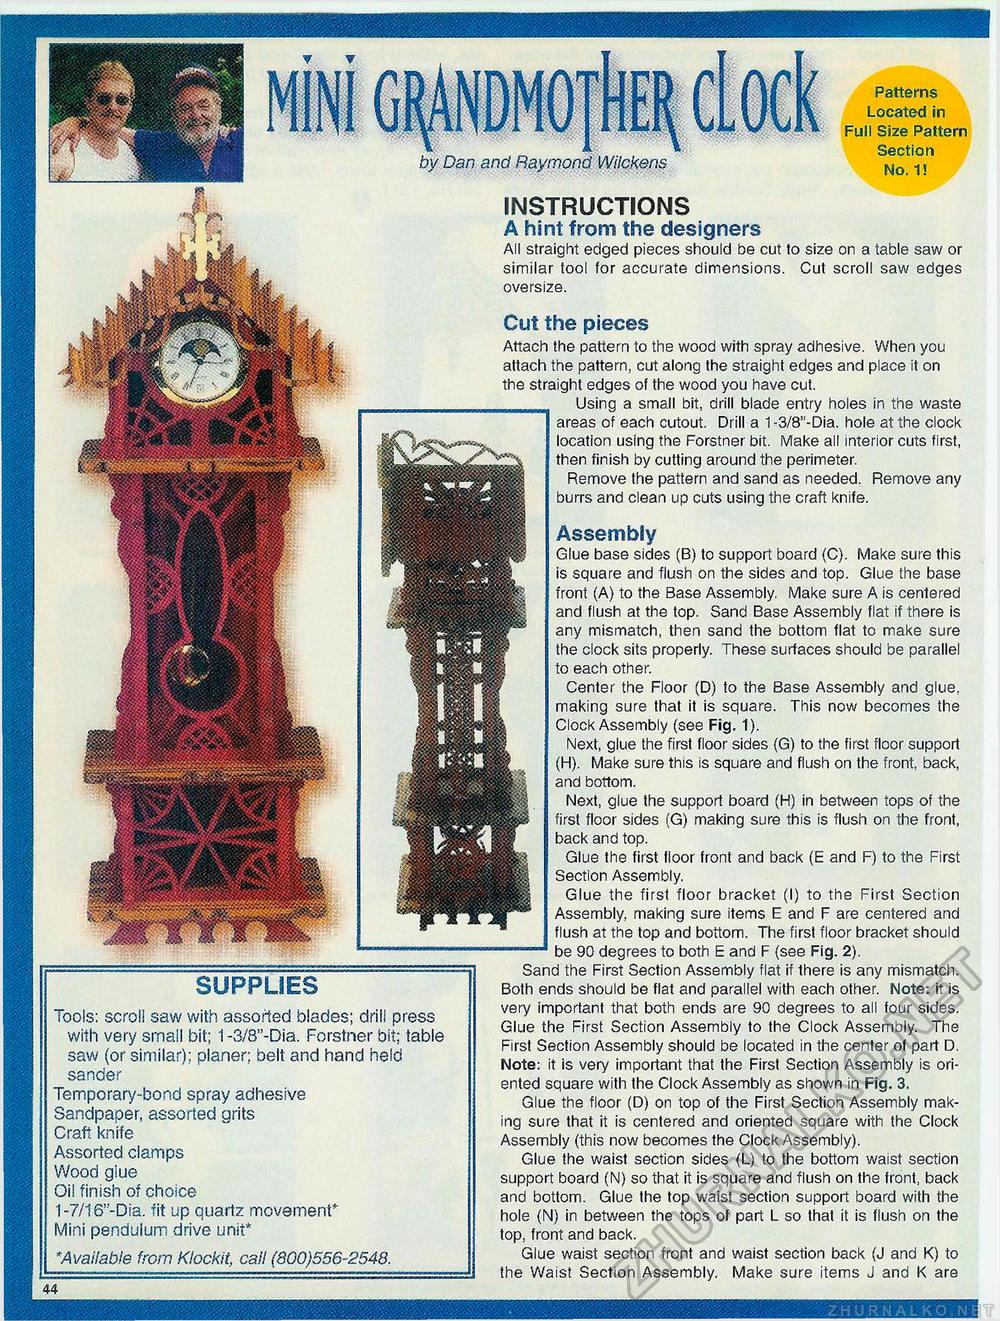
Patterns Located in Full Size Pattern Section No. 1! by Dan and Raymond Wilckens instructions A hint from the designers All straight edged pieces should be cut to size on a table saw or similar tool for accurate dimensions. Cut scroll saw edges oversize. Cut the pieces Attach the pattern to the wood with spray adhesive. When you attach the pattern, cut along the straight edges and place it on the straight edges of the wood you have cut. ........ Using a small bit, drill blade entry holes in the waste areas of each cutout. Drill a 1-3/8"-Dia. hole at the clock location using the Forstner bit. Make all interior cuts first, SHK& f'nish by cutting around the perimeter. Remove the pattern and sand as needed. Remove any burrs and clean up cuts using the craft knife. |fj Assembly |pi Glue base sides (B) to support board (C). Make sure this is square and flush on the sides and top. Glue the base H|g front (A) to the Base Assembly. Make sure A is centered and flush at the top. Sand Base Assembly flat if there is any mismatch, then sand the bottom flat to make sure §P the clock sits properly. These surfaces should be parallel 1 to each other. Center the Floor (D) to the Base Assembly and glue, making sure that it is square. This now becomes the | Clock Assembly (see Fig. 1). Next, glue the first floor sides (G) to the first floor support (H). Make sure this is square and flush on the front, back, and bottom. Hpf Next, glue the support board (H) in between tops of the IpsS first floor sides (G) making sure this is flush on the front, If' back and top. Bp Glue the first floor front and back (E and F) to the First Bp Section Assembly. ■hI Glue the first floor bracket (I) to the First Section jF"* Assembly, making sure items E and F are centered and flush at the top and bottom. The first floor bracket should -- be 90 degrees to both E and F (see Fig. 2). Sand the First Section Assembly flat if there is any mismatch. Both ends should be flat and parallel with each other. Note: it is very important that both ends are 90 degrees to all four sides. Glue the First Section Assembly to the Clock Assembly. The First Section Assembly should be located in the center of part D. Note: it is very important that the First Section Assembly is oriented square with the Clock Assembly as shown in Fig. 3. Glue the floor (D) on top of the First Section Assembly making sure that it is centered and oriented square with the Clock Assembly (this now becomes the Clock Assembly). Glue the waist section sides (L) to the bottom waist section support board (N) so that it is square and flush on the front, back and bottom. Glue the top waist section support board with the hole (N) in between the tops of part L so that it is flush on the top, front and back. Glue waist section front and waist section back (J and K) to the Waist Section Assembly. Make sure items J and K are Tools: scroll saw with assorted blades; drill press with very small bit; 1 -3/8"-Dia. Forstner bit; table saw (or similar); planer; belt and hand held sander Temporary-bond spray adhesive Sandpaper, assorted grits Craft knife Assorted clamps Wood giue Oil finish of choice 1-7/16"-Dia. fit up quartz movement*' Mini pendulum drive unit* *Available from Klockit, call (800)556-2548. |


