Creative Woodworks & crafts 2000-03, страница 73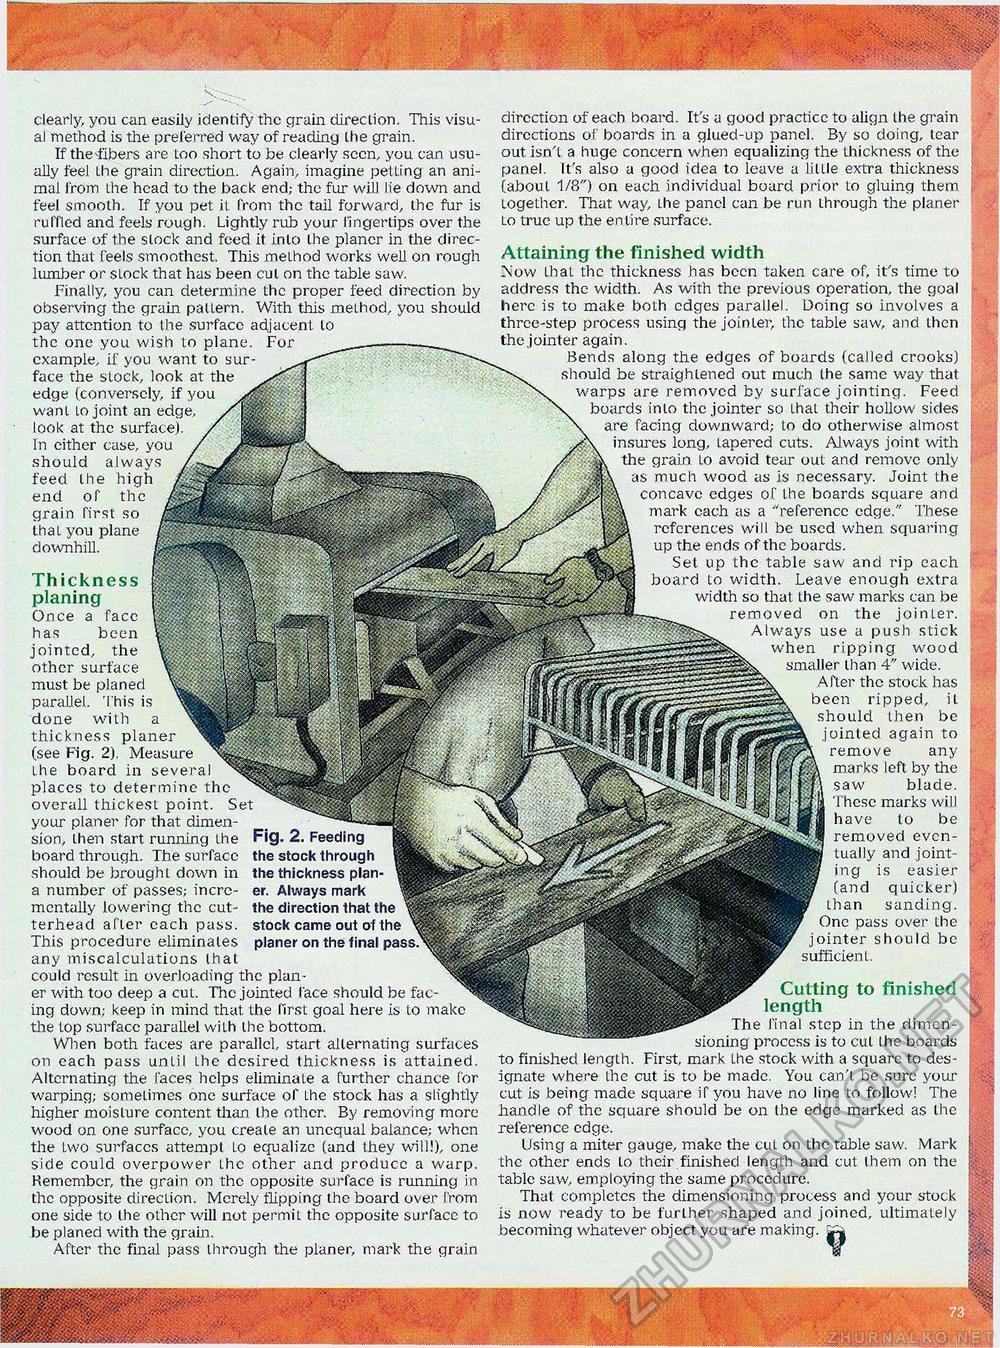
clearly, you can easily identify the grain direction. This visual method is the preferred way of reading Ihe grain. If the fibers are Loo short to be clearly seen, you can usually feel the grain direction. Again, imagine petting an animal from the head to the back end; the fur will lie down and feel smooth. If you pet it. from the tail forward, the fur is ruffled and feels rough. Lightly rub your fingertips over the surface of the stock and feed it into the planer in the direction that feels smoothest. This method works well on rough lumber or sLock that has been cut on the table saw. Finally, you can determine the proper feed direction by observing the grain pattern. With this method, you should pay attention to the surfacc adjacent to the one you wish to plane. For example, if you want to surface the stock, look at the edge (conversely, if you want to joint an edge, look at the surface). In cither case, you should always feed the high end of the grain first so LhaL you plane downhill. Thickness planing Once a face has been jointed, the other surface must be planed parallel. 'I'his is done with a thickness planer (see Fig. 2). Measure the board in several places to determine the overall thickest point. Set your planer for that dimension, then start running the board through. The surface should be brought down in a number of passes; incrementally lowering the cut-terhead after cach pass. This procedure eliminates any miscalculations that could result in overloading the plan er with too deep a cut. The jointed face should be facing down; keep in mind that the first goal here is to make the top surfacc parallel with the bottom. When both faces are parallel, start alternating surfaces on cach pass until the desired thickness is attained. Alternating the faces helps eliminate a further chance for warping; sometimes one surface of the stock has a slightly higher moisture content than the other. By removing more wood on one surfacc, you create an unequal balance; when the two surfaces attempt to equalize (and they will!), one side could overpower the other and produce a warp. Remember, the grain on the opposite surface is running in the opposite direction. Merely flipping the board over from one side to the other will not permit the opposite surfacc to be planed with the grain. After the final pass through the planer, mark the grain Fig. 2. Feeding the stock through the thickness plan er. Always mark the direction that the stock came out of the planer on the final pass. direction of each board. It's a good practicc to align the grain directions of boards in a glued-up panel. By so doing, tear out isn't, a huge concern when equalizing the thickness of the panel. It's also a good idea to leave a little extra thickness (about 1/8") on each individual board prior to gluing them together. That way, the panel can be run through the planer Lo true up the entire surface. Attaining the finished width Now that the thickness has been taken care of, it's time to address the width. As with the previous operation, the goal here is to make both edges parallel. Doing so involves a three-step process using the jointer, the table saw, and then the jointer again. Bends along the edges of boards (called crooks) should be straightened out much the same way that warps are removed by surface jointing. Feed boards into the jointer so LhaL their hollow sides are facing downward; to do otherwise almost insures long, Lapercd cuts. Always joint with the grain to avoid tear out and remove only as much wood as is necessary. Joint the concavc edges of the boards square and mark cach as a "reference edge." These references will be used when squaring up the ends of the boards. Set up the table saw and rip each board Lo width. Leave enough extra width so that Lhe saw marks can be removed on the joinLer. Always use a push stick when ripping wood smaller than 4" wide. After the stock has been ripped, it should then be jointed again to remove any marks left by the saw blade. These marks will have to be removed eventually and joint-'ng is easier (and quicker) than sanding. One pass over Lhe jointer should be sufficien 1. Cutting to finished length The final step in the dimensioning process is to cut Lhe boards to finished length. First, mark Lhe stock with a square to designate where Lhe cut is to be made. You can't be sure your cut is being made square if you have no line to follow! The handle of the square should be on the edge marked as the reference edge. Using a miter gauge, make the cut on the table saw. Mark the other ends lo their finished length and cut (hem on the table saw, employing the same procedure. That completes the dimensioning process and your stock is now ready to be further shaped and joined, ultimately becoming whatever object you are making. |


