Creative Woodworks & crafts 2000-04, страница 51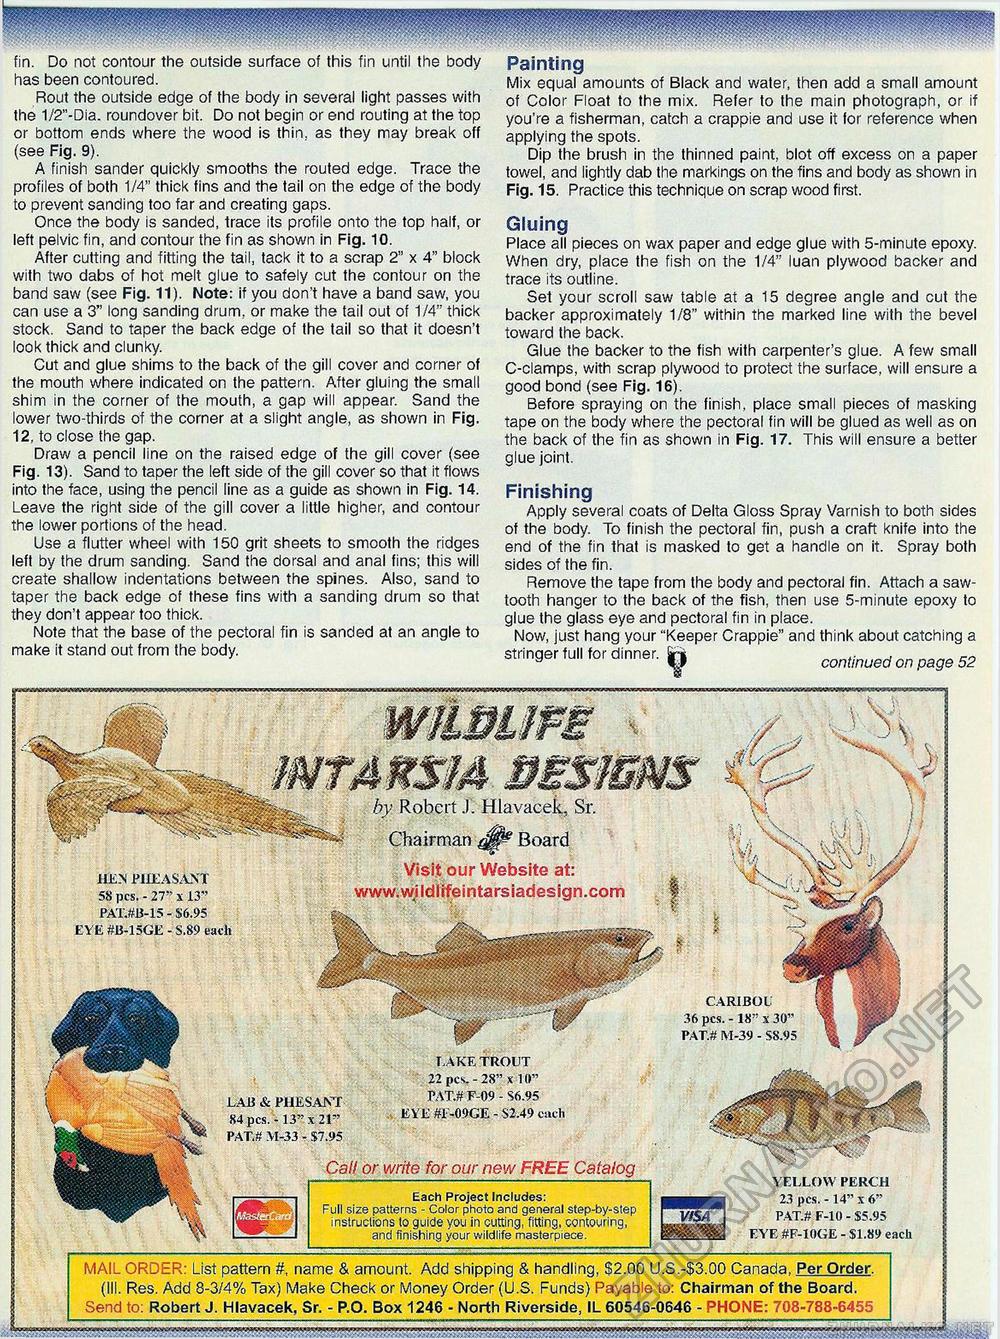
fin. Do not contour the outside surface of this fin until the body has been contoured. Rout the outside edge of the body in several light passes with the 1/2"-Dia. roundover bit. Do not begin or end routing at the top or bottom ends where the wood is thin, as they may break off (see Fig. 9). A finish sander quickly smooths the routed edge. Trace the profiles of both 1/4" thick fins and the tail on the edge of the body to prevent sanding too far and creating gaps. Once the body is sanded, trace its profile onto the top half, or left pelvic fin, and contour the fin as shown in Fig. 10. After cutting and fitting the tail, tack it to a scrap 2" x 4" block with two dabs of hot melt glue to safely cut the contour on the band saw (see Fig. 11). Note: if you don't have a band saw, you can use a 3" long sanding drum, or make the tail out of 1/4" thick stock. Sand to taper the back edge of the tail so that it doesn't look thick and clunky. Cut and glue shims to the back of the gill cover and corner of the mouth where indicated on the pattern. After gluing the small shim in the corner of the mouth, a gap will appear. Sand the lower two-thirds of the corner at a slight angle, as shown in Fig. 12, to close the gap. Draw a pencil line on the raised edge of the gill cover (see Fig. 13). Sand to taper the left side of the gill cover so that it flows into the face, using the pencil line as a guide as shown in Fig. 14. Leave the right side of the gill cover a little higher, and contour the lower portions of the head. Use a flutter wheel with 150 grit sheets to smooth the ridges left by the drum sanding. Sand the dorsal and anal fins; this will create shallow indentations between the spines. Also, sand to taper the back edge of these fins with a sanding drum so that they don't appear too thick. Note that the base of the pectoral fin is sanded at an angle to make it stand out from the body. Painting Mix equal amounts of Black and water, then add a small amount of Color Float to the mix. Refer to the main photograph, or if you're a fisherman, catch a crappie and use it for reference when applying the spots. Dip the brush in the thinned paint, blot off excess on a paper towel, and lightly dab the markings on the fins and body as shown in Fig. 15. Practice this technique on scrap wood first. Gluing Place all pieces on wax paper and edge glue with 5-minute epoxy. When dry, place the fish on the 1/4" luan plywood backer and trace its outline. Set your scroll saw table at a 15 degree angle and cut the backer approximately 1/8" within the marked line with the bevel toward the back. Glue the backer to the fish with carpenter's glue. A few small C-clamps, with scrap plywood to protect the surface, will ensure a good bond (see Fig. 16). Before spraying on the finish, place small pieces of masking tape on the body where the pectoral fin will be glued as well as on the back of the fin as shown in Fig. 17. This will ensure a better glue joint. Finishing Apply several coats of Delta Gloss Spray Varnish to both sides of the body. To finish the pectoral fin, push a craft knife into the end of the fin that is masked to get a handle on it. Spray both sides of the fin. Remove the tape from the body and pectoral fin. Attach a sawtooth hanger to the back of the fish, then use 5-minute epoxy to glue the glass eye and pectoral fin in place. Now, just hang your "Keeper Crappie" and think about catching a stringer full for dinner. Sri .. . ___ a W continued on page 52 by Robert.). Hlavacek, Sr. Chairman Board Visit our Website at: www. v^i ldllfeintarsiadesign.com MAIL ORDER: List pattern #, name & amount. Add shipping & handling, $2.00 U.S.-$3.00 Canada, Per Order. (III. Res. Add 8-3/4% Tax) Make Check or Money Order (U.S. Funds) Payable to: Chairman of the Board. Send to: Robert J. Hlavacek, Sr. - P.O. Box 1246 - North Riverside, IL 60546-0646 - PHONE: 708-788-6455 Each Project Includes: Full size patterns - Color photo and general step-by-step instructions to guide you in cutting, fitting, contouring, and finishing your wildlife masterpiece. YELLOW PERCH 23 pes. - 14" x 6" PAT.# F-10 - $5.95 EYE #F-10GE - $1.8!) each CARIBOU 36 pes. -18" x 30" PATJ M-39 - S8.95 HEM PHEASANT 58 pes. - 27" x 13" PAT.#B-15 - $6.95 EYE #B-15GE - S.89 each LAB & PHESANT 84 pes. -13" x 21" PAT.S M-33 - $7.95 Call or write for our new FREE Catalog L AKE TROUT 22 pes.-28" x 10" PAT.# F-09 - S6.95 EVE #F,09GE - $2.49 each |


