Creative Woodworks & crafts 2000-11, страница 46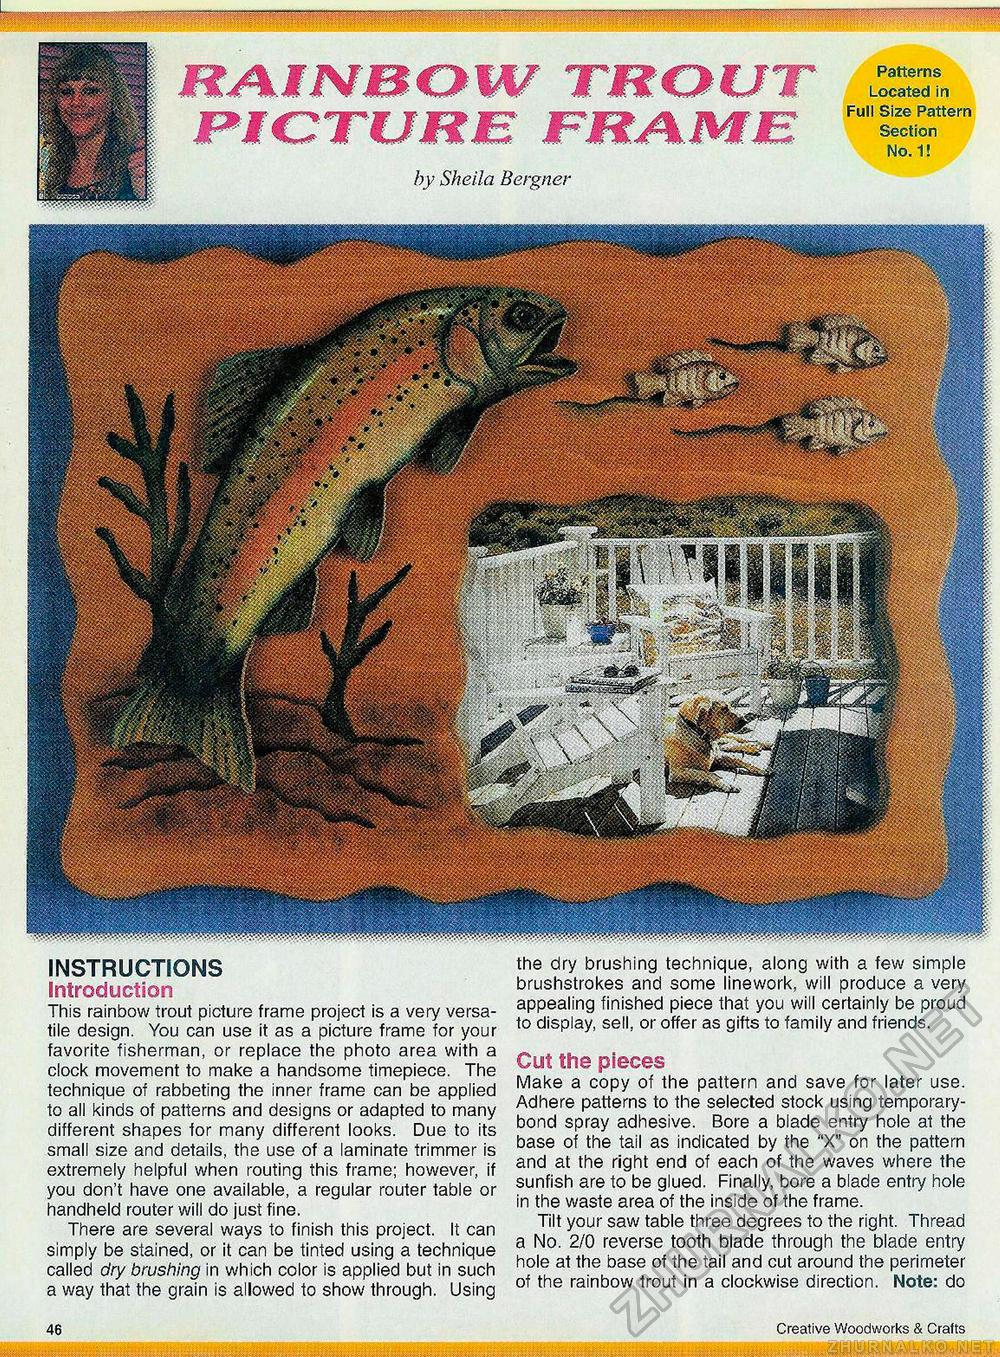
Patterns Located in Size Pattern Section No. 1! INSTRUCTIONS Introduction This rainbow trout picture frame project is a very versatile design. You can use it as a picture frame for your favorite fisherman, or replace the photo area with a clock movement to make a handsome timepiece. The technique of rabbeting the inner frame can be applied to all kinds of patterns and designs or adapted to many different shapes for many different looks. Due to its small size and details, the use of a laminate trimmer is extremely helpful when routing this frame; however, if you don't have one available, a regular router table or handheld router will do just fine. There are several ways to finish this project. It can simply be stained, or it can be tinted using a technique called dry brushing in which color is applied but in such a way that the grain is allowed to show through. Using the dry brushing technique, along with a few simple brushstrokes and some linework, will produce a very appealing finished piece that you will certainly be proud to display, sell, or offer as gifts to family and friends. Cut the pieces Make a copy of the pattern and save for later use. Adhere patterns to the selected stock using temporary-bond spray adhesive. Bore a blade entry hole at the base of the tail as indicated by the "X" on the pattern and at the right end of each of the waves where the sunfish are to be glued. Finally, bore a blade entry hole in the waste area of the inside of the frame. Tilt your saw table three degrees to the right. Thread a No. 2/0 reverse tooth blade through the blade entry hole at the base of the tail and cut around the perimeter of the rainbow trout in a clockwise direction. Note: do 46 ® Creative Woodworks & Crafts |


