Creative Woodworks & crafts 2000-11, страница 50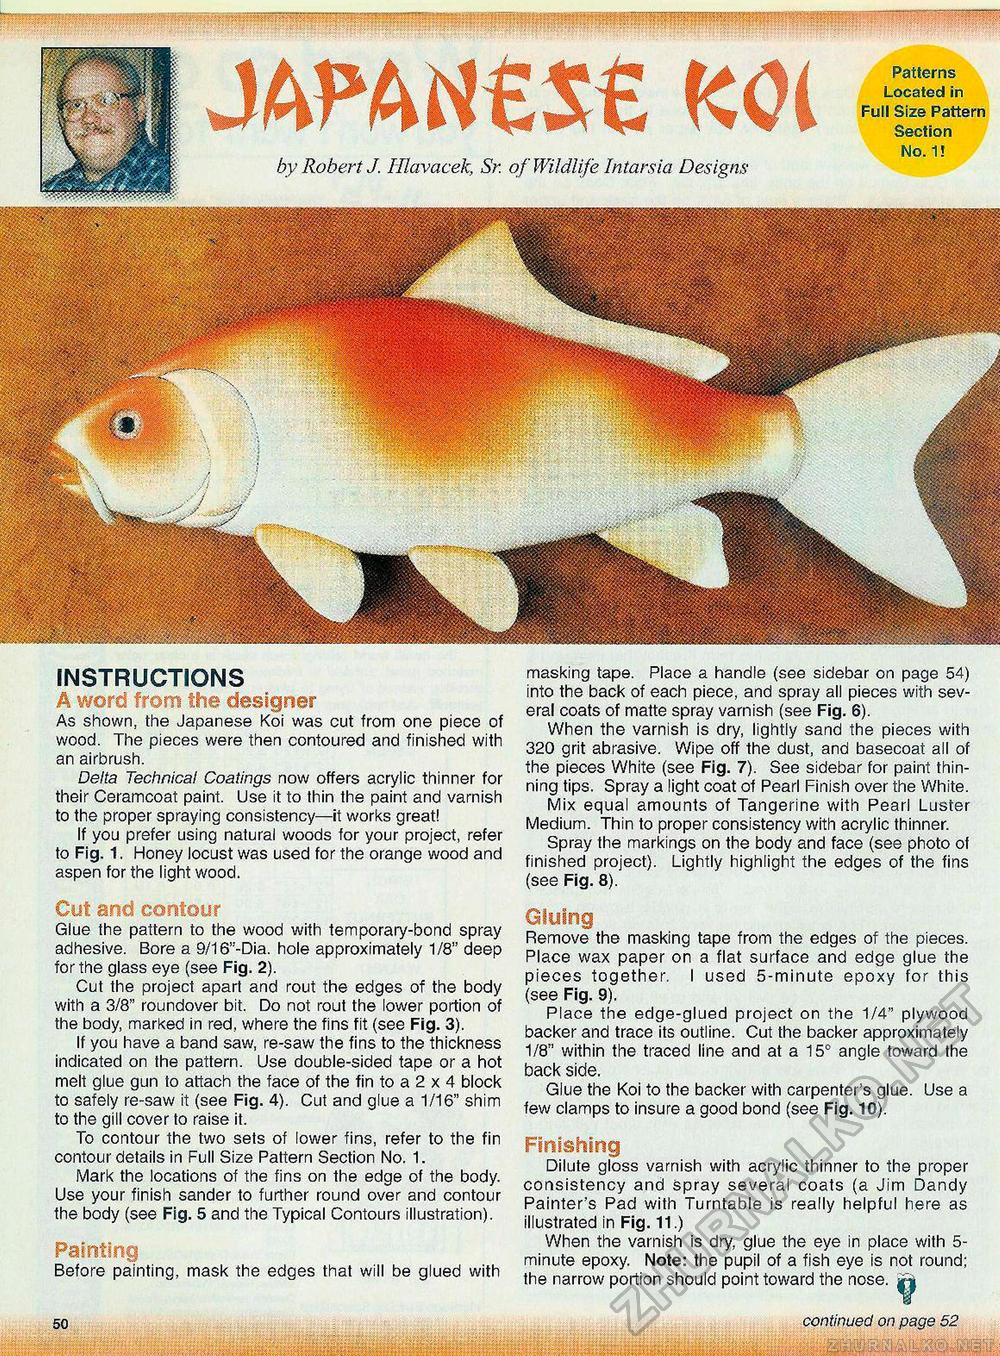
armtstK Patterns Located in Full Size Pattern Section by Robert J. Illavacek, Sr. of Wildlife Intarsia Designs No. 1! INSTRUCTIONS A word from the designer As shown, the Japanese Koi was cut from one piece of wood. The pieces were then contoured and finished with an airbrush. Delta Technical Coatings now offers acrylic thinner for their Ceramcoat paint. Use it to thin the paint and varnish to the proper spraying consistency—it works great! If you prefer using natural woods for your project, refer to Fig. 1. Honey locust was used for the orange wood and aspen for the light wood. Cut and contour Glue the pattern to the wood with temporary-bond spray adhesive. Bore a 9/16"-Dia. hole approximately 1/8" deep for the glass eye (see Fig. 2). Cut the project apart and rout the edges of the body with a 3/8" roundover bit. Do not rout the lower portion of the body, marked in red, where the fins fit (see Fig. 3). If you have a band saw, re-saw the fins to the thickness indicated on the pattern. Use double-sided tape or a hot melt glue gun to attach the face of the fin to a 2 x 4 block to safely re-saw it (see Fig. 4). Cut and glue a 1/16" shim to the gill cover to raise it. To contour the two sets of lower fins, refer to the fin contour details in Full Size Pattern Section No. 1. Mark the locations of the fins on the edge of the body. Use your finish sander to further round over and contour the body (see Fig. 5 and the Typical Contours illustration). Painting Before painting, mask the edges that will be glued with masking tape. Place a handle (see sidebar on page 54) into the back of each piece, and spray all pieces with several coats of matte spray varnish (see Fig. 6). When the varnish is dry, lightly sand the pieces with 320 grit abrasive. Wipe off the dust, and basecoat all of the pieces White (see Fig. 7). See sidebar for paint thinning tips. Spray a light coat of Pearl Finish over the White. Mix equal amounts of Tangerine with Pearl Luster Medium. Thin to proper consistency with acrylic thinner. Spray the markings on the body and face (see photo of finished project). Lightly highlight the edges of the fins (see Fig. 8). Gluing Remove the masking tape from the edges of the pieces. Place wax paper on a flat surface and edge glue the pieces together. I used 5-minute epoxy for this (see Fig. 9). Place the edge-glued project on the 1/4" plywood backer and trace its outline. Cut the backer approximately 1/8" within the traced line and at a 15° angle toward the back side. Glue the Koi to the backer with carpenter's glue. Use a few clamps to insure a good bond (see Fig. 10). Finishing Dilute gloss varnish with acrylic thinner to the proper consistency and spray several coats (a Jim Dandy Painter's Pad with Turntable is really helpful here as illustrated in Fig. 11.) When the varnish is dry, glue the eye in place with 5-minute epoxy. Note: the pupil of a fish eye is not round; the narrow portion should point toward the nose, jf| 50 continued on page 52 |


