Creative Woodworks & crafts 2001-01, страница 30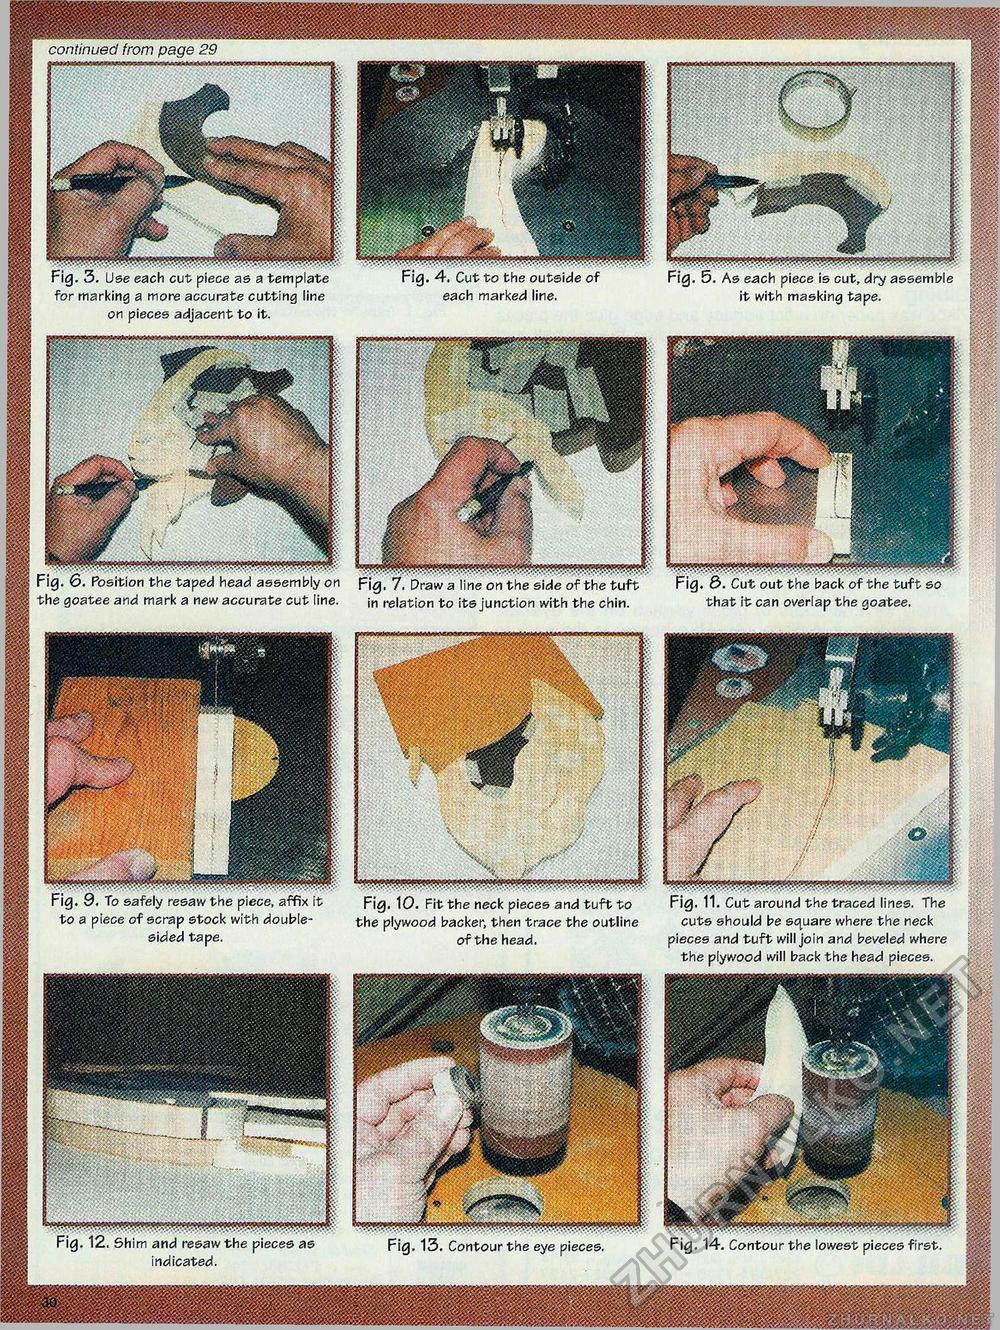
continued from page 29 Fig. 3. Use each cut piece as a template for marking a more accurate cutting line on pieces adjacent to it. Fig. 5. As each piece is cut, dry assemble it with masking tape. Fig. 4. Cut to the outside of each marked line. ■sww Fig. 7. Praw a line on the side of the tuft in relation to its junction with the chin. Fig. 6. Position the taped head assembly on the goatee and mark a new accurate cut line. Fig. 10. Fit the neck pieces and tuft to the plywood backer, then trace the outline of the head. Fig. 9. To safely resaw the piece, affix it to a piece of scrap stock with double-sided tape. Fig. 11. Cut around the traced lines. The cuts should be square where the neck pieces and tuft will join and beveled where the plywood will back the head pieces. Fig. 14. Contour the lowest pieces first. Fig. 12. Shim and resaw the pieces as indicated. Fig. 13. Contourthe eye pieces. |


