Creative Woodworks & crafts 2001-04, страница 30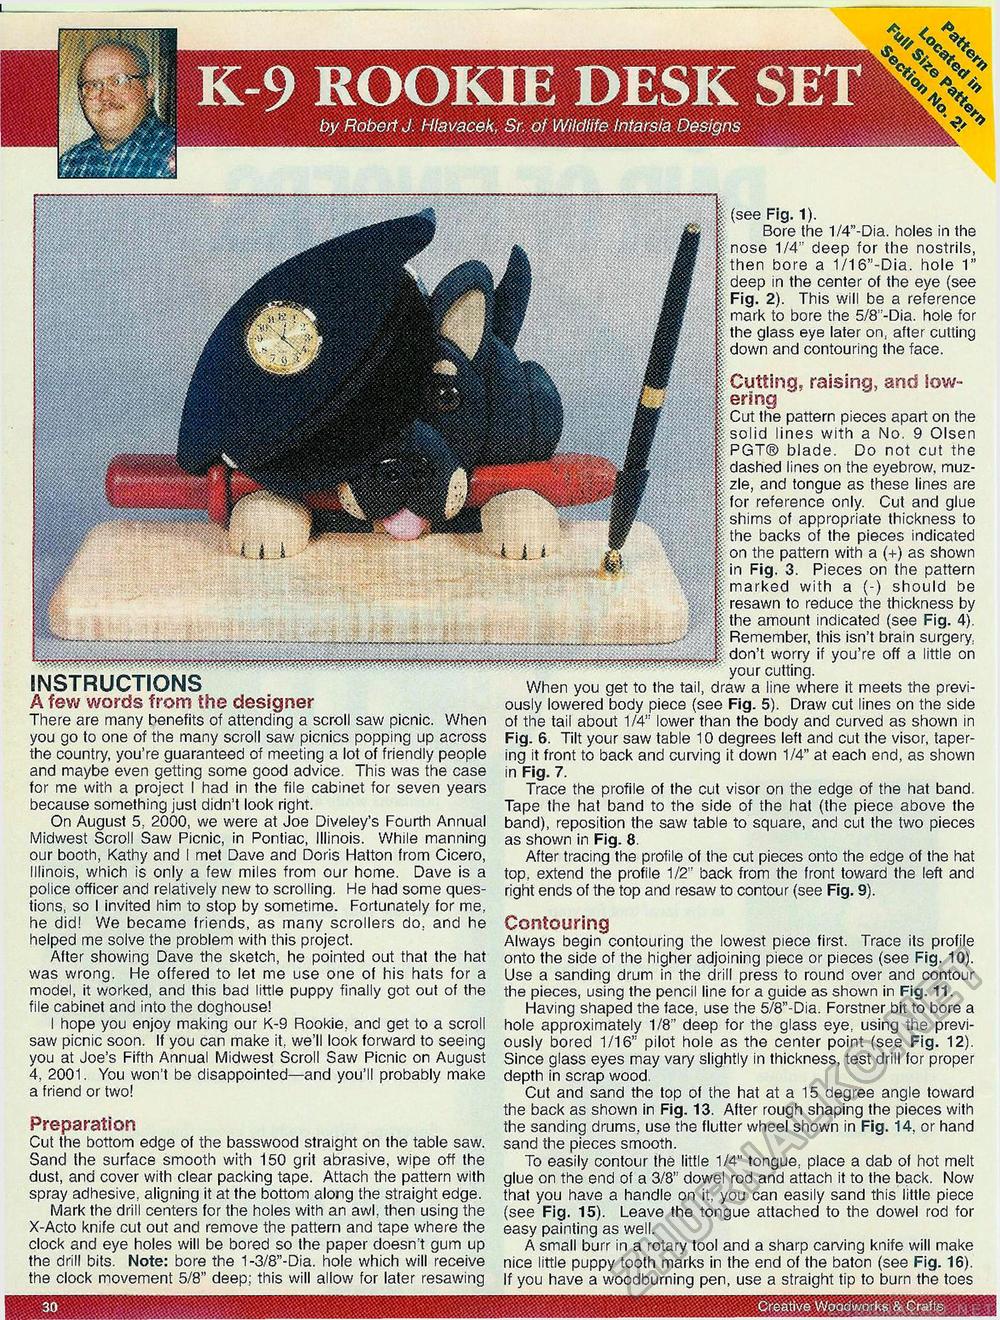
30 Creative Woodworks & Crafts instructions A few words from the designer There are many benefits of attending a scroll saw picnic. When you go to one of the many scroll saw picnics popping up across the country, you're guaranteed of meeting a lot of friendly people and maybe even getting some good advice. This was the case for me with a project I had in the file cabinet for seven years because something just didn't look right. On August 5, 2000, we were at Joe Diveley's Fourth Annual Midwest Scroll Saw Picnic, in Pontiac, Illinois. While manning our booth, Kathy and I met Dave and Doris Hatton from Cicero, Illinois, which is only a few miles from our home. Dave is a police officer and relatively new to scrolling. He had some questions, so I invited him to stop by sometime. Fortunately for me, he did! We became friends, as many scrollers do, and he helped me solve the problem with this project. After showing Dave the sketch, he pointed out that the hat was wrong. He offered to let me use one of his hats for a model, it worked, and this bad little puppy finally got out of the file cabinet and into the doghouse! I hope you enjoy making our K-9 Rookie, and get to a scroll saw picnic soon. If you can make it, we'll look forward to seeing you at Joe's Fifth Annual Midwest Scroll Saw Picnic on August 4, 2001. You won't be disappointed—and you'll probably make a friend or two! Preparation Cut the bottom edge of the basswood straight on the table saw. Sand the surface smooth with 150 grit abrasive, wipe off the dust, and cover with clear packing tape. Attach the pattern with spray adhesive, aligning it at the bottom along the straight edge. Mark the drill centers for the holes with an awl, then using the X-Acto knife cut out and remove the pattern and tape where the clock and eye holes will be bored so the paper doesn't gum up the drill bits. Note: bore the 1-3/8"-Dia. hole which will receive the clock movement 5/8" deep; this will allow for later resawing (see Fig. 1). Bore the 1/4"-Dia. holes in the nose 1/4" deep for the nostrils, bore a 1/16"-Dia. hole 1" in the center of the eye (see 2). This will be a reference mark to bore the 5/8-Dia. hole for the glass eye later on, after cutting down and contouring the face. raising, and lowering Cut the pattern pieces apart on the solid lines with a No 9 Olsen PGT® blade. Do not cut the dashed lines on the eyebrow, muzzle, and tongue as these lines are reference only. Cut and glue shims of appropriate thickness to the backs of the pieces indicated on the pattern with a (+) as shown in Fig. 3. Pieces on the pattern marked with a (-) should be resawn to reduce the thickness by the amount indicated (see Fig. 4). Remember, this isn't brain surgery don't worry if you're off a little on your cutting. When you get to the tail, draw a line where it meets the previously lowered body piece (see Fig. 5). Draw cut lines on the side of the tail about 1/4" lower than the body and curved as shown in Fig. 6. Tilt your saw table 10 degrees left and cut the visor, tapering it front to back and curving it down 1/4" at each end, as shown in Fig. 7. Trace the profile of the cut visor on the edge of the hat band. Tape the hat band to the side of the hat (the piece above the band), reposition the saw table to square, and cut the two pieces as shown in Fig. 8. After tracing the profile of the cut pieces onto the edge of the hat top, extend the profile 1/2" back from the front toward the left and right ends of the top and resaw to contour (see Fig. 9). Contouring Always begin contouring the lowest piece first. Trace its profile onto the side of the higher adjoining piece or pieces (see Fig. 10). Use a sanding drum in the drill press to round over and contour the pieces, using the pencil line for a guide as shown in Fig. 11. Having shaped the face, use the 5/8"-Dia. Forstner bit to bore a hole approximately 1/8" deep for the glass eye, using the previously bored 1/16" pilot hole as the center point (see Fig. 12). Since glass eyes may vary slightly in thickness, test drill for proper depth in scrap wood. Cut and sand the top of the hat at a 15 degree angle toward the back as shown in Fig. 13. After rough shaping the pieces with the sanding drums, use the flutter wheel shown in Fig. 14, or hand sand the pieces smooth. To easily contour the little 1/4" tongue, place a dab of hot melt glue on the end of a 3/8" dowel rod and attach it to the back. Now that you have a handle on it, you can easily sand this little piece (see Fig. 15). Leave the tongue attached to the dowel rod for easy painting as well. A small burr in a rotary tool and a sharp carving knife will make nice little puppy tooth marks in the end of the baton (see Fig. 16). If you have a woodburning pen, use a straight tip to burn the toes |


