Creative Woodworks & crafts 2001-06, страница 38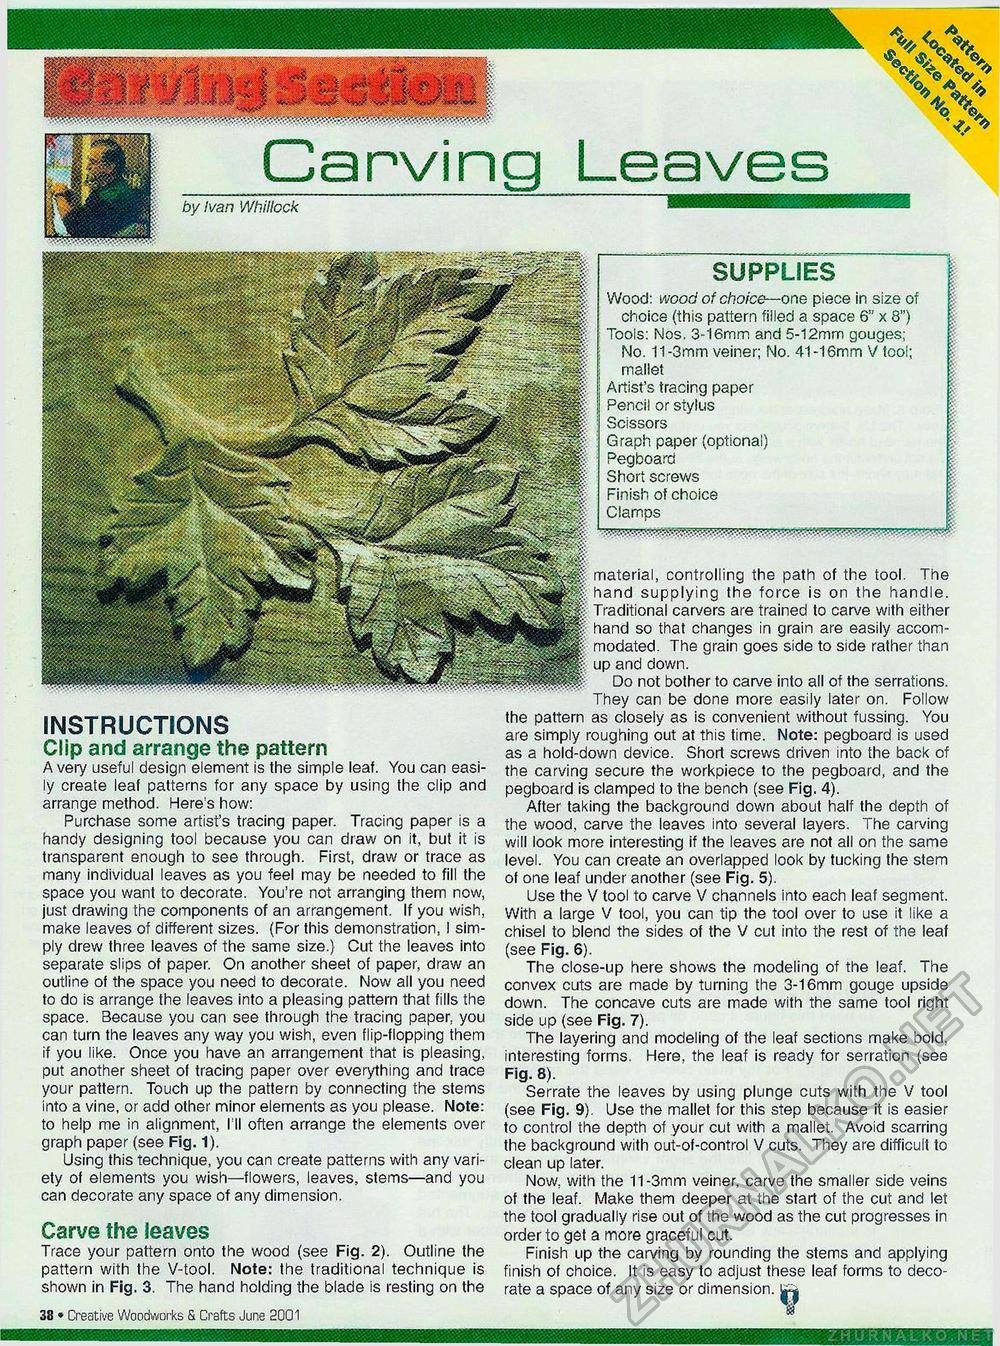
_ SUPPLIES Wood: wood of choice—one piece in size of choice (this pattern filled a space 6" x 8") Tools: Nos. 3-16mm and 5-12mm gouges; No. 11-3mm veiner; No. 41 -16mm V tool; mallet Aitist's tracing paper Pencil or stylus Scissors Graph paper (optional) Pegboard Short screws Finish of choice Clamps Carving Leaves iby Ivan Whillock material, controlling the path of the tool. The hand supplying the force is on the handle. Traditional carvers are trained to carve with either hand so that changes in grain are easily accommodated. The grain goes side to side rather than up and down. Do not bother to carve into all of the serrations. They can be done more easily later on. Follow the pattern as closely as is convenient without fussing. You are simply roughing out at this time. Note: pegboard is used as a hold-down device. Short screws driven into the back of the carving secure the workpiece to the pegboard, and the pegboard is clamped to the bench (see Fig, 4). After taking the background down about half the depth of the wood, carve the leaves into several layers. The carving will look more interesting if the leaves are not all on the same level. You can create an overlapped look by tucking the stem of one leaf under another (see Fig. 5). Use the V tool to carve V channels into each leaf segment. With a large V tool, you can tip the tool over to use it like a chisel to blend the sides of the V cut into the rest of the leaf (see Fig. 6). The close-up here shows the modeling of the leaf. The convex cuts are made by turning the 3-16mm gouge upside down. The concave cuts are made with the same tool right side up (see Fig. 7). The layering and modeling of the leaf sections make bold, interesting forms. Here, the leaf is ready for serration (see Fig. 8). Serrate the leaves by using plunge cuts with the V tool (see Fig. 9). Use the mallet for this step because it is easier to control the depth of your cut with a mallet. Avoid scarring the background with out-of-control V cuts. They are difficult to clean up later. Now. with the 11 -3mm veiner, carve the smaller side veins of the leaf. Make them deeper at the start of the cut and let the tool gradually rise out of the wood as the cut progresses in order to get a more graceful cut. Finish up the carving by rounding the stems and applying finish of choice. It is easy to adjust these leaf forms to decorate a space of any size or dimension. Carve the leaves Trace your pattern onto the wood (see Fig. 2). Outline the pattern with the V-tool. Note: the traditional technique is shown in Fig. 3. The hand holding the blade is resting on the IB * Creative Woodworks S. drafts June 2001 INSTRUCTIONS Clip and arrange the pattern A very useful design element is the simple leaf. You can easily create leaf patterns for any space by using the clip and arrange method. Here's how: Purchase some artist's tracing paper. Tracing paper is a handy designing tool because you can draw on it, but it is transparent enough to see through. First, draw or trace as many individual leaves as you feel may be needed to fill the space you want to decorate. You're not arranging them now, just drawing the components of an arrangement. If you wish, make leaves of different sizes. (For this demonstration, I simply drew three leaves of the same size.) Cut the leaves into separate slips of paper. On another sheet of paper, draw an outline of the space you need to decorate. Now all you need to do is arrange the leaves into a pleasing pattern that fills the space. Because you can see through the tracing paper, you can turn the leaves any way you wish, even flip-flopping them if you like. Once you have an arrangement that is pleasing, put another sheet of tracing paper over everything and trace your pattern. Touch up the pattern by connecting the stems into a vine, or add other minor elements as you please. Note: to help me in alignment, I II often arrange the elements over graph paper (see Fig. 1). Using this technique, you can create patterns with any variety of elements you wish—flowers, leaves, stems—and you can decorate any space of any dimension. |


