Creative Woodworks & crafts 2001-08, страница 57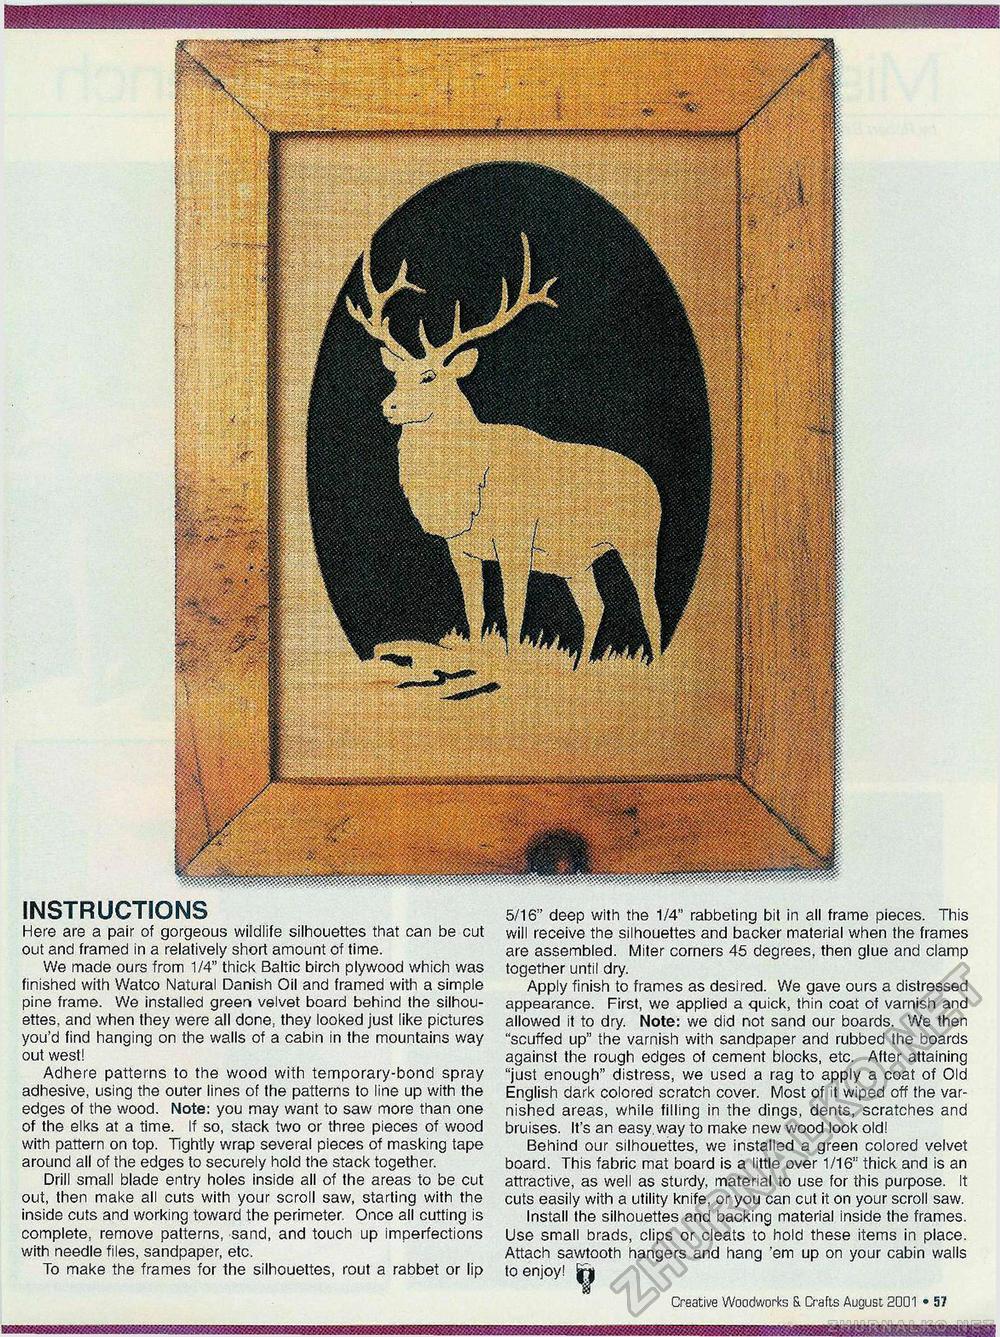
Wmwm ms INSTRUCTIONS Here are a pair of gorgeous wildlife silhouettes that can be cut out and framed in a relatively short amount of time. We made ours from 1/4" thick Baltic birch plywood which was finished with Watco Natural Danish Oil and framed with a simple pine frame. We installed green velvet board behind the silhouettes, and when they were all done, they looked just like pictures you'd find hanging on the walls of a cabin in the mountains way out west! Adhere patterns to the wood with temporary-bond spray adhesive, using the outer lines of the patterns to line up with the edges of the wood. Note: you may want to saw more than one of the elks at a time. If so, stack two or three pieces of wood with pattern on top. Tightly wrap several pieces of masking tape around all of the edges to securely hold the stack together. Drill small blade entry holes inside all of the areas to be cut out, then make all cuts with your scroll saw, starting with the inside cuts and working toward the perimeter. Once all cutting is complete, remove patterns, sand, and touch up imperfections with needle files, sandpaper, etc. To make the frames for the silhouettes, rout a rabbet or lip 5/16" deep with the 1/4" rabbeting bit in all frame pieces. This will receive the silhouettes and backer material when the frames are assembled. Miter corners 45 degrees, then glue and clamp together until dry. Apply finish to frames as desired. We gave ours a distressed appearance. First, we applied a quick, thin coat of varnish and allowed it to dry. Note: we did not sand our boards. We then "scuffed up" the varnish with sandpaper and rubbed the boards against the rough edges of cement blocks, etc. After attaining "just enough" distress, we used a rag to apply a coat of Old English dark colored scratch cover. Most of it wiped off the varnished areas, while filling in the dings, dents, scratches and bruises. It's an easy, way to make new wood look old! Behind our silhouettes, we installed a green colored velvet board. This fabric mat board is a little over 1/16" thick and is an attractive, as well as sturdy, material to use for this purpose. It cuts easily with a utility knife, or you can cut it on your scroll saw. Install the silhouettes and backing material inside the frames. Use small brads, clips or cleats to hold these items in place. Attach sawtooth hangers and hang 'em up on your cabin walls to enjoy! gj Creative Woodworks & Crafts August. 2001 • 57 |


