Creative Woodworks & crafts 2002-03, страница 58
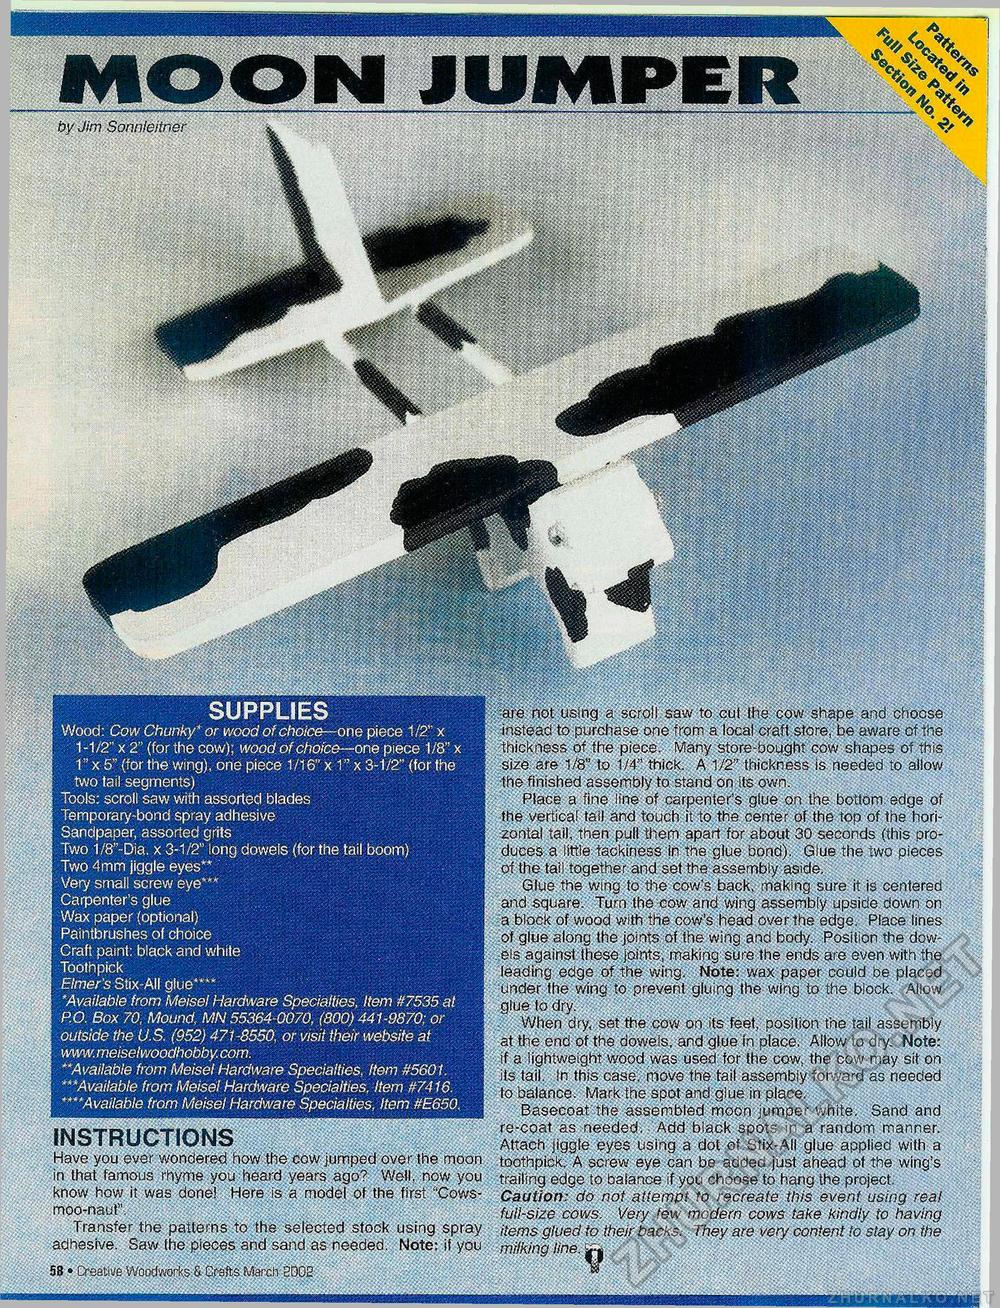
SUPPLIES Wood: Cow Chunky* or wood of choice—one piece 1/2" x 1-1/2" x 2" (for the cow); wood of choice— one piece 1/8" x 1" x 5" (for the wing), one piece 1/16" x 1" x 3-1/2" (for the two tail segments) Tools: scroll saw with assorted blades Temporary-bond spray adhesive Sandpaper, assorted grits Two 1/8"-Dia. x 3-1/2" long dowels (for the tail boom) Two 4mm jiggle eyes** Very small screw eye*** Carpenter's glue Wax paper (optional) Paintbrushes of choice Craft paint: black and white Toothpick Elmer's Stix-AII glue**** 'Available from Meisel Hardware Specialties, Item #7535 at P.O. Box 70, Mound, MN 55364-0070, (800) 441-9870; or outside the U.S. (952) 471-8550, or visit their website at www.meiselwoodhobby.com. **Available from Meisel Hardware Specialties, Item #5601. ***.Available from Meisel Hardware Specialties, Item #7416. ****Available from Meisel Hardware Specialties, Item #E650, by Jim Sonnleitner are not using a scroll saw to cut the cow shape and choose instead to purchase one from a local craft store, be aware of the thickness of the piece. Many store-bought cow shapes of this size are 1/8" to 1/4" thick. A 1/2" thickness is needed to allow the finished assembly to stand on its own. Place a fine line of carpenter's glue on the bottom edge of the vertical tail and touch it to the center of the top of the horizontal tail, then pull them apart for about 30 seconds (this produces a little tackiness In the glue bond). Glue the two pieces of the tail together and set the assembly aside. Glue the wing to the cow's back, making sure it is centered and square. Turn the cow and wing assembly upside down on a block of wood with the cow's head over the edge. Place tines of glue along the joints of the wing and body. Position the dowels against these joints, making sure the ends are even with the leading edge of the wing. Note: wax paper could be placed Under the wing to prevent gluing the wing to the block. Allow glue to dry. When dry, set the cow on its feet, position the tail assembly at the end of the dowels, and glue in place. Allow to dry. Note: if a lightweight wood was used for the cow, the cow may sit on its tail. In this case, move the tail assembly forward as needed to balance. Mark the spot and glue in place, Basecoat The assembled moon jumper white. Sand and re-coat as needed. Add black spots in a random manner. Attach jiggle eyes using a dot of Stix-AII glue applied with a toothpick. A screw eye can be added just ahead of the wing's trailing edge to balance if you choose to hang the project. Caution: do not attempt to recreate this event using real full-size cows. Wry few modern cows take kindly to having items glued to their backs. They are very content to stay on the milking line. INSTRUCTIONS Have you ever wondered how the cow jumped over the moon in that famous rhyme you heard years ago? Well, now you know how it was done! Here is a model of the first "Cows-moo-naut". Transfer the patterns to the selected stock using spray adhesive. Saw the pieces and sand as needed. Note: if you 58 • Creative Woodworks & Crafts March 2002 |


