Creative Woodworks & crafts 2002-04, страница 16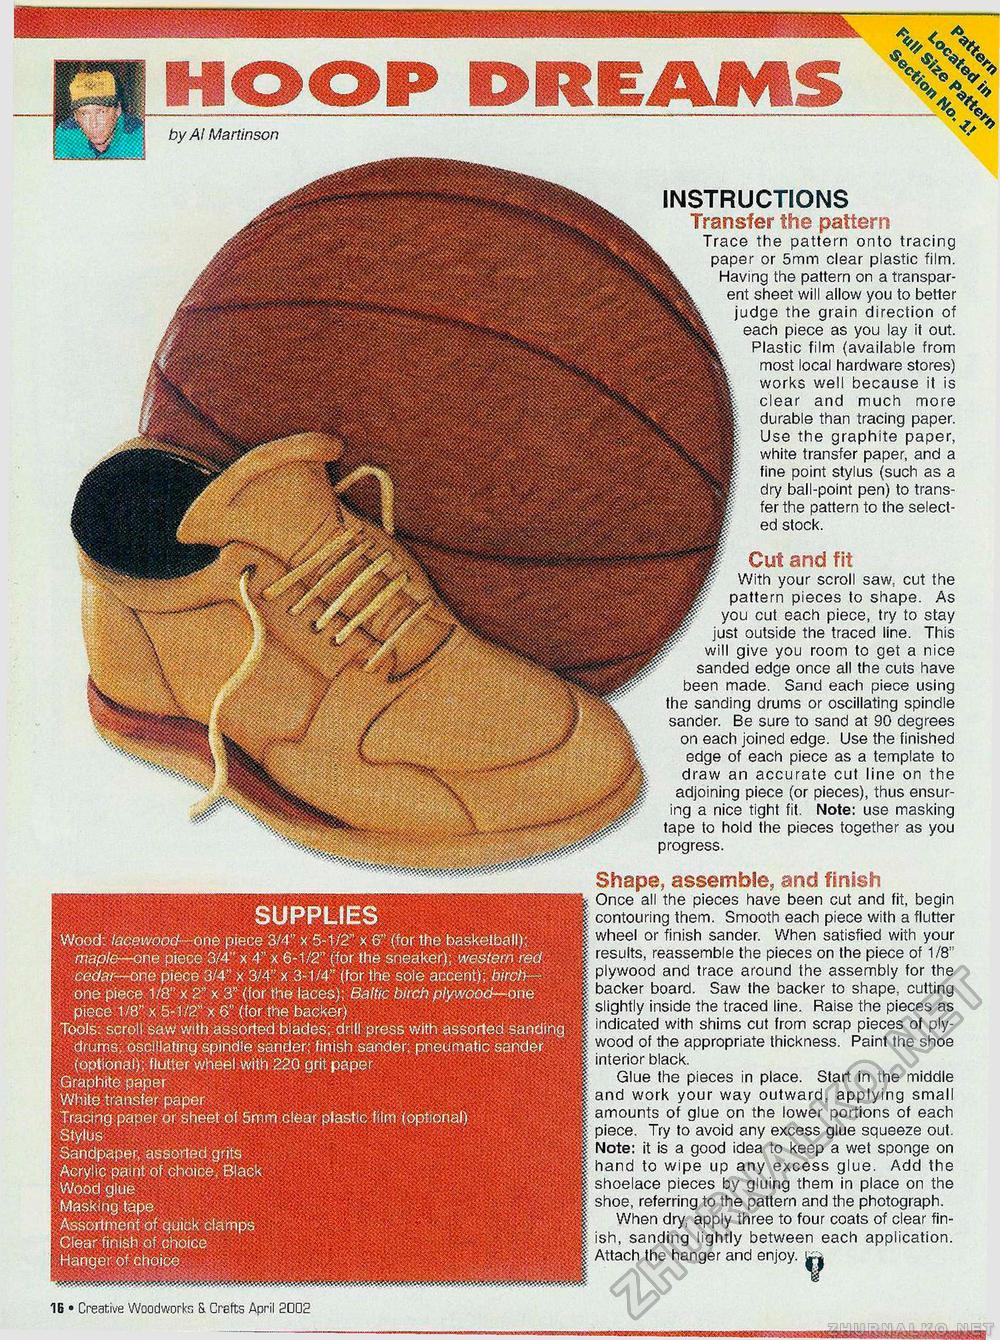
SUPPLIES Wood: lacewood- one piece 3/4" x 5-t/2" x 6" (for the basketball): maple—one piece 3/4" x 4" x 6-1/2" (for the sneaker); western red cedar—one piece 3/4" x 3/4" x 3-1/4" (for the sole accent); birch— one piece 1/8" x 2" x 3" (tor the laces); Baltic birch plywood—one piece 1/8" x 5-1/2" x 6," (for the backer) Tools: scroll saw with assorted blades; drill press with assorted sanding drums; oscillating spindle sander: finish sander; pneumatic sander (optional); flutter wheel with 220 grit paper Graphite paper White transfer paper tracing paper or sheet of 5mm clear plastic film (optional) Stylus Sandpaper, assorted grits Acrylic paint of choice, Black Wood glue Masking tape Assortment of quick clamps Clear finish of choice Hanger of choice by Al Martinson INSTRUCTIONS Transfer the pattern Trace the pattern onto tracing paper or 5mm clear plastic film. Having the pattern on a transparent sheet will allow you to better judge the grain direction of each piece as you lay it out. Plastic film (available from most local hardware stores) works well because it is clear and much more durable than tracing paper. Use the graphite paper, white transfer paper, and a fine point stylus (such as a dry ball-point pen) to transfer the pattern to the selected stock. Cut and fit With your scroll saw, cut the pattern pieces to shape. As you cut each piece, try to stay just outside the traced line. This will give you room to get a nice sanded edge once all the cuts have been made. Sand each piece using the sanding drums or oscillating spindle sander. Be sure to sand at 90 degrees on each joined edge. Use the finished edge of each piece as a template to draw an accurate cut line on the adjoining piece (or pieces), thus ensuring a nice tight fit. Note: use masking tape to hold the pieces together as you progress. Shape, assemble, and finish Once all the pieces have been cut and fit, begin contouring them. Smooth each piece with a flutter wheel or finish sander. When satisfied with your results, reassemble the pieces on the piece of 1/8" plywood and trace around the assembly for the backer board. Saw the backer to shape, cutting slightly inside the traced line. Raise the pieces as indicated with shims cut from scrap pieces of plywood of the appropriate thickness. Paint the shoe interior black. Glue the pieces in place. Start in the middle and work your way outward, applying small amounts of glue on the lower portions of each piece. Try to avoid any excess glue squeeze out. Note: it is a good idea to keep a wet sponge on hand to wipe up any excess glue. Add the shoelace pieces by gluing them in place on the shoe, referring to the pattern and the photograph. When dry, apply three to four coats of clear finish, sanding lightly between each application. Attach the hanger and enjoy, u-j IB • Creative Woodworks S. Crafts April S002 mmmmtrnmammmmmtmammmmatrnaM |


