Creative Woodworks & crafts 2002-06, страница 23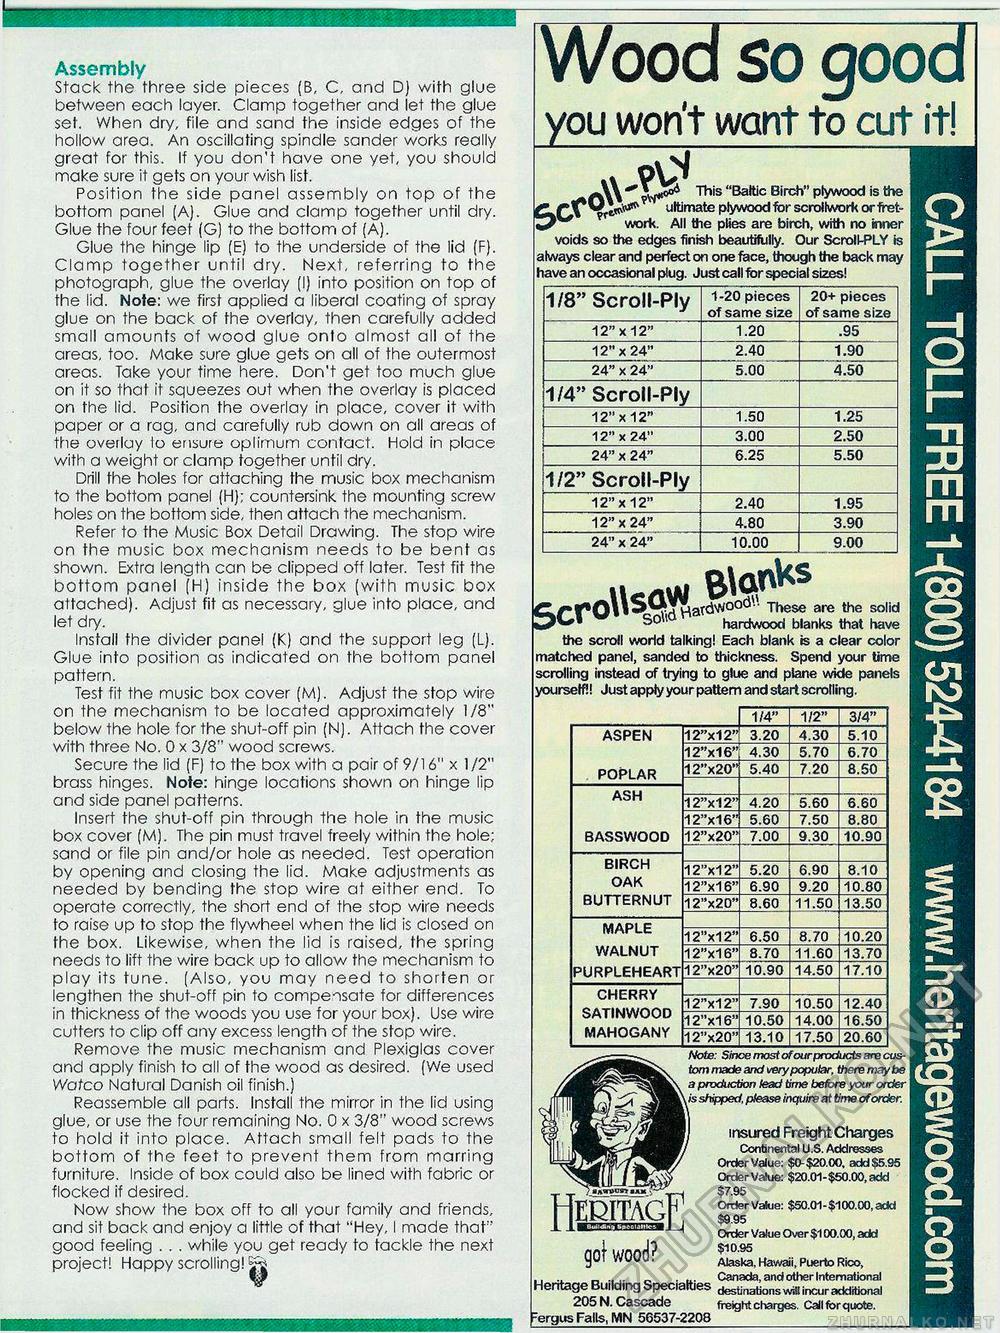
Assembly Stack the three side pieces (B, C, and D) with glue between each layer. Clamp together and let the glue set. When dry, file and sand the inside edges of the hollow area. An oscillating spindle sander works really great for this. If you don't have one yet, you should make sure it gets on your wish list. Position the side panel assembly on top of the bottom panel (A). Glue and clamp together until dry. Glue the four feet (G) to the bottom of (A). Glue the hinge lip (E) to the underside of the lid (F). Clamp together until dry. Next, referring to the photograph, glue the overlay (I) into position on top of the lid. Note: we first applied a liberal coating of spray glue on the back of the overlay, then carefully added small amounts of wood glue onto almost all of the areas, too. Make sure glue gets on all of the outermost areas. Take your time here. Don't get too much glue on it so that it squeezes out when the overlay is placed on the lid. Position the overlay in place, cover it with paper or a rag, and carefully rub down on all areas of the oveilay lo ensure oplimum contact. Hold in place with a weight or clamp together until dry. Drill the holes for attaching the music box mechanism to the bottom panel (H); countersink the mounting screw holes on the bottom side, then attach the mechanism. Refer to the Music Box Detail Drawing. The stop wire on the music box mechanism needs to be bent as shown. Extra length can be clipped off later. Test fit the bottom panel (H) inside the box (with music box attached). Adjust fit as necessary, glue into place, and let dry. Install the divider panel (K) and the support leg (L). Glue into position as indicated on the bottom panel pattern. Test fit the music box cover (M). Adjust the stop wire on the mechanism to be located approximately 1/8" below the hole for the shut-off pin (N). Attach the cover with three No. 0 x 3/8" wood screws. Secure the lid (FJ to the box with a pair of 9/16" x 1 /2" brass hinges. Note: hinge locations shown on hinge lip and side panel patterns. Insert the shut-off pin through the hole in the music box cover (M). The pin must travel freely within the hole; sand or file pin and/or hole as needed. Test operation by opening and closing the lid. Make adjustments as needed by bending the stop wire at either end. To operate correctly, the short end of the stop wire needs to raise up to stop the flywheel when the lid is closed on the box. Likewise, when the lid is raised, the spring needs to lift the wire back up to allow the mechanism to play its tune. [Also, you may need to shorten or lengthen the shut-off pin to compensate for differences in thickness of the woods you use for your box). Use wire cutters to clip off any excess length of the stop wire. Remove the music mechanism and Plexiglas cover and apply finish to all of the wood as desired. (We used Watco Natural Danish oil finish.) Reassemble all parts. Install the mirror in the lid using glue, or use the four remaining No. 0 x 3/8" wood screws to hold it into place. Attach small felt pads to the bottom of the feet to prevent them from marring furniture. Inside of box could also be lined with fabric or flocked if desired. Now show the box off to all your family and friends, and sit back and enjoy a little of that "Hey, I made that" good feeling . . . while you get ready to tackle the next project! Happy scrolling!1 Wood so goodyou won't want to cut it! rt\\ W*0^" Birch" plywood is the r f ^ ultimate plywood for scrollwork orfret- i/ work. All the plies are birch, with no inner voids so the edges finish beautifully. Our Scroll-PLY is always clear and perfect on one face, though the back may have an occasional plug. Just call for special sizes!
arr0\vsaywad^ooo These are the so|id hardwood blanks that have the scroll world talking! Each blank is a clear color matched panel, sanded to thickness. Spend your time scrolling instead of trying to glue and plane wide panels yourself!! Just apply your pattern and start scrolling. ■HyJOOOl- These s arr0\vsaywad^ooo These are the so|id hardwood blanks that have the scroll world talking! Each blank is a clear color matched panel, sanded to thickness. Spend your time scrolling instead of trying to glue and plane wide panels yourself!! Just apply your pattern and start scrolling.
Note: Since most of our products are custom made and very popular, theremaybe a production lead time before your order is shipped, please inquire at time of order. Note: Since most of our products are custom made and very popular, theremaybe a production lead time before your order is shipped, please inquire at time of order. insured Freight Charges Continental U.S. Addresses Order Value: $0-$20.00, add $5.95 Order Vahje: $20.01-$50.00, add $7.95 Order Value: $50.01-$100.00, add $9.95 Order Value Over$100.00, add $10.95 Alaska, Hawaii, Puerto Rico, , i „ ., ,. „ .... Canada, and other International Heritage Build.ng Specialties destinations win incur additional 205 N. Cascade fineighrt charges. Call for quote. :ergus Falls, MN 56537-2208_ Sf <n CD gof wood? |
||||||||||||||||||||||||||||||||||||||||||||||||||||||||||||||||||||||||||||||||||||||||||||||||||||||||||||||||||||||||||


