Creative Woodworks & crafts 2002-08, страница 49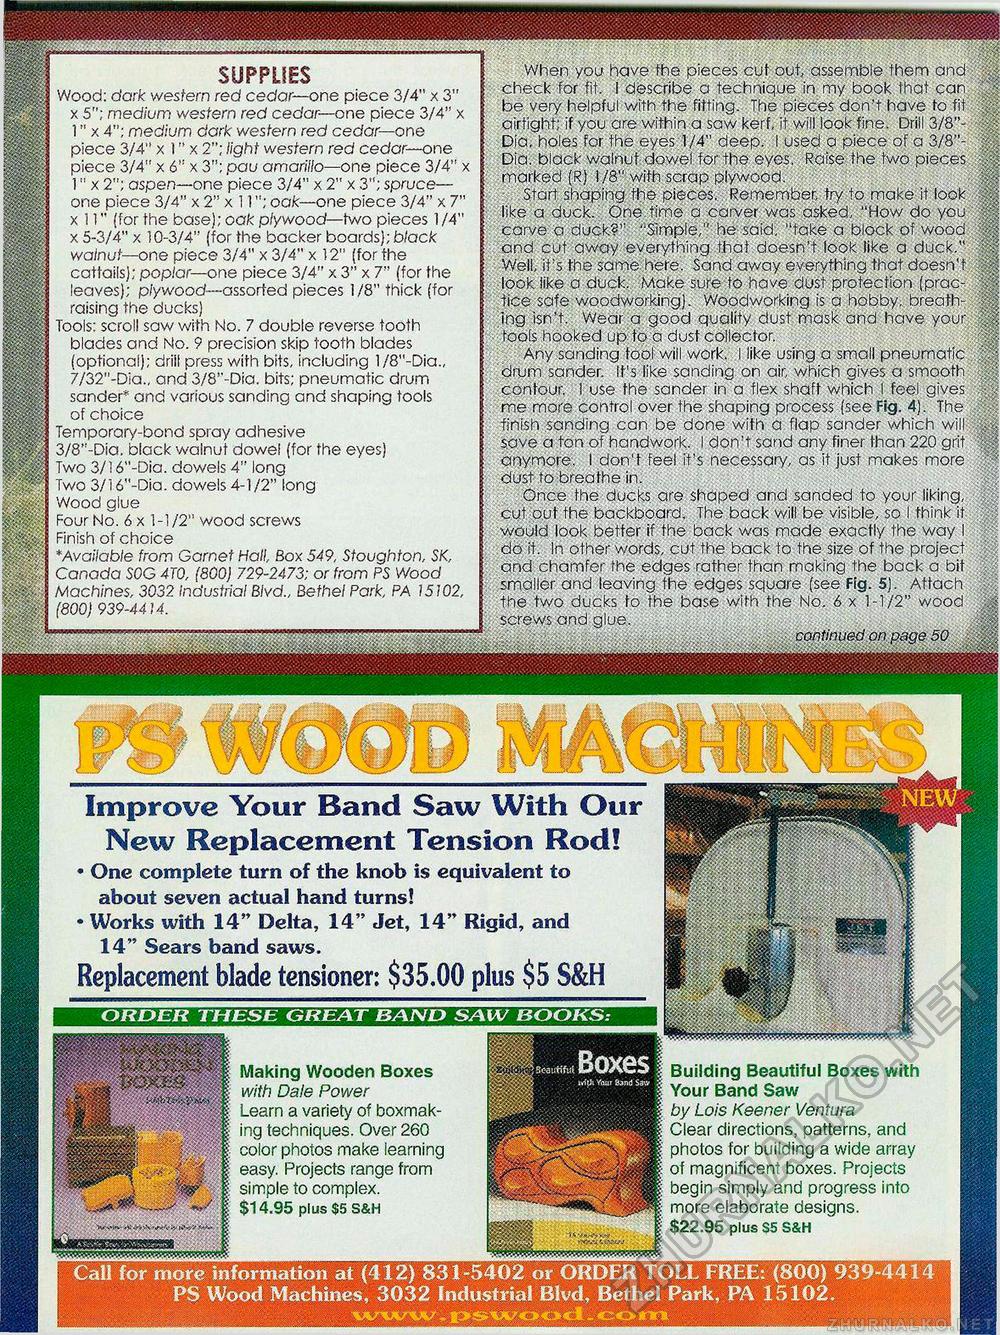
ORDER THESE GREAT BAND SAW BOOKS: Call for more information at (412) 831-5402 or ORDER TOLL FREE: (800) 939-4414 PS Wood Machines, 3032 Industrial Blvd, Bethel Park, PA 15102. SUPPLIES Wood: dark western red cedar— one piece 3/4" x 3" x 5"; medium western red cedar— one piece 3/4" x 1" x 4"; medium dark western red cedar—one piece 3/4" x 1" x 2"; light western red cedar—one piece 3/4" x 6" x 3": pau amarillo—one piece 3/4" x 1" x 2"; aspen—one piece 3/4" x 2" x 3"; spruce— one piece 3/4" x 2" x 11"; oak—one piece 3/4" x 7" x 11" (for the base); oak plywood—two pieces 1 /4" x 5-3/4" x 10-3/4" (for the backer boards); black walnut—one piece 3/4" x 3/4" x 12" (for the cattails); poplar—one piece 3/4" x 3" x 7" (for the leaves); plywood—-assorted pieces 1/8" thick (for raising the ducks) Tools: scroll saw with No. 7 double reverse tooth blades and No. 9 precision skip tooth blades (optional); drill press with bits, including l/8"-Dia., 7/32"-Dia„ and 3/8"-Dia. bits; pneumatic drum sander* and various sanding and shaping tools of choice Temporary-bond spray adhesive 3/8"-Dia. black walnut dowel (for the eyes) Two 3/16"-Dia. dowels 4" long Two 3/16"-Dia. dowels 4-1/2" long Wood glue Four No. 6 x 1-1/2" wood screws Finish of choice *Available from Garnet Hall Box 549, Stoughton, SK, Canada SOG 4T0, (800) 729-2473; or from PS Wood Machines, 3032 Industrial Blvd., Bethel Park, PA J5102, (800) 939-4414. When you have the pieces cut out, assemble them and check for fit. 1 describe a technique in my book that can be very helpful with the fitting. The pieces don't have to fit airtight; if you are within a saw kerf, it wili look fine. Drill 3/8"-Dia. holes for the eyes 1/4" deep. I used a piece of a 3/8"-Dia. black walnut dowel for the eyes. Raise the two pieces marked (R) 1/8" with scrap plywood. Start shaping the pieces. Remember, try to make it look like a duck. One. time a carver was asked, "How do you carve a duck.?" "Simple," he said, "take a block of wood and cut away everything that doesn't look like a duck." Well, it's the same here. Sand away everything that doesn't look like a duck. Make sure to have dust protection (practice safe woodworking). Woodworking is a hobby, breathing -.isn't. Wear a good quality dust mask and have your toofs hooked up to a dust collector. Any sanding tool will work, I like using a small pneumatic drum sander. It's like sanding on air, which gives a smooth contour, luse the sander in a flex shaft which I feel gives me more control over the shaping process (see Fig. 4). The finish sanding can be done with a flap sander which will, save a ton of handwork. I don't sand any finer than 220 grit anymore. I don't feel it's necessary, as it just makes more dust to breathe in. Once the ducks are shaped and sanded to your liking, cut out the backboard. The back will be visible, so I think it would look better if the back was made exactly the way I do it. In other words, cut the back to the size of the project and chamfer the edges rather than making the back a bit smaller and leaving the edges square (see Fig. 5). Attach the two ducks to the base with the No. 6 x 1-1/2" wood screws and glue. continued on page 50 n Improve Your Band Saw With Our New Replacement Tension Rod! • One complete turn of the knob is equivalent to about seven actual hand turns! • Works with 14" Delta, 14" Jet, 14" Rigid, and 14" Sears band saws. Replacement blade tensioner: $35.00 plus $5 S&H Building Beautiful Boxes with Your Band Saw by Lois Keener Ventura Clear directions, patterns, and photos for building a wide array of magnificent boxes. Projects begin simply and progress into more elaborate designs. $22.95 plus S5 S&H Making Wooden Boxes with Dale Power Learn a variety of boxmak-ing techniques. Over 260 color photos make learning easy. Projects range from simple to complex. $14.95 plus $5 S&H |


