Creative Woodworks & crafts 2003-01, страница 44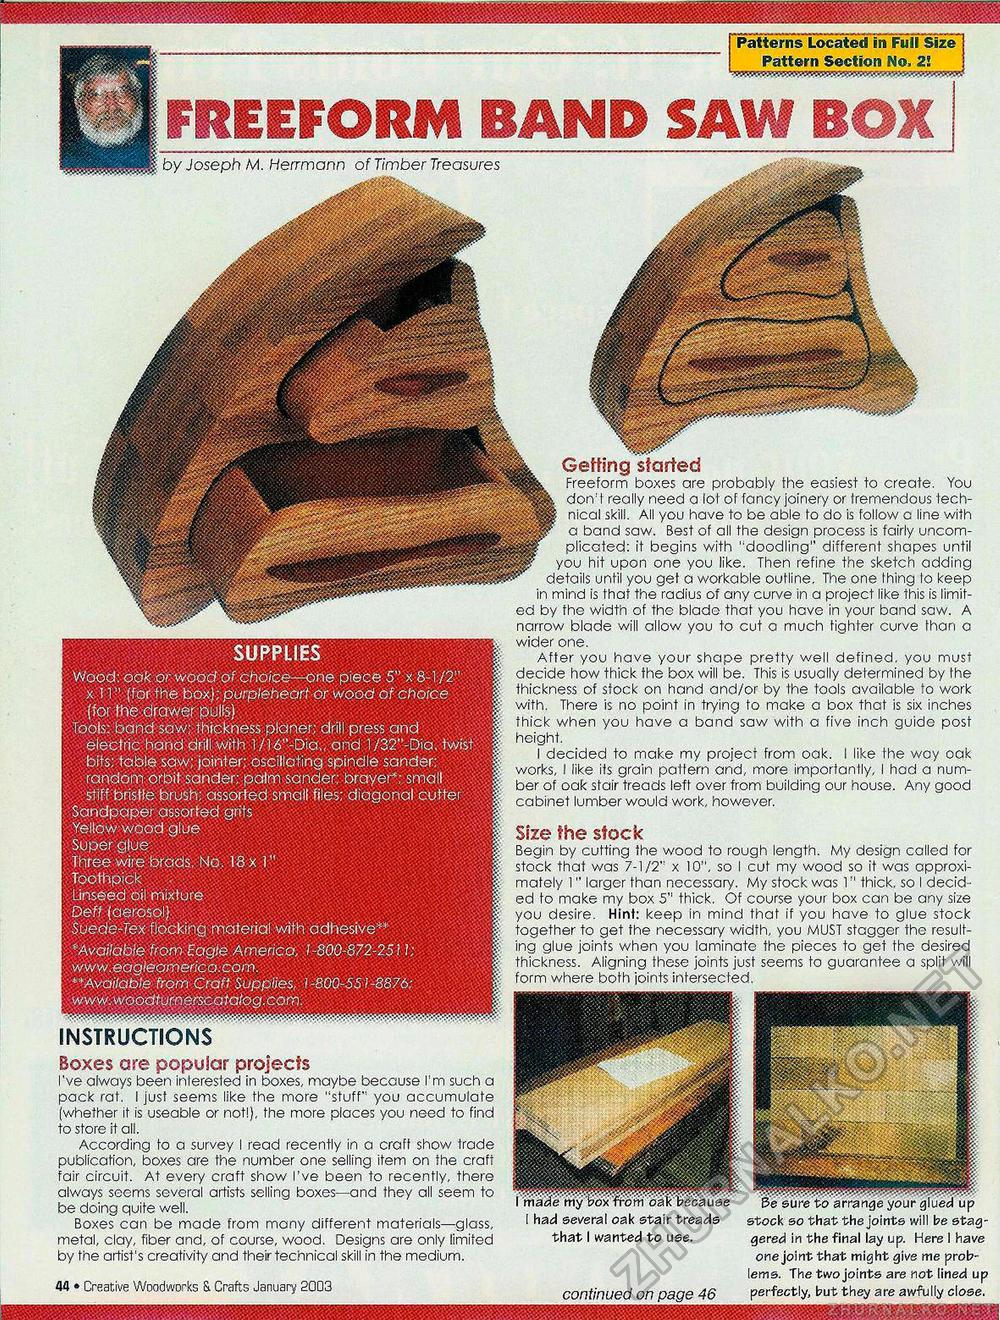
SUPPLIES Wood: oak or wood of choice—one piece 5" x 8-1/2" x I T!' (for the box); purpleheart or wood of choice (for the drawer pulls) Tools:band saw; thickness planer; drill press and electric hand drill with 1/16"-Dia„ and l/32"-Dia. twist bits; table saw; jointer; oscillating spindle sander; random: orbit sander; palm sander; brayer"; small stiff bristle brush; assorted small files; diagonal cuttei Sandpaper assorted grits Yellow wood glue Super glue Three wire brads. No. 18 x 1" Toothpick Unseed oil mixture Deff (aerosol) Suede-Tex flocking material with adhesive**" * Available from Eagle America. 1-800-872-2511; www .eagleornerica:com. "Available from Craft Supplies, 1-800-551-8876: INSTRUCTIONS Boxes are popular projects I've always been interested in boxes, maybe because I'm such a pack rat. I just seems like the more "stuff" you accumulate (whether it is useable or not!), the more places you need to find to store it all. According to a survey I read recently in a craft show Irade publication, boxes are the number one selling item on the craft fair circuit. At every craft show I've been to recently, there always seems several artists selling boxes—and they all seem to be doing quite well. Boxes can be made from many different materials—glass, metal, clay, fiber and, of course, wood. Designs are only limited by the artist's creativity and their technical skill in the medium. 44 • Creative Woodworks & Crafts January 2003 Getting started Freeform boxes are probably the easiest to create. You don' I really need a lot of fancy joinery or Iremendous technical skill. All you have to be able to do is follow c line with a band saw. Best of all the design process is fairly uncomplicated: it begins with "doodling" different shapes until you hit upon one you like. Then refine the sketch adding details until you get a workable outline. The one Ihing lo keep in mind is that the radius of any curve in a project like this is limited by the width of the blade that you heve in your band saw. A narrow blade will allow you to cut a much tighter curve than o wider one. After you have your shape pretty well defined, you must decide how thick the box will be. This is usually determined by the thickness of stock on hand and/or by the tools available to work with. There is no point in trying to make a box that is six inches thick when you have a band saw with a five inch guide post height. I decided to make my project from oak. I like the woy oak works, I like its grain pattern and, more importantly, I had a number of oak stair treads left over from building our house. Any good cabinet lumber would work, however. Size the stock Begin by cutting the wood to rough length. My design called for stock that was 7-1/2" x 10", so I cut my wood so it was approximately 1" larger than necessary. My stock was 1" thick, so I decided to make my box 5" thick. Of course your box can be any size you desire. Hint: keep in mind that if you have to glue stock together to get the necessary width, you MUST stagger the resulting glue joints when you laminate the pieces to get the desired thickness. Aligning these joints just seems to guarantee a split will form where both joints intersected. had several oak stair treads that I wanted to use. continued on page 46 stock so that the joints will be staggered in the final lay up. Here I have one joint that might give me problems. The two joints are not lined up perfectly, but they are awfully close. Patterns Located in Full Size Pattern Section No. 2! FREEFORM BAND SAW by Joseph M. Herrmann of Timber Treasures |


