Creative Woodworks & crafts 2003-01, страница 50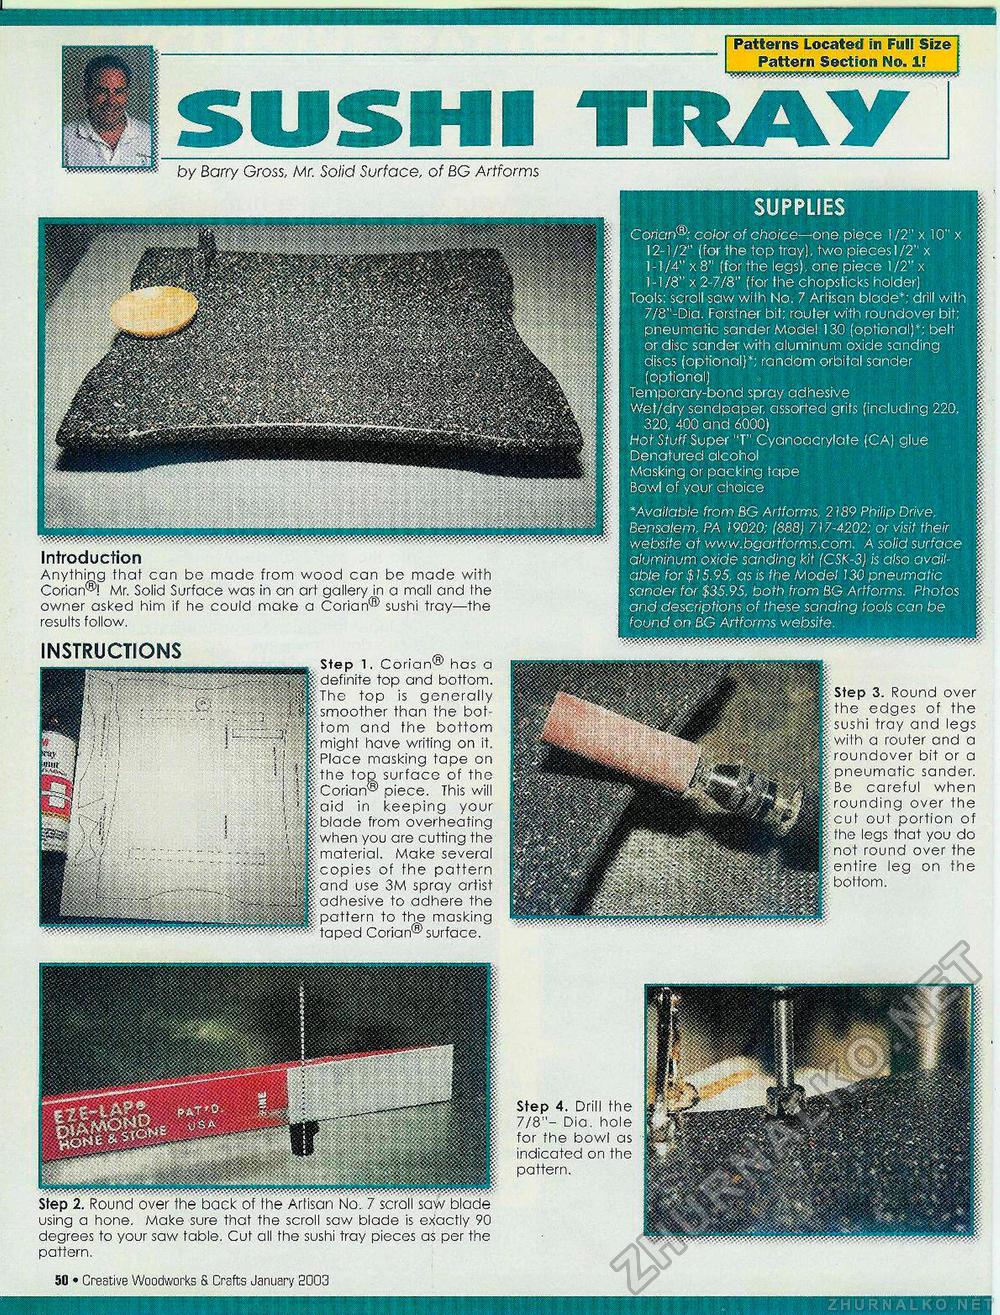
Patterns Located in Full Size Pattern Section No. 1! SUSHI TRAYby Barry Gross, Mr. Solid Surface, of BG Artforms SUPPLIES Corian®: color of choice—one piece 1/2" x 10" x 12-1/2" (for the top tray), two pieces 1/2" x 1-1/4" x 8" (for the legs), one piece 1/2" x 1-178" x 2-7/8" (for the chopsticks holder) Tools; scroll saw with No. 7 Artisan blade*: drill with 7/8"-Dia. Forstner bit; router with roundover bit; pneumatic sander Model 130 (optional)*; belt or disc sander with aluminum oxide sanding discs (optional)*; random orbital sander (optional) Temporary-bond spray adhesive Wet/dry sandpaper, assorted grits (including 220, 320, 400 and 6000) Hot Stuff Super "T" Cyanoacrylate (CA) glue Denatured alcohol Masking or packing tape Bowl of your choice Available from BG Artforms, 2189 Philip Drive, Bensalem, PA 19020: (888) 717-4202: or visit their website at www.bgarfforms.com. A solid surface aluminum oxide sanding kit (CSK-3J is also available for $ 15.95, as is the Model 130 pneumatic sander for $35.95, both from BG Artforms. Photos and descriptions of these sanding tools can be found on BG Artforms website. INSTRUCTIONS Step 1. Corian®' has a definite top and bottom. The top is generally smoother than the boh torn and the bottom might have writing on it. Place masking tape on the too surface of the Corian*® piece. This will aid in keeping your blade from overheating when you are cutting the material. Make several copies of the pattern ond use 3M spray crtist adhesive to adhere the pattern to the masking taped Corian®'surface. Introduction Anything that can bo made from wood can be made with Corian®! Mr. Solid Surface was in an art gallery in a mall and Ihe owner asked him if he could make a Corian® sushi tray—the results follow. Step 3. Round over the edges of the sushi tray and legs with a router ond a roundover bit or a pneumatic sander. Be careful when rounding over the cut out portion of the legs that you do not round over the entire leg on the bottom. Step 4. Drill the 7/8"- Dio. hole for the bowl as indicated on the pattern. using a hone. Make sure that the scroll saw blade is exactly 90 degrees to your saw table. Cut all the sushi tray pieces as per the pattern. Creative Woodworks S. Crafts January 2003 • 25 |


