Creative Woodworks & crafts 2003-03, страница 16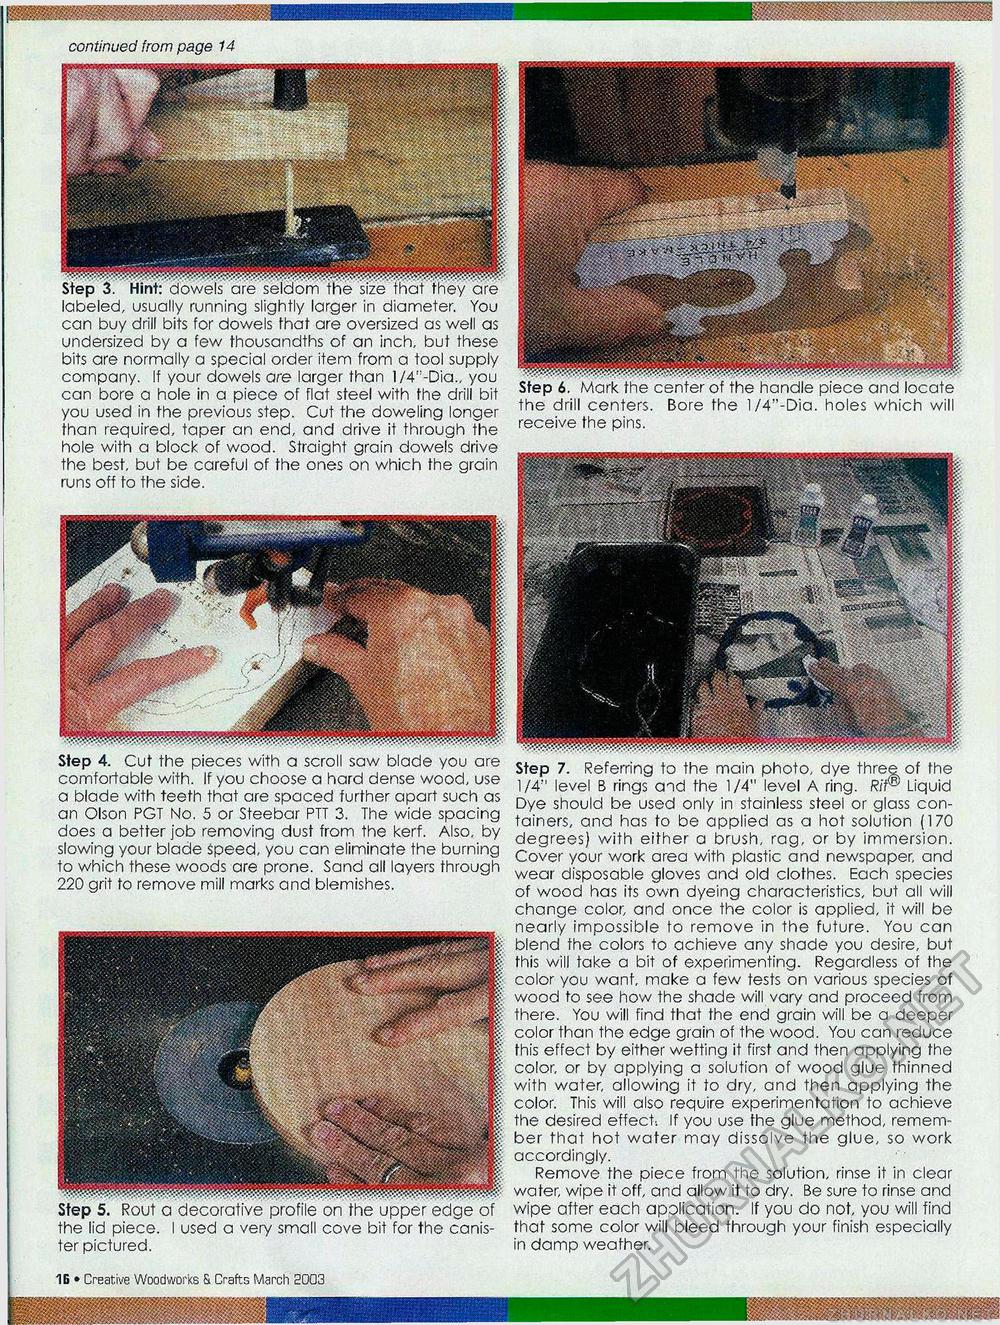
■■HHHKilillHHH Step 3. Hint: dowels are seldom the size that they are labeled, usually running slightly larger in diameter. You can buy drill bits for dowels that are oversized as well as undersized by a few thousandths of an inch, but these bits are normally a special order item from a tool supply company. If your dowels are larger than l/4':-Dia., you can bore a hole in a piece of flat steel with the drill bit you used in the previous step. Cut the doweling longer than required, taper an end, and drive it through the hole with a block of wood. Straight grain dowels drive the best, but be careful of the ones on which the grain runs off to the side. Step 6. Mark the center of the handle piece and locate the drill centers. Bore the l/4"-Dia. holes which will receive the pins. Step 4. Cut the pieces with a scroll saw blade you are comfortable with. If you choose a hard dense wood, use a blade with teeth that are spaced further apart such as an Olson PGT No. 5 or Steebar PTT 3. The wide spacing does a better job removing dust from the kerf. Also, by slowing your blade speed, you can eliminate the burning to which these woods are prone. Sand all layers through 220 grit to remove mill marks and blemishes. Step 5. Rout a decorative profile on the upper edge of the lid piece. I used a very small cove bit for the canister pictured. 1B • Creative Woodworks & Crafts March 2003 Step 7. Referring to the main photo, dye three of the 1/4'1 level B rings and the 1/4" level A ring. Rit® Liquid Dye should be used only in stainless steel or glass containers, and has to be applied as a hot solution (170 degrees) with either a brush, rag, or by immersion. Cover your work area with plastic and newspaper, and wear disposable gloves and old clothes. Each species of wood has its own dyeing characteristics, but all will change color, and once the color is applied, it will be nearly impossible to remove in the future. You can blend the colors to achieve any shade you desire, but this will take a bit of experimenting. Regardless of the color you want, make a few tests on various species of wood to see how the shade will vary and proceed from there. You will find that the end grain will be a deeper color than the edge grain of the wood. You can reduce this effect by either wetting it first and then applying the color, or by applying a solution of wood glue thinned with water, allowing it to dry, and then applying the color. This will also require experimentation to achieve the desired effect-. If you use the glue method, remember that hot water may dissolve the glue, so work accordingly. Remove the piece from the solution, rinse it in clear water, wipe it off, and allow it to dry. Be sure to rinse and wipe after each apolication. If you do not, you will find that some color will bleed through your finish especially in damp weather. |


