Creative Woodworks & crafts 2003-03, страница 18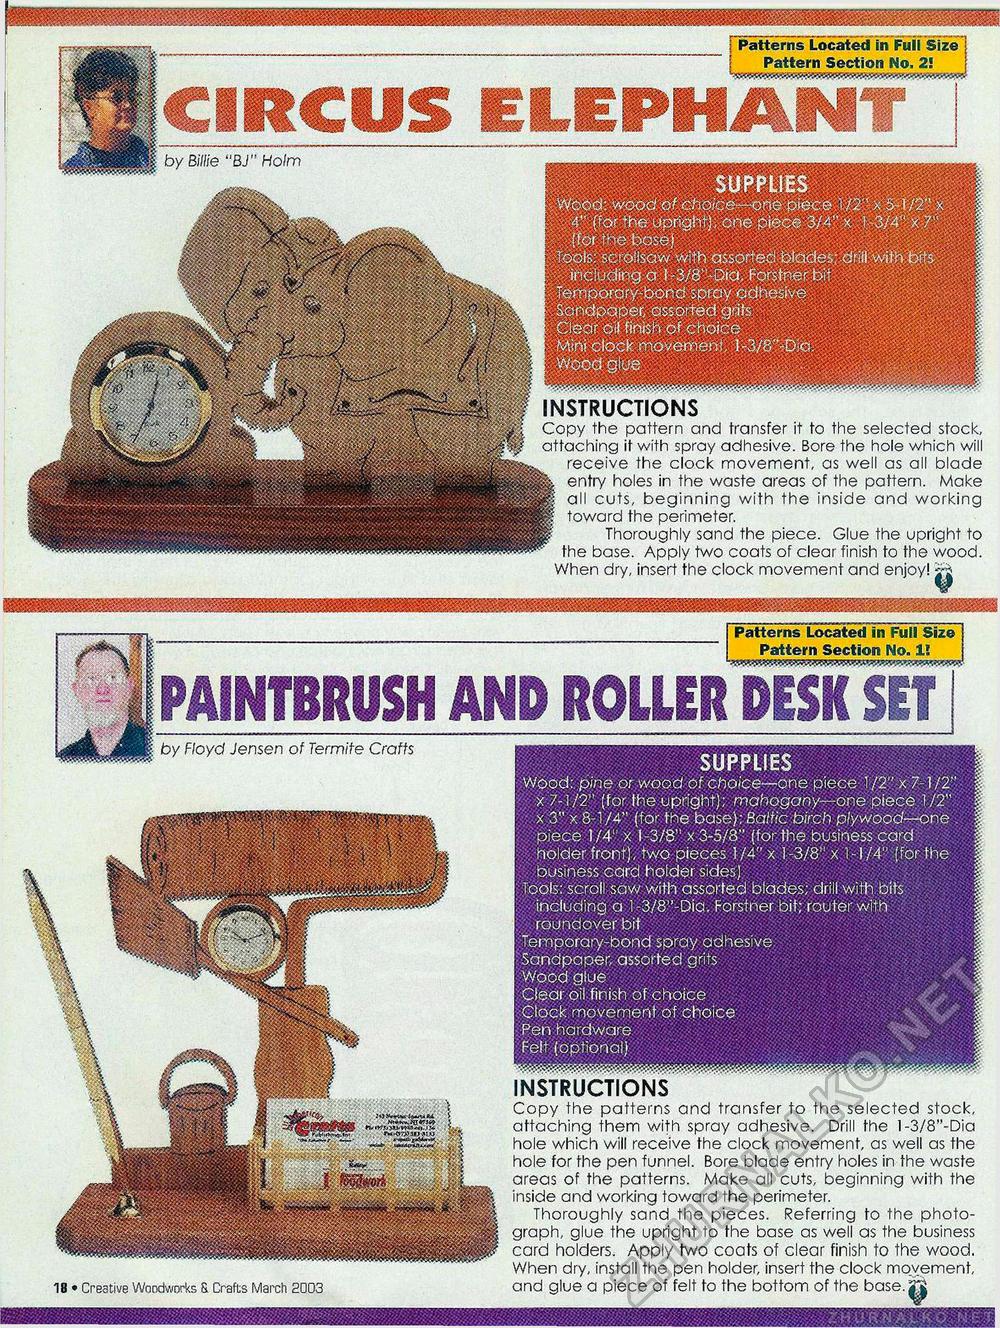
SUPPLIES gfforfhejioiiQf^ cnepr#^w|''x (for the base] 1g 1f||g ||I Tools- sctollsaw with assorted blades drill with bits including a l-3/8"-Dia, Forsinerbit spwadi'Jstve ;; " / ^Sdfidpdpefi l&^^^^pnh / ' |>f cHi&e© s':;■ ? ' ' ^ *>i Mini clock movemer;:. l-3/8":Dic. ; |§§||ll^ s ; Patterns Located in Full Size Pattern Section No. i size 21 circ iLEPli INSTRUCTIONS Copy the pattern and transfer it to the selected stock, attaching it with spray adhesive. Bore the hole which will receive the clock movement, as well as all blade entry holes in the waste areas of the pattern. Make all cuts, beginning with the inside and working toward the perimeter. Thoroughly sand the piece. Glue the upright to the base. Apply two coats of clear finish to the wood. When dry, insert the clock movement and enjoy! by Billie "BJ" Holm SUPPLIES Wood:, pine or wood of choice—one piece 1/2" x 7 1/2 x 7-1/2" (for the upright); mahogany—one piece 1/2" x 3" x 8-1/4" (for the base); Baltic birch plywood—one piece 1/4" x 1-3/8" x 3-5/8" (for the business card holder front) , tvyo pieces 1/4" x 1-3/8" x 1-1/4" (for the business card holder sides) lools: scroll saw with assorted blades; drill with bits including a l-3/8"-Dia. Forstner bit; router with roundover bit Temporary-bond spray adhesive. Sandpaper, assorted grits Wood glue Clear oil finish of choice Clock movement of choice Pen hardware Felt (optional) _______________________________________________Patterns Located in Full Size | Pattern Section No. 1! j PAINTBRUSH AND ROLLER DESK SETby Floyd Jensen of Termite Crafts 18 • Creative Woodworks S. Crafts March 2003 INSTRUCTIONS Copy the patterns and transfer to the selected stock, attaching them with spray adhesive. Drill the l-3/8"-Dia hole which will receive the clock movement, as well as the hole for the pen funnel. Bore blade entry holes in the waste areas of the patterns. Make all cuts, beginning with the inside and working toward the perimeter. Thoroughly sand the pieces. Referring to the photograph, glue the upright to the base as well as the business card holders. Apply two coats of clear finish to the wood. When dry, install the pen holder, insert the clock movement, and glue a piece of felt to the bottom of the base |


